
Canvas is another amazing non-wood surface to embellish with pyrography. You will find canvas material in many different forms and adding wood burned touches to any of these canvas materials will add that personalized touch that will step up your canvas game. It is a bit smelly to burn, and you will need to clean your wood burning tool often, but it will look cool and be totally worth it. Be sure to utilize your safety equipment. You and those around you won’t want to be inhaling the fumes from burning on canvas, so be sure to work in a well-ventilated space and have fun with it!
Materials
Canvas backback
Damp sponge
Burner (I like to use the Walnut Hollow Versatool and recommend it as a starting point. Head over to the following blog post: What Tool Is Right for Me, if you want to learn about a variety of pyro tools, uses and price points for each.)

Step 1: Choose your canvas backpack. Wash and dry before getting started.
Step 2: Lay your backpack flat on your table.

Step 3: With your water soluble pen, draw lines of varying lengths and arches from the bottom of the pack going up. These can be close together or spread apart, depending on how you envision the end result.

Step 4: Add lines of varying lengths to the right and left sides on these initial lines. Mix up the spacing between the lines to add interest.

Step 5: Put on safety gear. Canvas can be quite smelly, you don’t want to be breathing the fumes. An outdoor environment with plenty of air flow would be best.
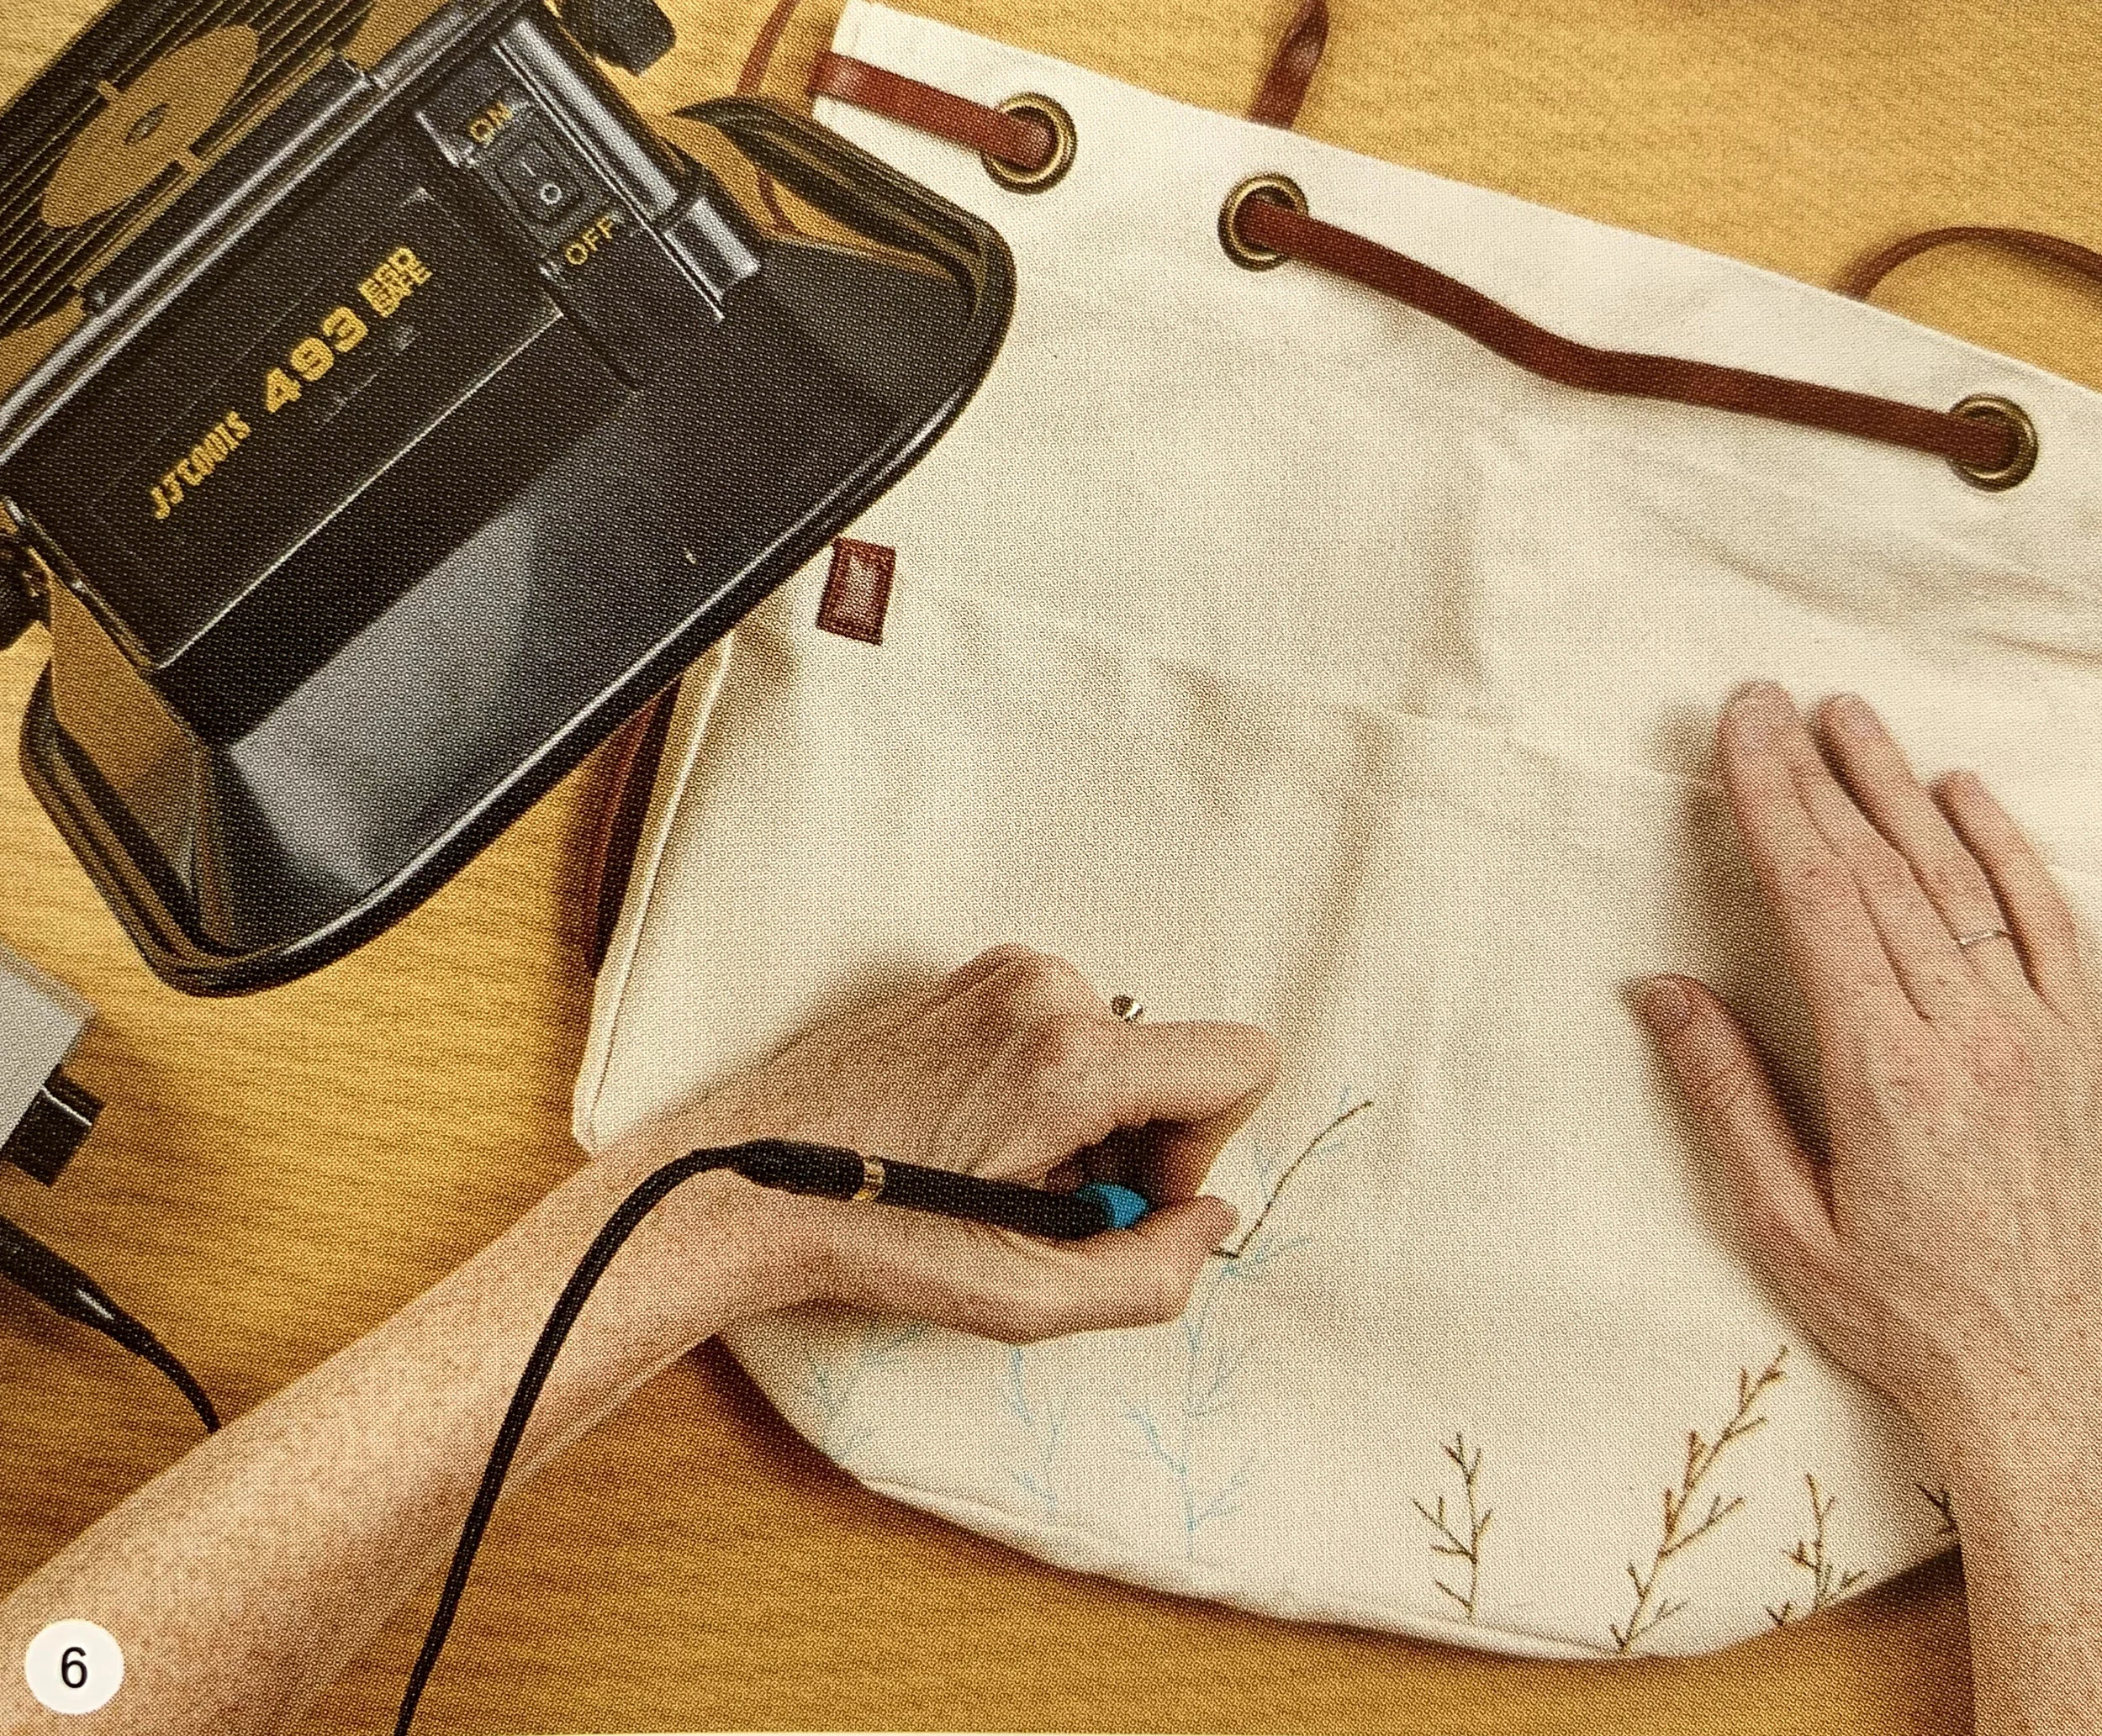
Step 6: Turn on your wood burning tool. The temperature will depend on how quickly you would like to burn. The lower the temperature, the more controlled the burn. Start lower and turn up the temperature as needed. Using a spade or writing nib, burn by tracing over all of your drawn lines with the wood burning tool.

Step 7: Once you’ve traced all the lines, turn off your burning tool and carefully switch to a flow nib, preferably a ball-point. Reheat the burner and start adding the dots to the ends of your lines. To make a dot, simply hold the burner in place briefly. Be careful not to hold it too long, or you can burn a hole in your pack. Add burned dot ends until all lines are topped off with them.

Step 8: Rinse off your burned backpack or use a sponge and some water to carefully remove all water-soluble pen lines. Set out to dry.

Step 9: Wear your bag proudly, and enjoy the compliments.
SHOW OFF YOUR WORK!
Be sure to share your finished pieces on instagram using #thewoodburnbook

More projects in the book!
This essential guide opens with a brief background to the art of wood burning, a list of tools and how to use them, basic techniques that can be used over and over again, and even what to burn (projects, designs and inspiration) and how to be safe doing it.