Sanding, like it or hate it, is a part of being a wood burning artist. Sanding your wood before and after you burn can make your entire piece and your burn lines crisper.
A smooth wood surface will help you create a smoother, better burn. It is worth the time it takes to make it smooth, trust us.
There are some things you can do to make the job a little easier on yourself. See the steps below to getting the perfect surface to burn on:
Prepare the workspace
Place the wood slice on a flat and stable surface that won't move during sanding. You may want to clamp it down to keep it steady.
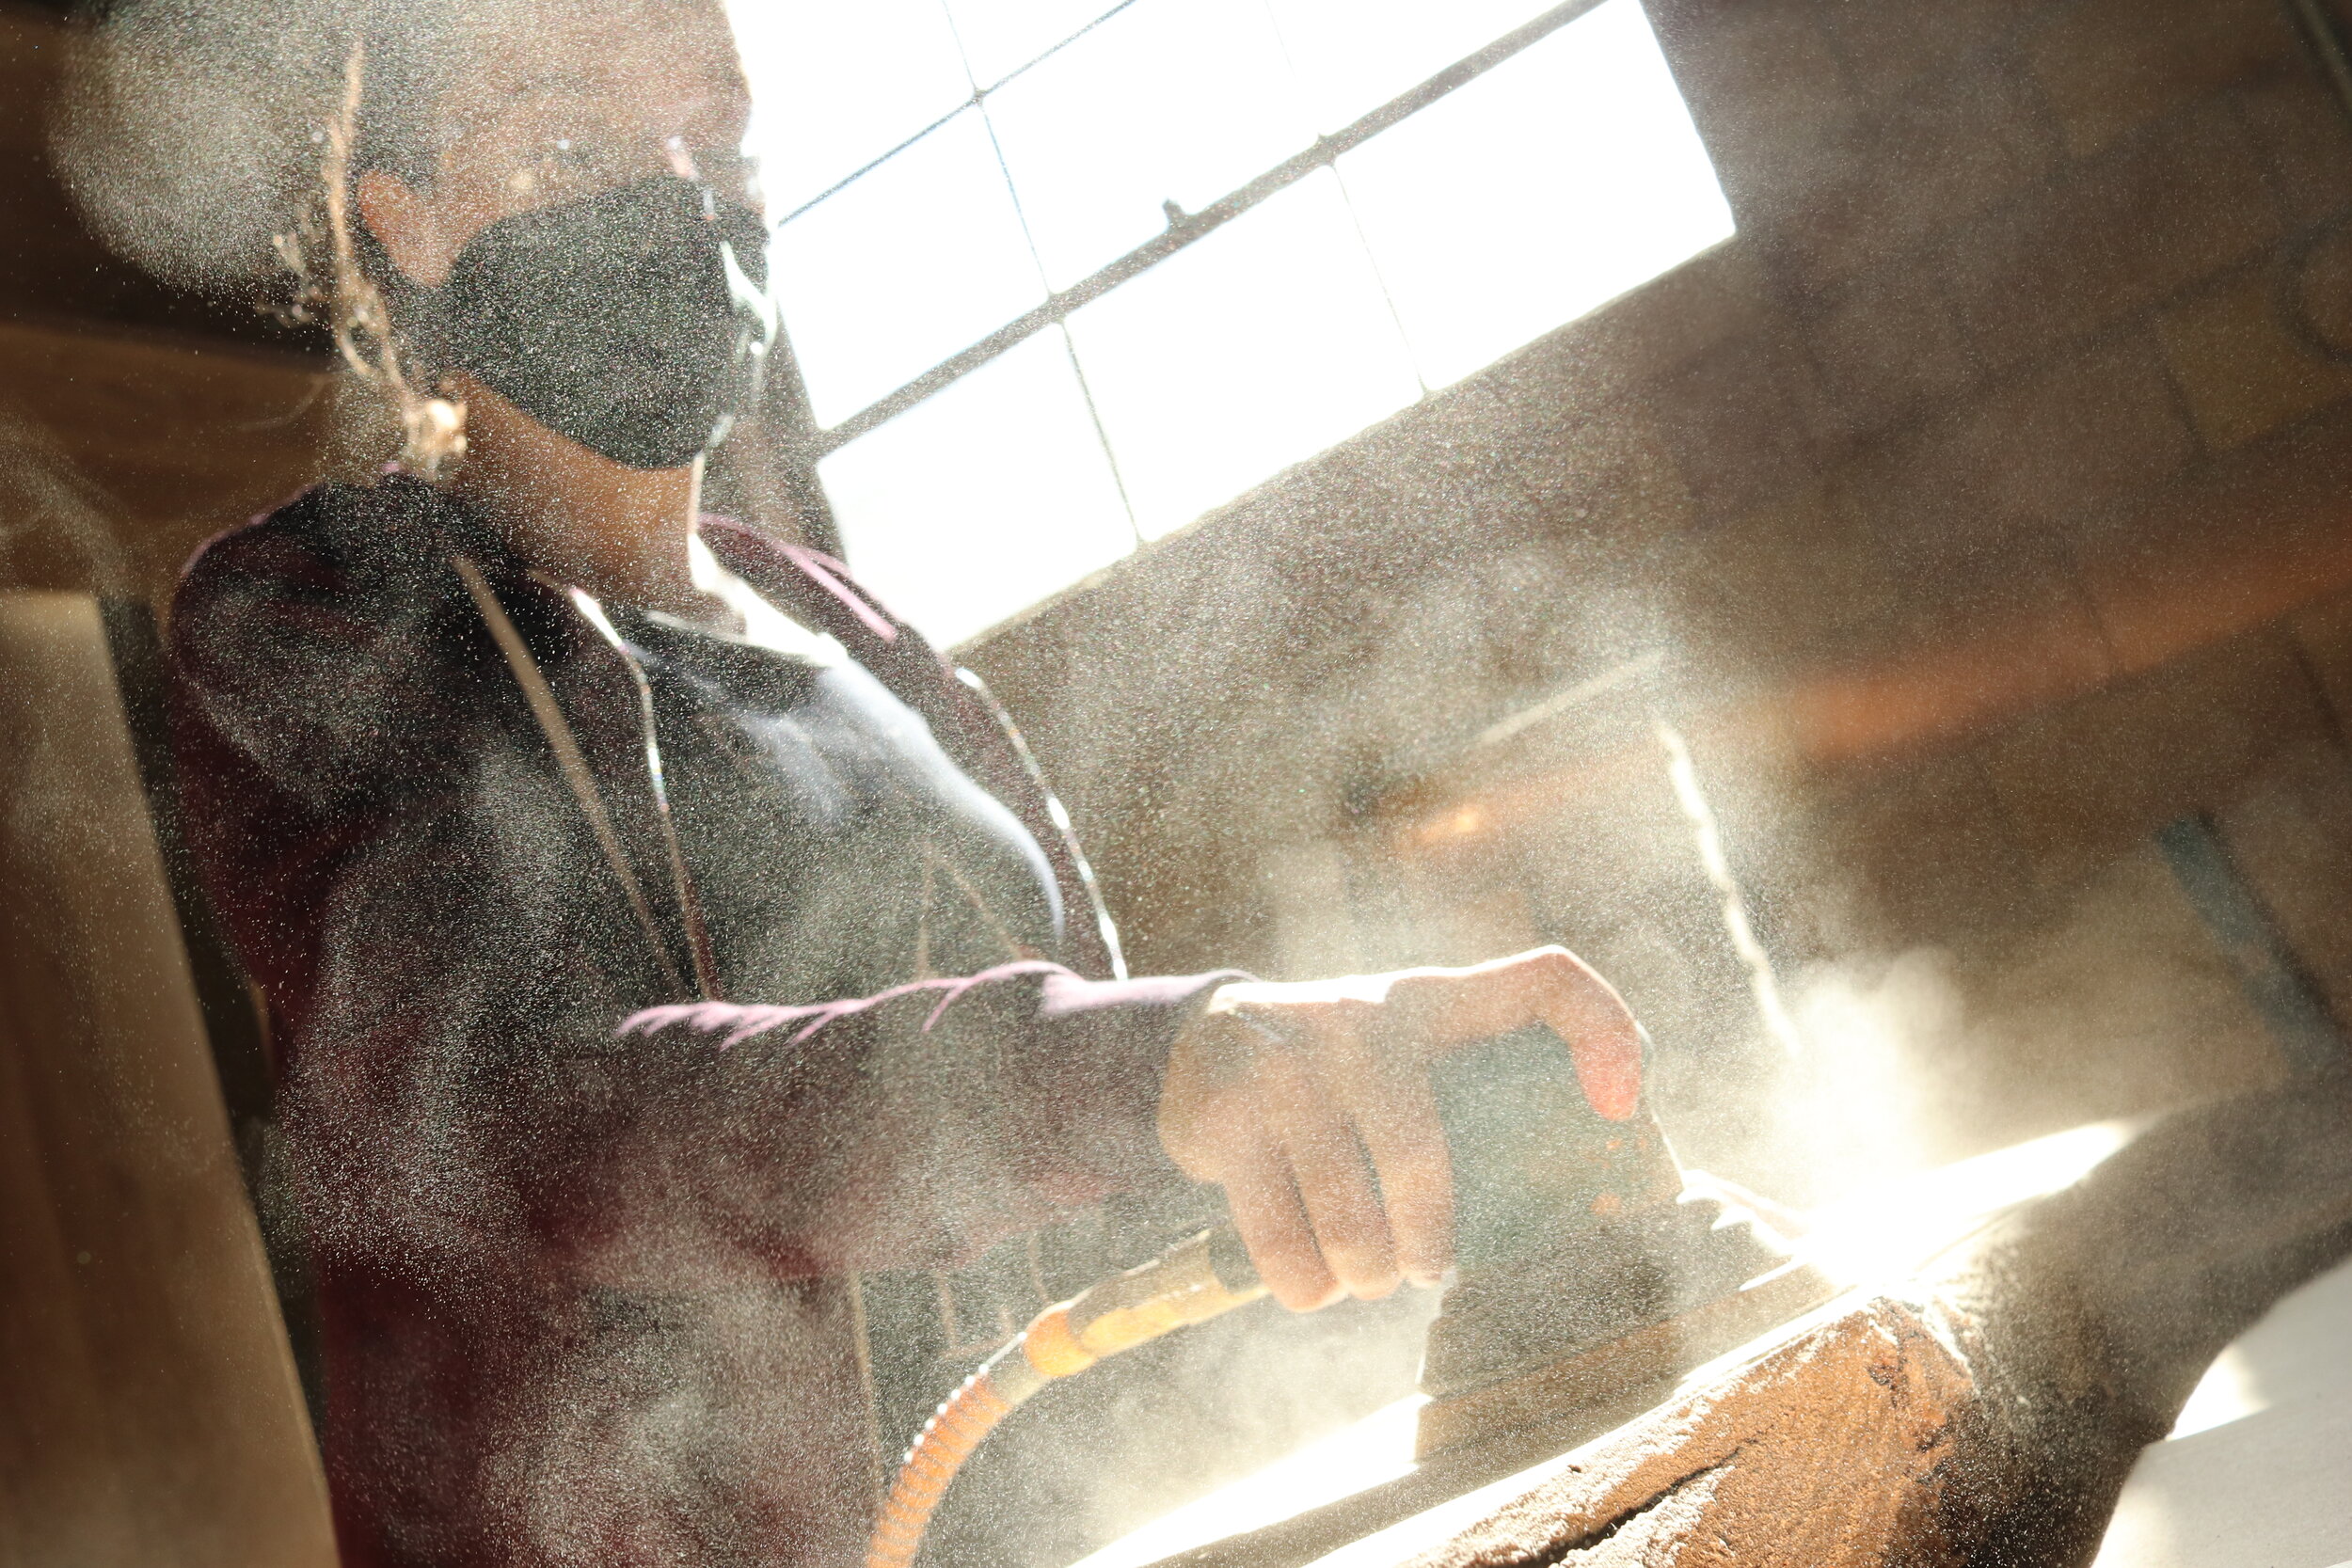
SAFETY FIRST!

Make sure you are in a well ventilated space, have an air purifier if sharing the space and you are wearing proper safety equipment. Something to protect your eyes and your lungs. Do it every time. The last thing you want is for your art to cause you harm. Protect yourself!
My favourite mask to use for everything I do with pyrography is RZ Mask. The M2 model is my favourite because it fits with my top pun or pony tail but they have so many to choose from and in so many different colors... They all have activated carbon filters which are replaceable and the mesh mask shell and valves are washable and reusable. They are comfortable, breathable and are 99% efficient against particulates down to 0.1 microns in size.
Choose the right sandpaper
The type of sandpaper you use will depend on how rough the surface of the wood slice is. Start with a coarse grit sandpaper (60-80 grit) and gradually move to a finer grit (120-150 grit) for a smoother finish.
I love THIS bundle from amazon. It comes with a variety if you want to try it out on the wood you have. Some woods need more TLC and others come already very smooth.
Understanding Grit:
In the US grit is determined based on a scale. When shopping for sandpaper, you’ll see numbers such as 80-grit, 100-grit, or 200-grit. Keep in mind:
The higher the number, the smaller the grains and the finer the sandpaper grit.
The lower numbers indicate larger grains and overall coarser sandpaper
Generally you want to start out with a lower grit (coarser sandpaper). This helps to get rid of any larger scuffs, scratch marks, bumps and/or irregularities. Then you will want to increase the grit and finish off with a finer, more gentle sandpaper to get that ultra smooth finish.
Always sand with the grain of the wood, not against
Sand your pieces before you do any wood burning to ensure clean and crisp lines. A smooth surface will be much easier to burn on, and will create a better result.
Begin sanding the wood slice using the coarse grit sandpaper. Work in the direction of the grain and use a back-and-forth motion. Sand any rough spots until they are smooth.

Once you've sanded the rough spots with the coarse sandpaper, switch to a finer grit sandpaper. Continue sanding until the surface is smooth and free of any scratches.
Finish with the finest grit for the ultimate smoothness
For an extra-smooth finish, use the finest grit sandpaper (220 grit) to sand the surface once more at the end. This will remove any remaining scratches and leave the surface with a smooth texture.
Clean the surface
Wipe off any dust and debris from the wood slice with a clean microfiber cloth (an old dry toothbrush helps to get into the cracks if the cloth cannot). You can also use an air compressor to get rid of any dust. Be careful to not get too close to the bark on a live edge wood slice. The strong air may remove delicate bark pieces and can come off. If you don’t have access to an air compressor, use a brush to sweep of the dust or, better yet, use a bristle attachment on a vacuum to safely capture the dust.

Sanding Tools
Please note these are Amazon Affiliate links. We only share items that we have used and love!
In the video below, I used:
RZ Mask: RZ Mask rocks! My first mask was the M2 but i also like the M1 as it has the ear straps which fit nicely. They have loads of different styles and sizes to choose from!
Course Sandpaper: 80-100 grit and Fine Grit Sandpaper: 240 grit (here is a good variety pack!)
Sanding after you wood burn a piece

Sanding a piece after you burn removes any tracing lines as well as “overburn.” (Overburn, as you can see here on the left) is when you have a browning coloration right next to your burn line on the surface). Sanding your piece after you burn it gives your piece crisper and finer lines.
Use a 200-grit or 220-grit sandpaper (the finer the better) and remember to be super gentle when sanding at this stage, especially if you don’t burn very deep.
If you have any shading or surface burn lines, they may come off, so really; go light and slow here.
Watch how I sand my wood slices before I burn on them!
more Fun tips and tricks
Sanding sponge versus sanding block:
Since sponges form to your hand, a block sand paper will allow you to put in less effort and ensures you are sanding flat and not creating any divots. Try wrapping a sandpaper sheet to a scrap wood if you don’t have a pre-made sanding block (use a tube or pvc pipe instead of a block for contoured wood pieces)
Sanding power tools:
These come in handy! Especially if you prefer to sand your pieces in “batch work” style, meaning you sand a whole bunch all at once. I recommend this, because it is a time saver. You only have to get dirty once, you only have to pull out the tools once, and clean up the mess once. Then you have a stack of ready to go canvases. It’s awesome.