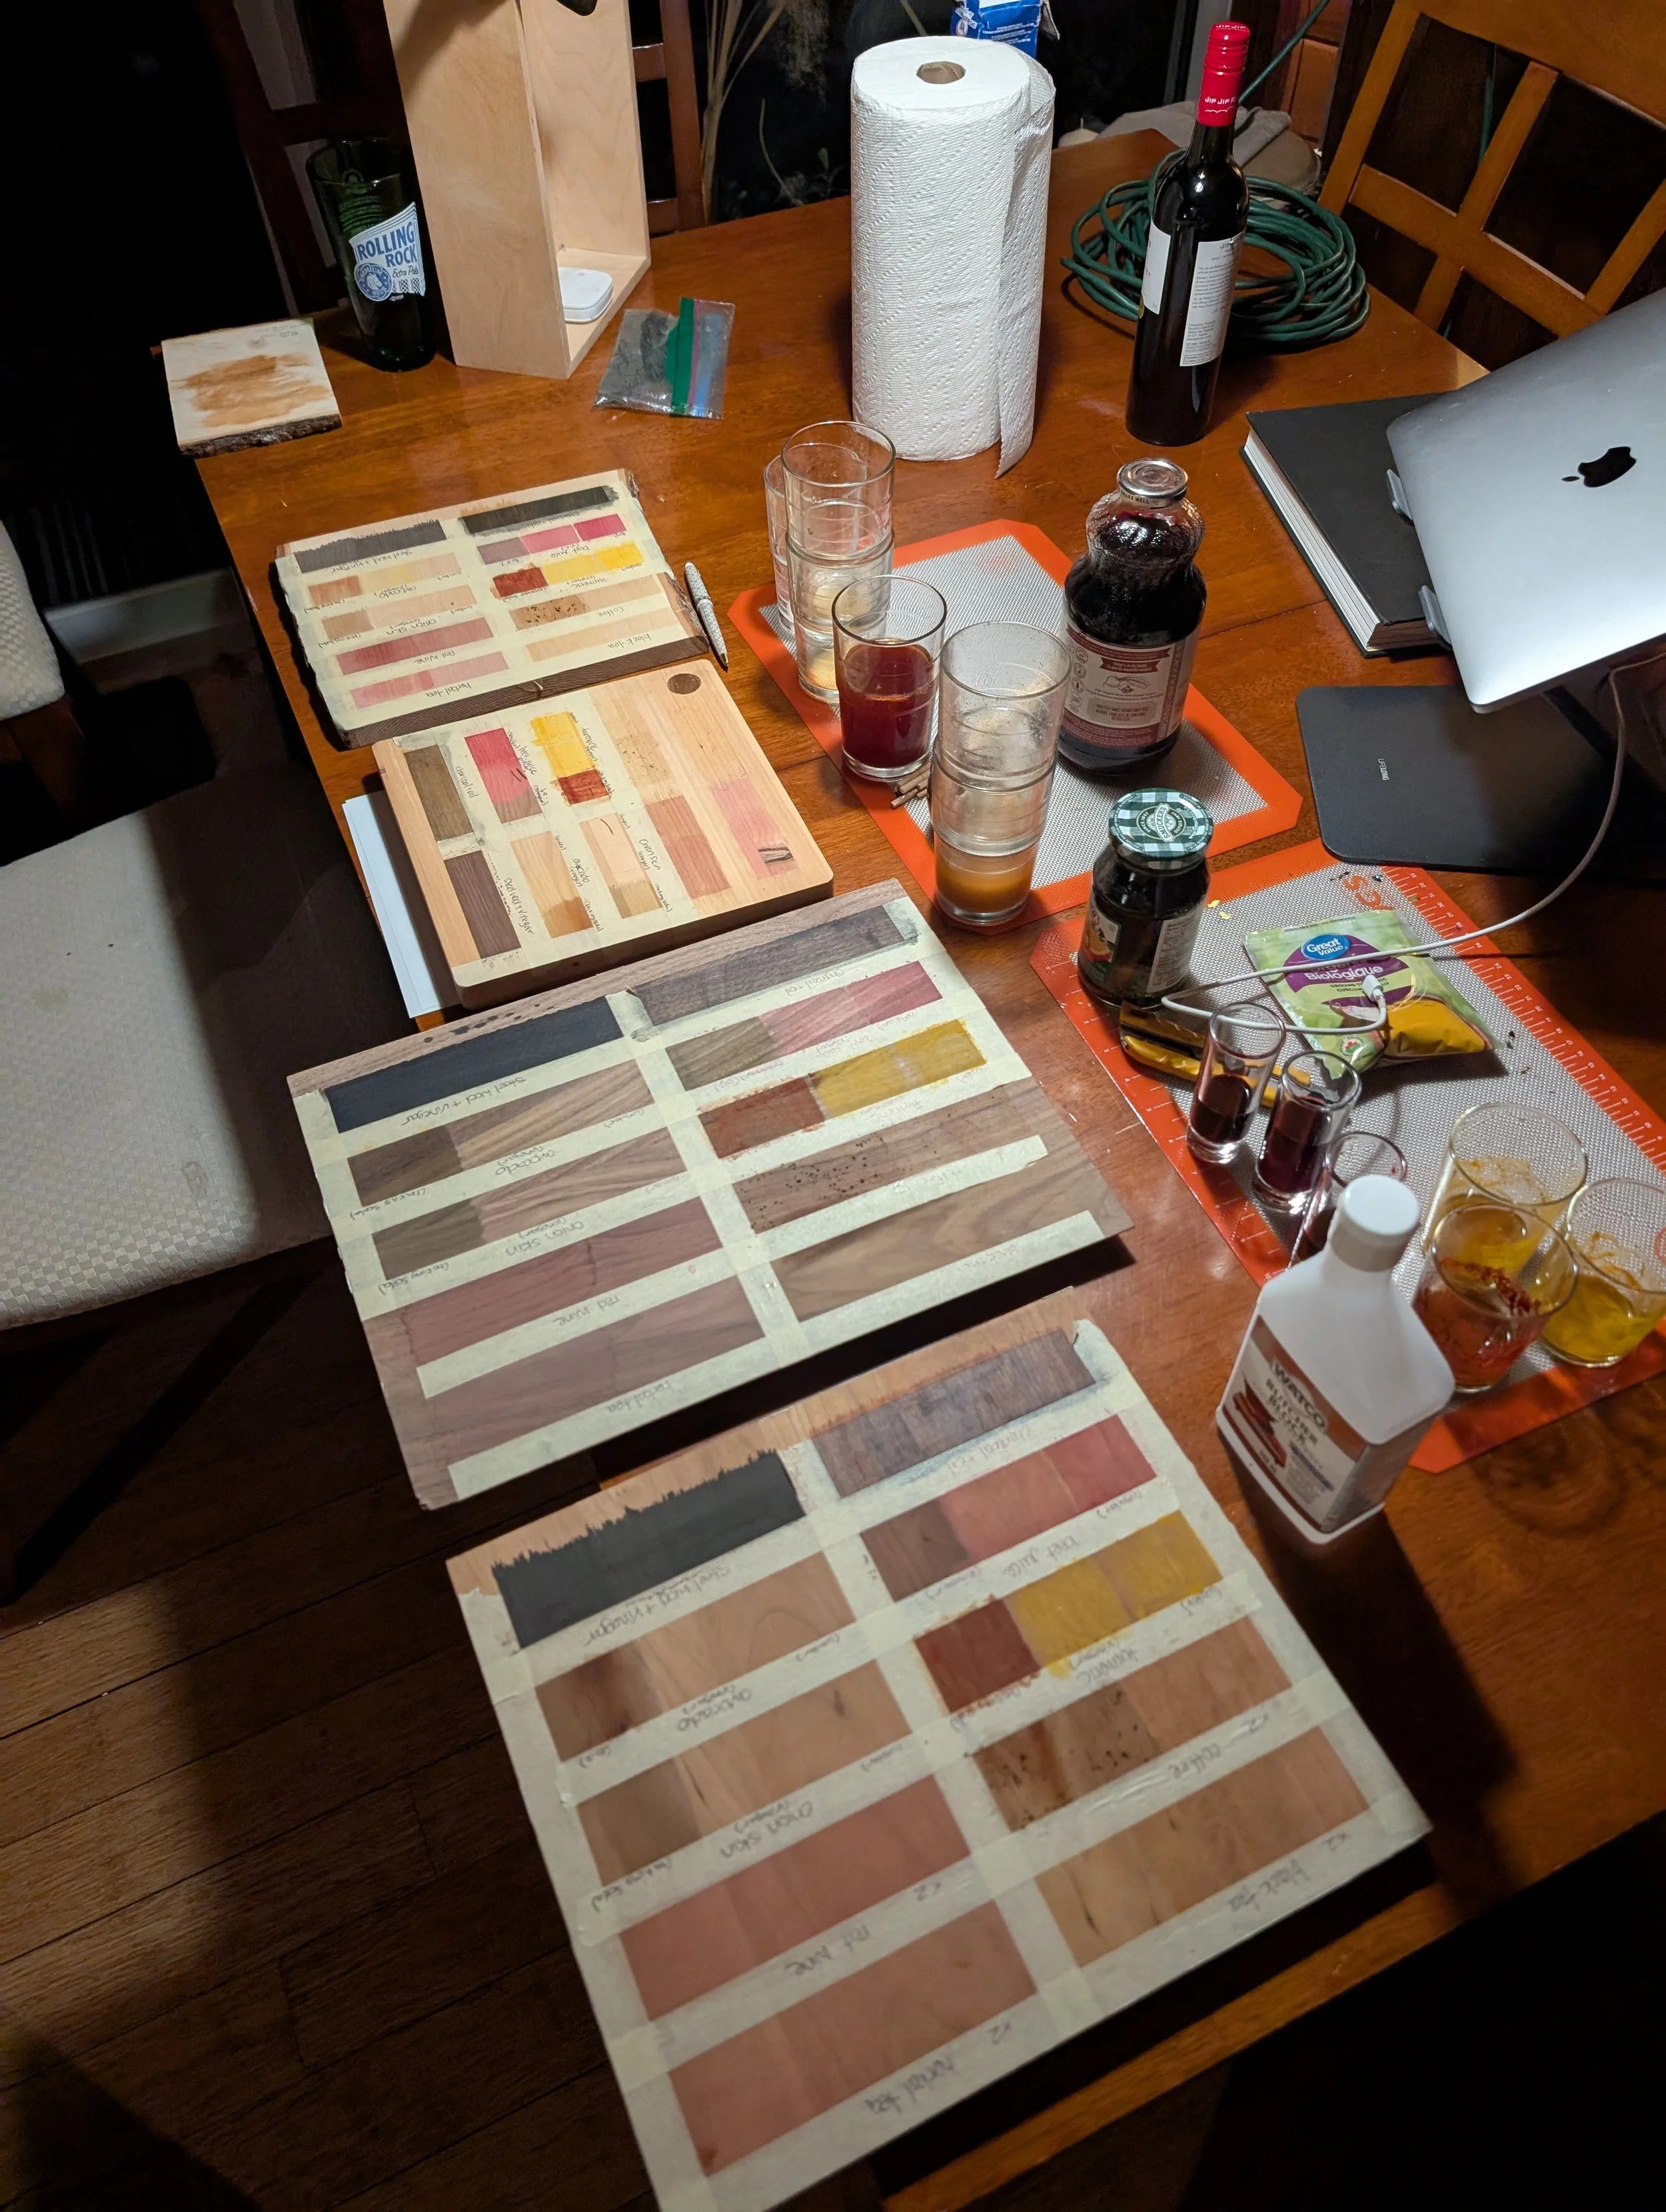
In our last live Burn Club Open Studio session, we dove into 10 natural wood stains and had a blast experimenting with them on 4 different wood species.
Everyone got to guess which stain was which on a test board, and we even played with vinegar and baking soda to see how some colours would shift right before our eyes.
Burn Club+ members have access to the replay and the extended conversation. That is where I shared photos of the piece once it has dried the next day and what they look like sealed. I’ve left them in the sun and in a little while, I want to see just how much these stains fade compared to eachother…
Below, I share four simple kitchen ingredients that anyone can try: coffee, black tea, herbal tea, and red wine.
Coffee

Coffee is packed with tannins that soak in and leave behind a soft, earthy brown.
Freshly brewed coffee gives a gentle wash, while letting it sit overnight deepens the tones and creates a richer effect.
In this photo, I brewed a regular cup of coffee and even after 4 coats, it was still pretty light so go stronger if you want a darker tone. I am using Basswood here.
The bottom half of the test piece has a layer of oil/wax blend which clearly enhances the colour!
How to use it:
Brew a strong cup of coffee.
Let it cool, then brush or wipe it onto raw, sanded wood.
Allow it to dry completely, then add more coats if you want a darker color.
For an even deeper effect, let the coffee sit overnight before using; the extra strength makes a noticeable difference.
Oh and if you get little coffee grinds on it, I just let them be and wiped them away when it dried. They didn’t effect the the colours at all! I kinda wish they did, though! I envisioned them making a cool galaxy effect…
Black Tea
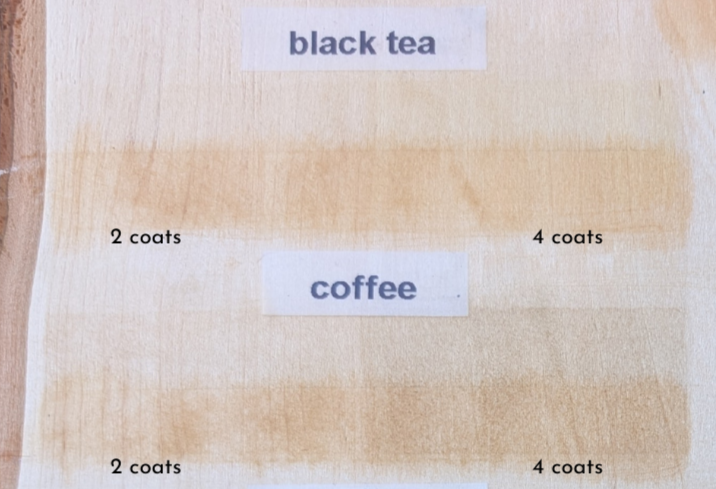
Tea is another tannin powerhouse. A fresh brew gives warm golden-browns. Just like coffee, if you let the leaves steep for 24 hours or more, the liquid becomes more concentrated.
On pale woods like the basswood in this photo, it can show up nice and subtly. I left the coffee example here to differentiate the two. The black tea is a warmer tone compared to the coffee.
How to use it:
Brew a cup of black tea and let it steep for at least 15 minutes.
For a stronger stain, steep the leaves 24 hours or more until the liquid is very dark.
Apply with a brush or rag to bare wood.
Let dry, then add additional coats if desired.
Herbal & Berry Teas

Berry teas often carry anthocyanins, pigments that can shift color depending on pH. You might see pinks, purples, or soft reds, especially on light woods.
The results aren’t always predictable, but that’s part of the charm (we are used to this, right? No wood is exactly the same…).
I was quite surprised with how much colour this did give. Even though I used a raspberry tea, I expected a bit more subtle earthy brown, more than this purplish tone! The bottom section is with an oil/wax mixture to see how long the stain lasts in direct sun with and without a finish (the results are all located in BC+)!
How to use it:
Steep berry or hibiscus teas until the water is richly colored (for my example in the photo above, only waited 15min).
Apply directly to light woods like basswood or pine for the most visible results.
Build up layers if you want stronger color.
Note: These colours are more delicate and can fade quickly without sealing.
Red Wine

Red wine seeps into wood with deep purples and burgundy tones that mellow into a warm, reddish brown as they dry. At least this is true for basswood. The other woods we tried red wine on, all had varying tones of reddish/purplish brown…
Again, the bottom half has an oil/wax on it to test it against time and sun.
How to use it:
Pour a small amount of red wine into a cup
Brush or rag it onto bare wood.
Let dry, then repeat coats for deeper color.
Tip: Like berry teas, red wine colors can shift with acidity — vinegar makes it more red, baking soda can push it toward blueish tones.
Sealing Natural Stains
Once the stain has dried fully, sealing helps protect the colour and bring out the richness of the wood. Warning! It can also take away or hide any colouring, especially if the colours were light and subtle…
For a natural finish, simple mineral oil and/or beeswax works beautifully, though both will need refreshing from time to time. These give a soft, organic look and are perfect for small projects or decorative pieces. My top favourite brands for food safe finishes are:
Walrus Oil: Try their Cutting Board Oil and Wood Wax
Howards: Try their Cutting Board Oil and Wood Wax
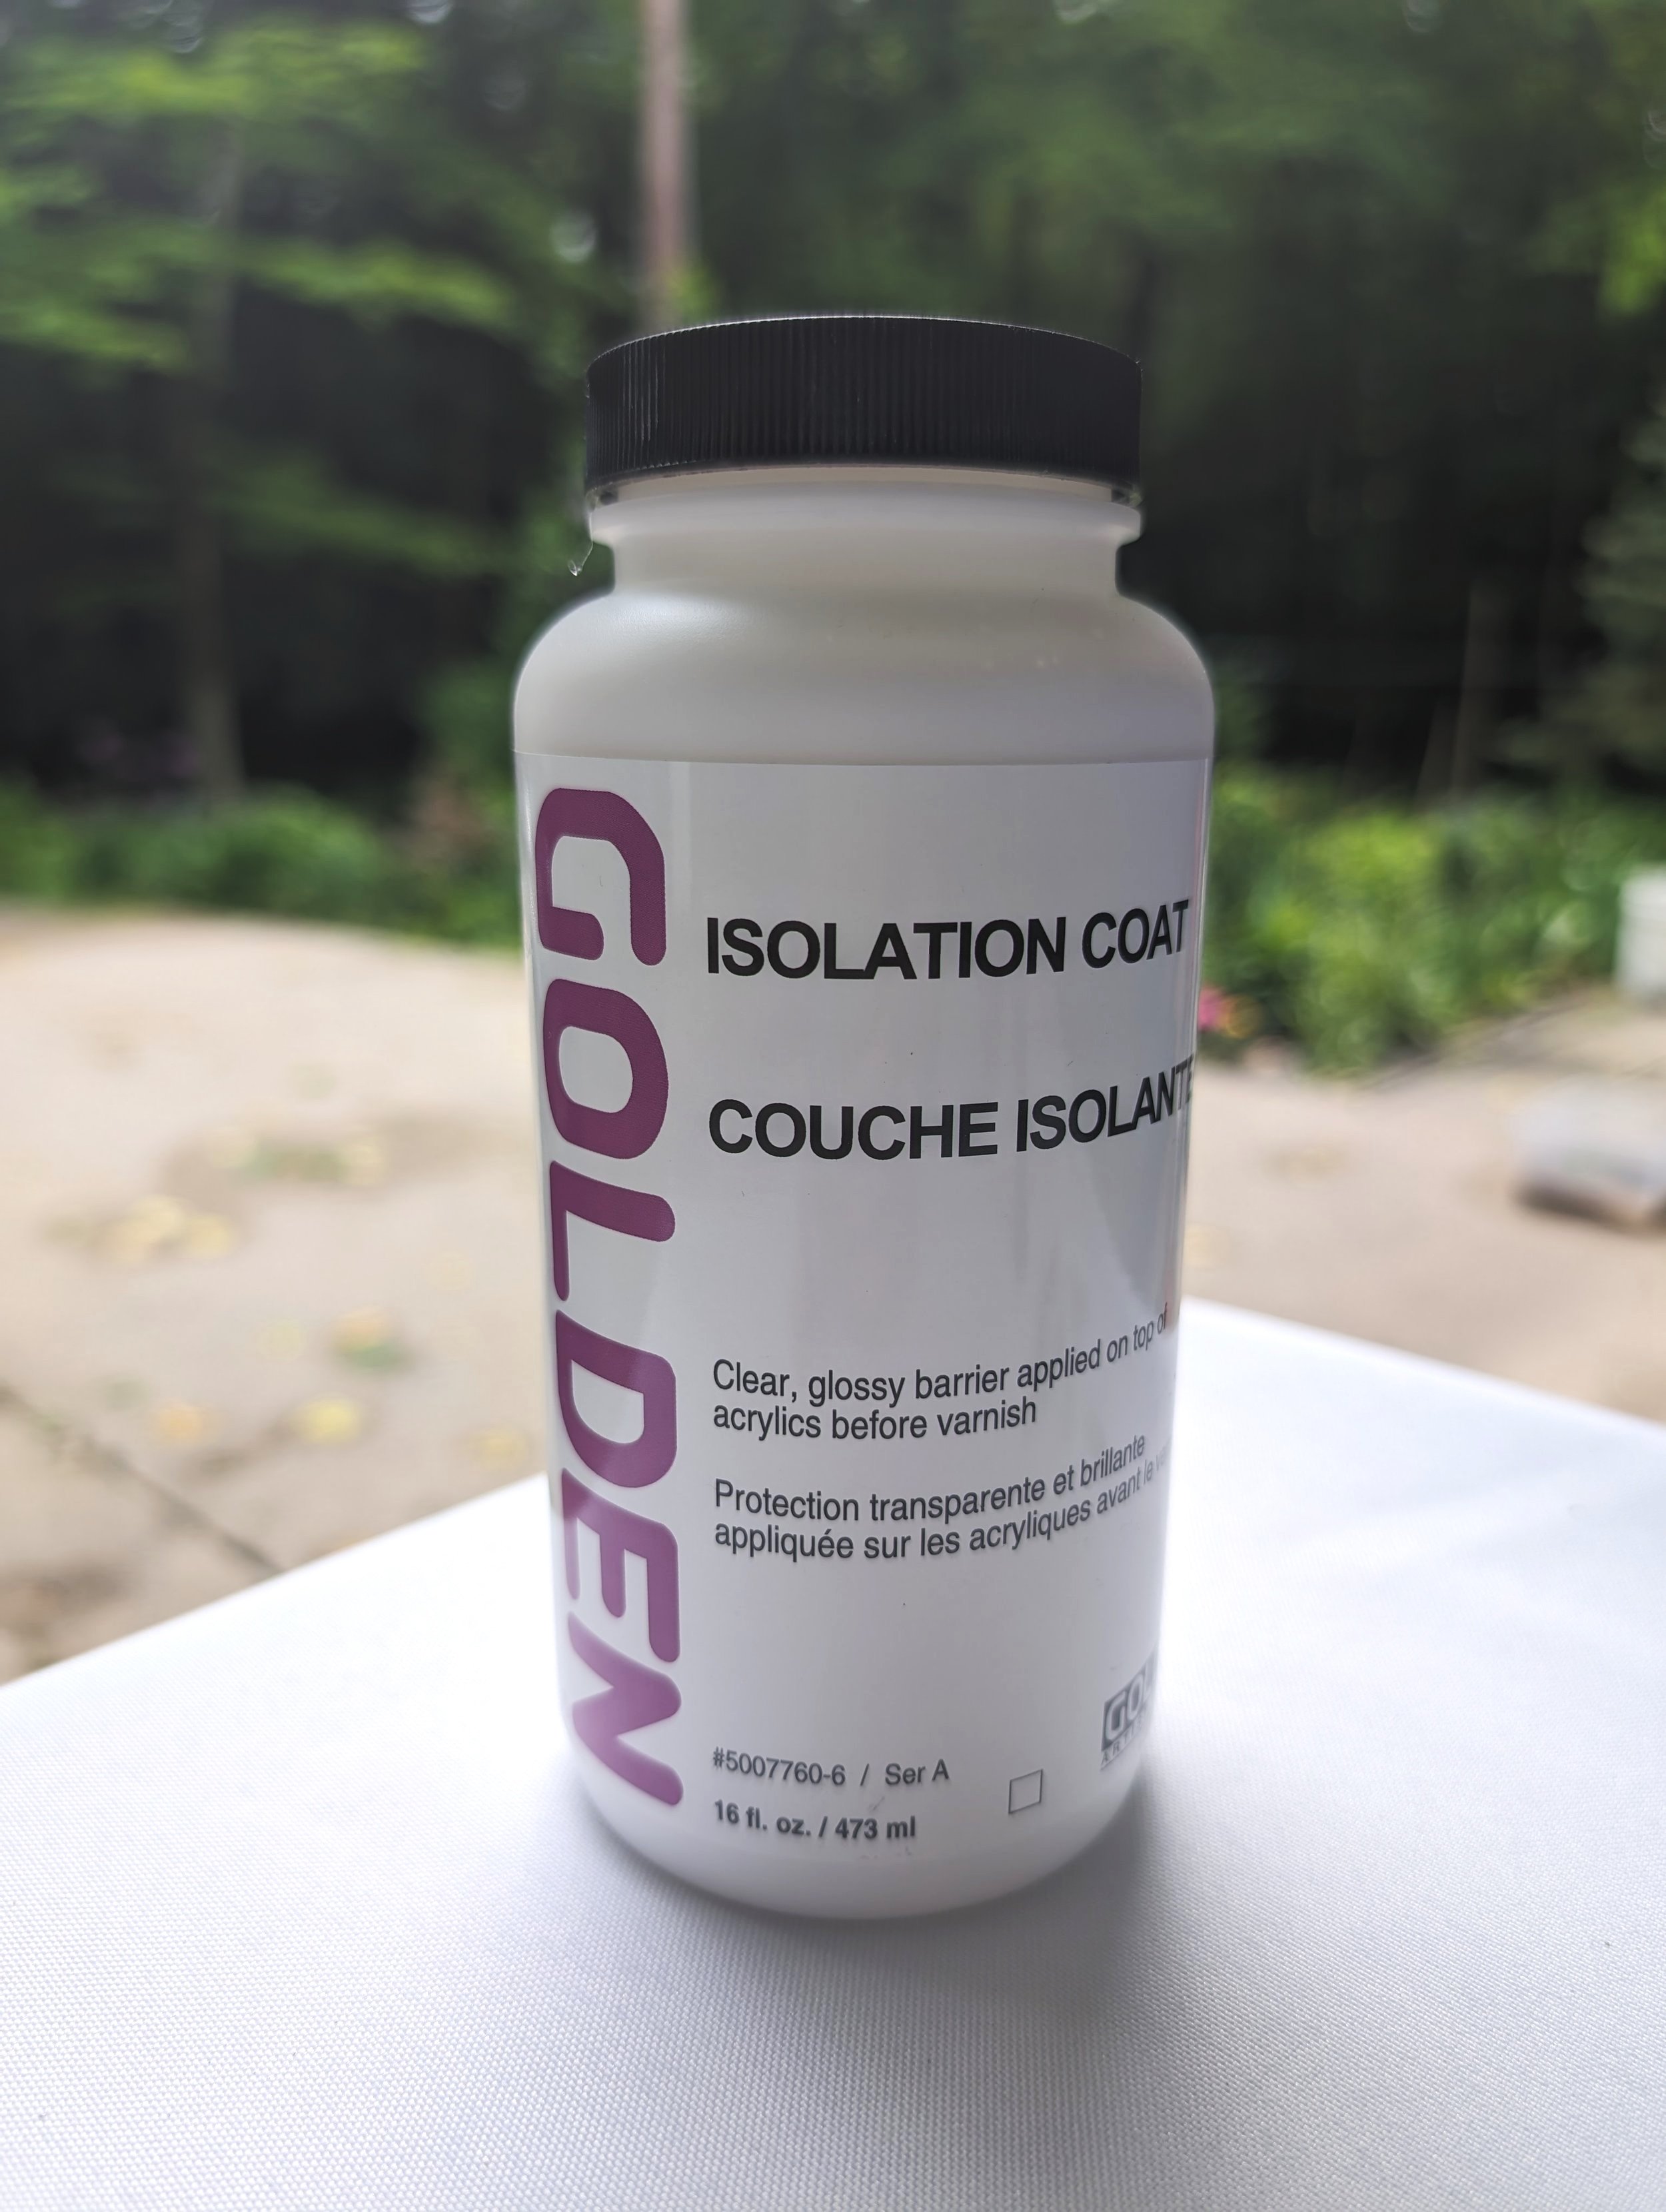
For a longer-lasting seal, harder finishes like shellac or polyurethane can be used, but they take the project away from a purely natural approach. I like to use Minwax Polyurethane as the spray version for most projects since it won’t smudge my added mediums, but for stains, the brush-on version works too!
No matter what you choose, sealing is what keeps the stain from fading too quickly and makes the colours come alive. For more information on this step, check out Finishing Your Wood Burned Art: How and Why to Finish Your Wood Burned Art.
Exploring natural stains is a reminder that creativity can come from the most ordinary places. A cup of coffee, a pot of tea, or even a splash of wine can completely change the character of wood and make it feel alive in a new way. Plus, these natural ingredients are better for the environment and our lungs and most likely for our wallets!
Inside Burn Club+ we take the exploration further with 6 other natural stains on each of these 4 wood species. Members also get the replay of the full Open Studio session along with follow-up photos that show how the stains deepen and shift over time.
Whether you join us there or just experiment in your own kitchen, natural stains are a simple way to slow down, connect with the process, and see what unfolds.