Watercolor is one of my favorite mediums to add to wood. It is quite liberating to add watercolor in this unique and loose way. You can take any simple line drawing and quickly turn it into a beautiful piece of art that will add vibrancy and warmth to any space. You can create a dramatic and playful effect by adding these fun and perfectly imperfect splashes of watercolor. Those splashes of bright color change the whole look of the piece, and really bring it to life.
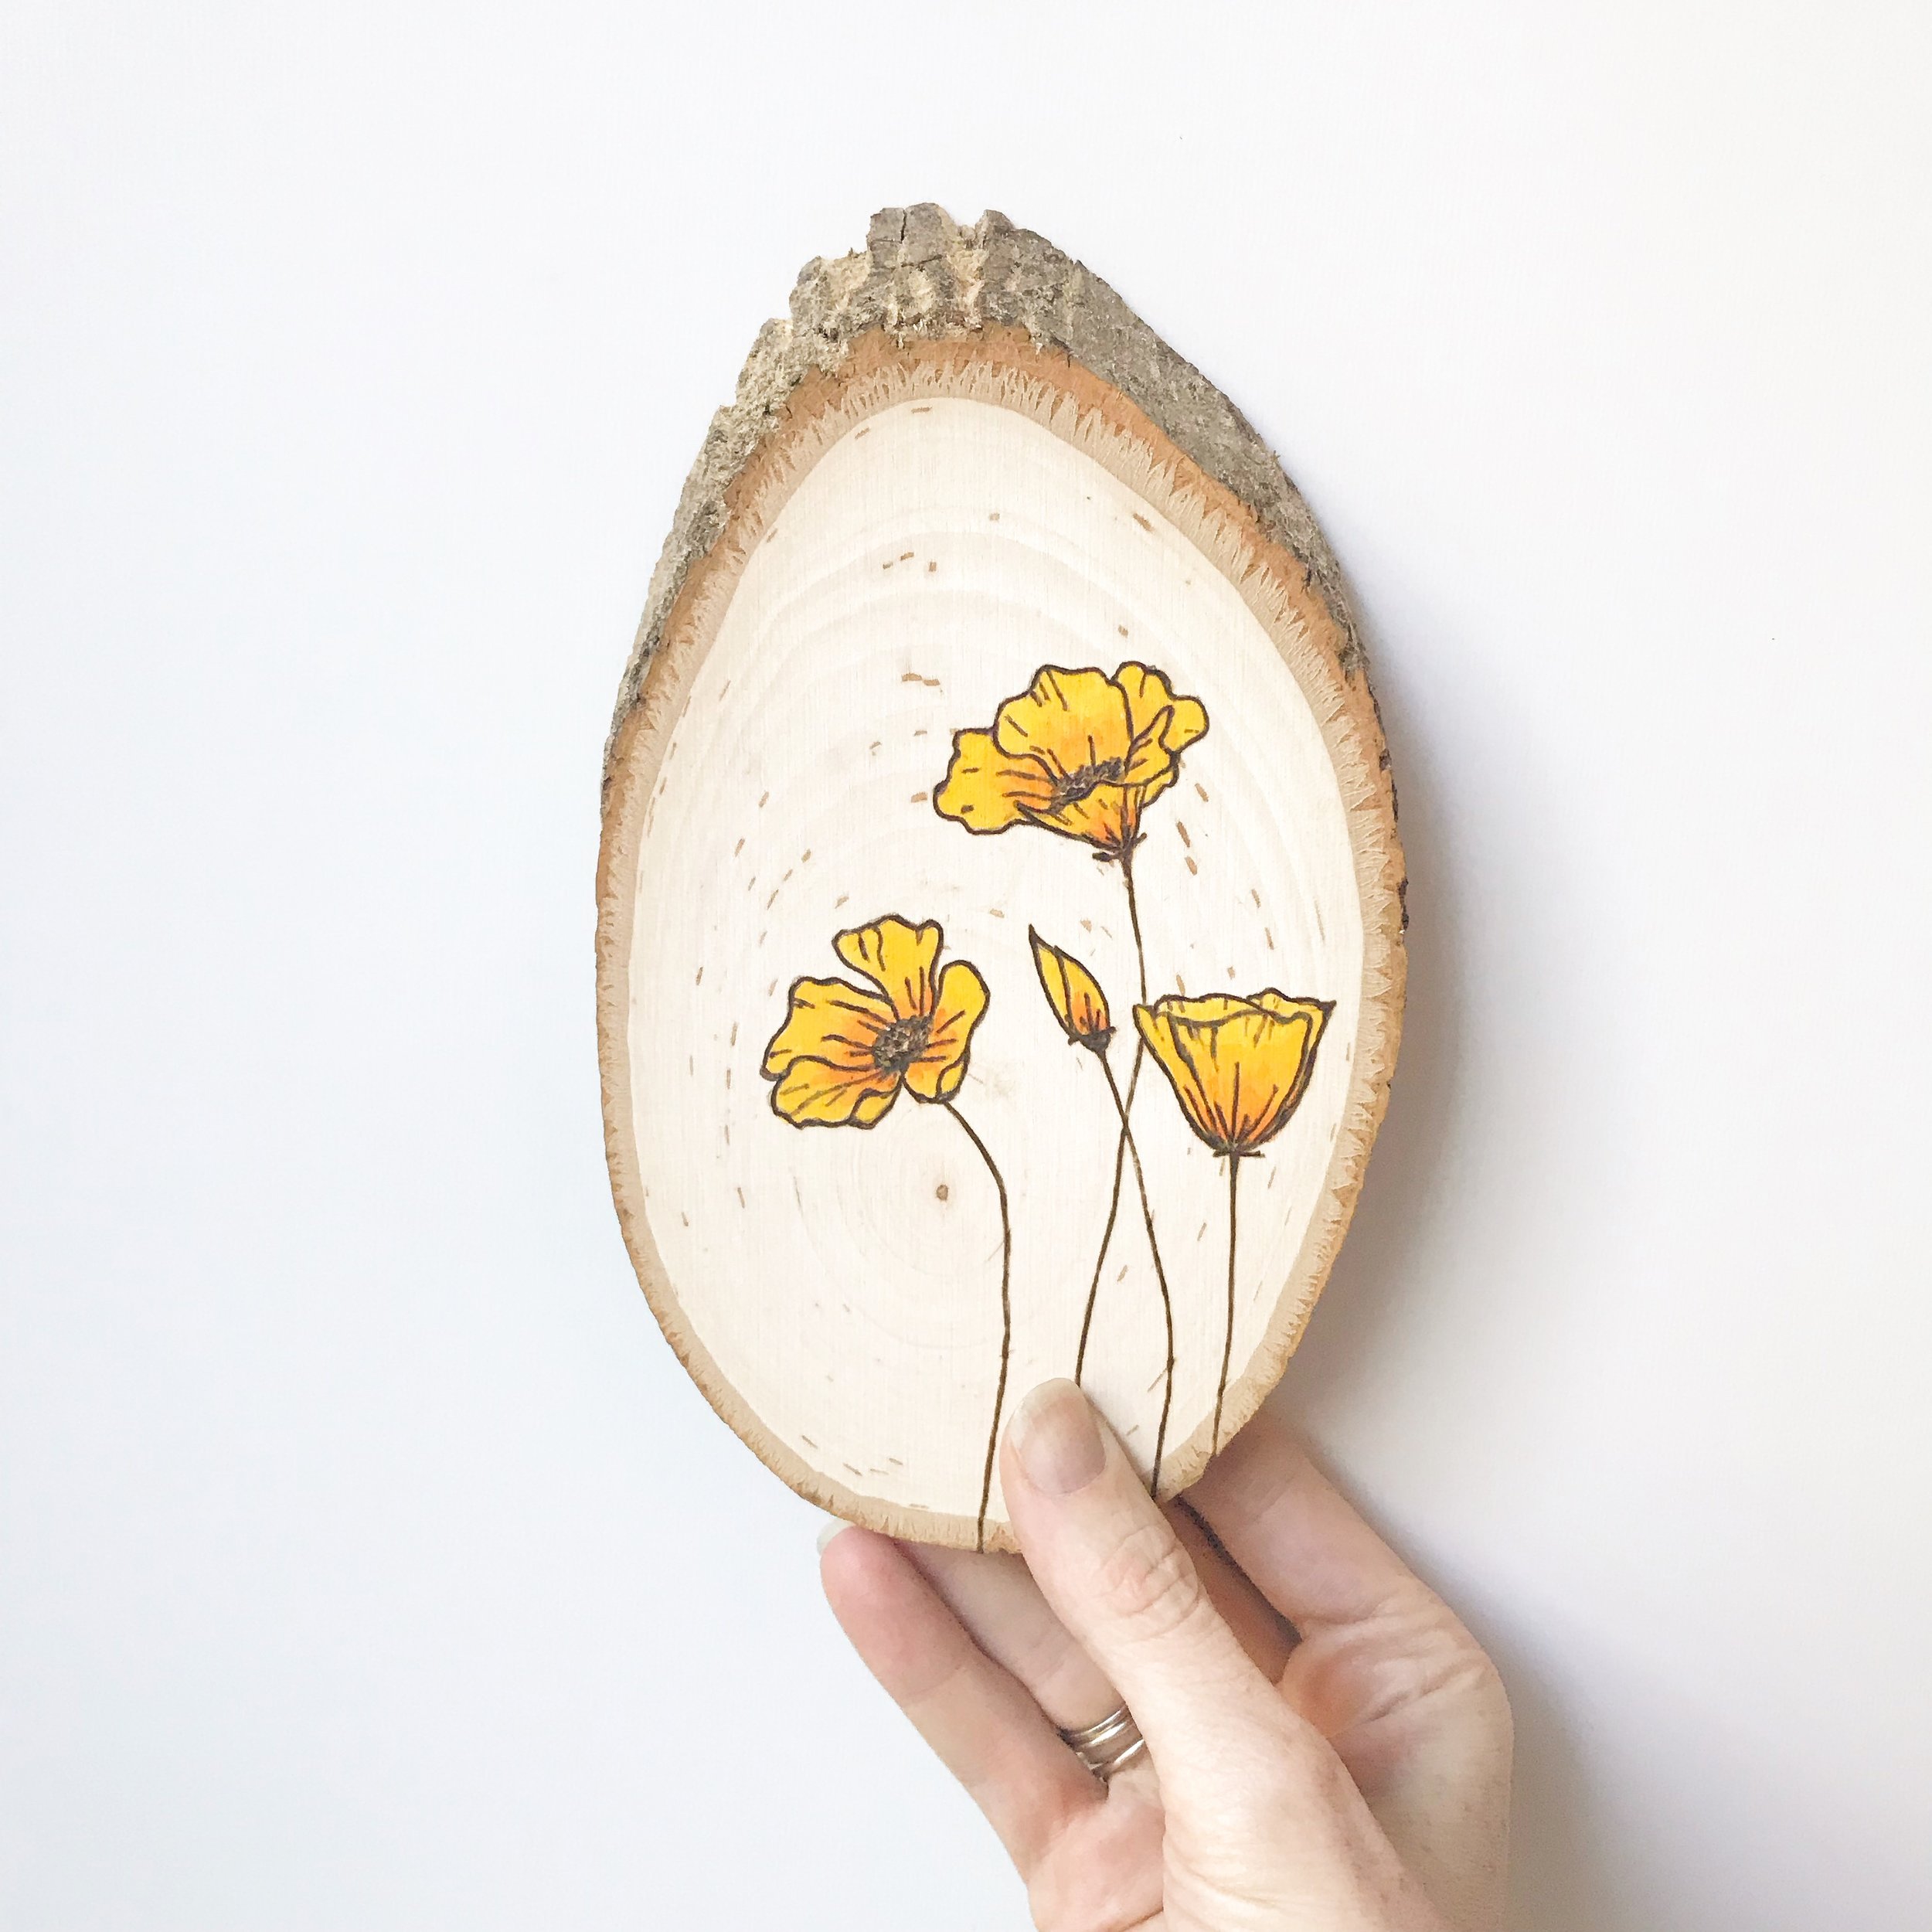
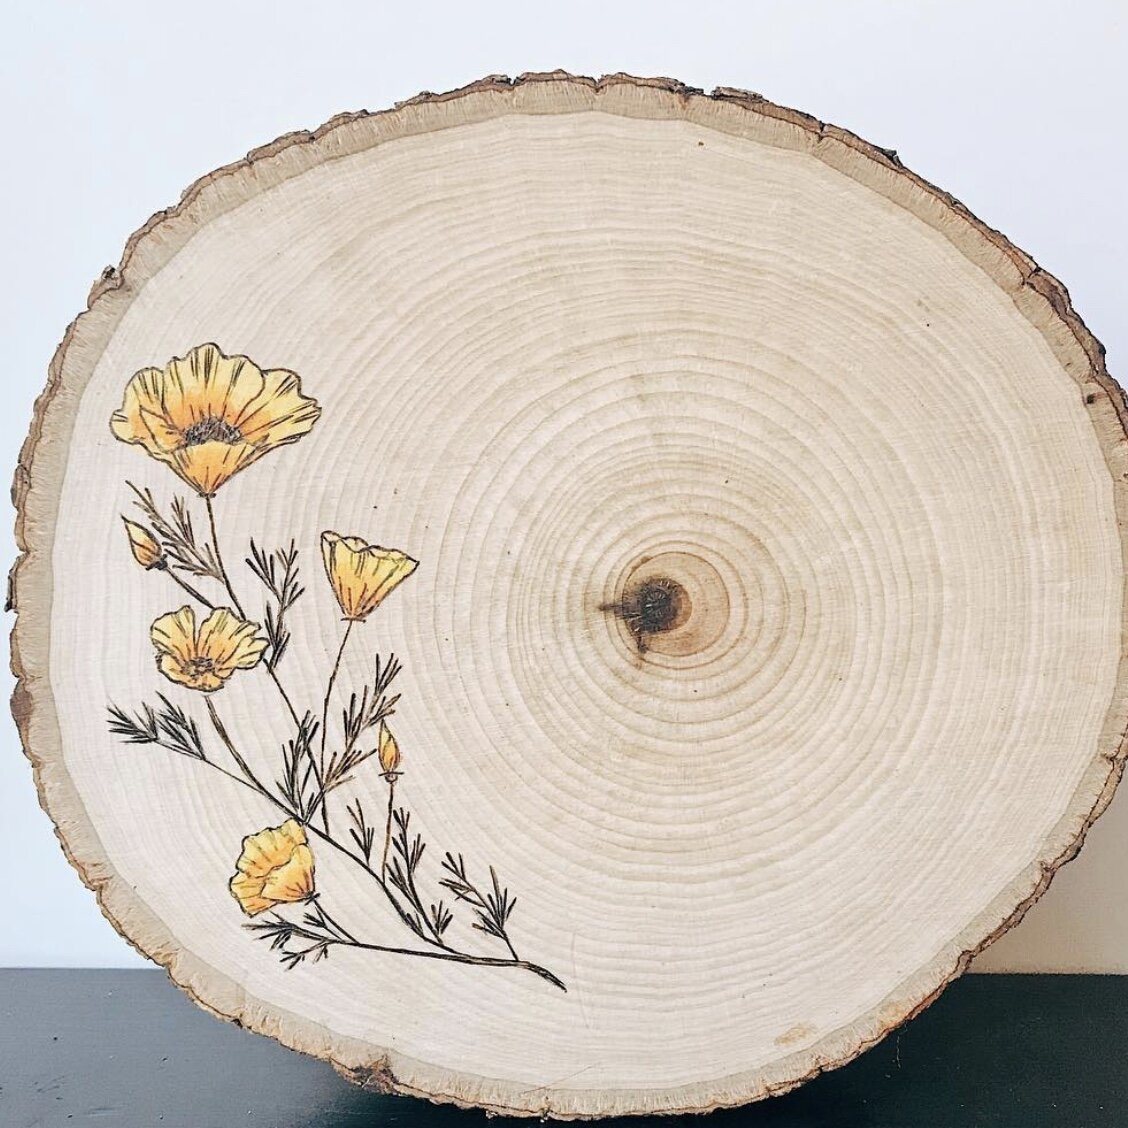
I chose the California poppy for this particular piece for its bright colors and because I am absolutely obsessed with them. They pop up everywhere, are super vibrant, and just make me happy.
Download your FREE poppy design printable template
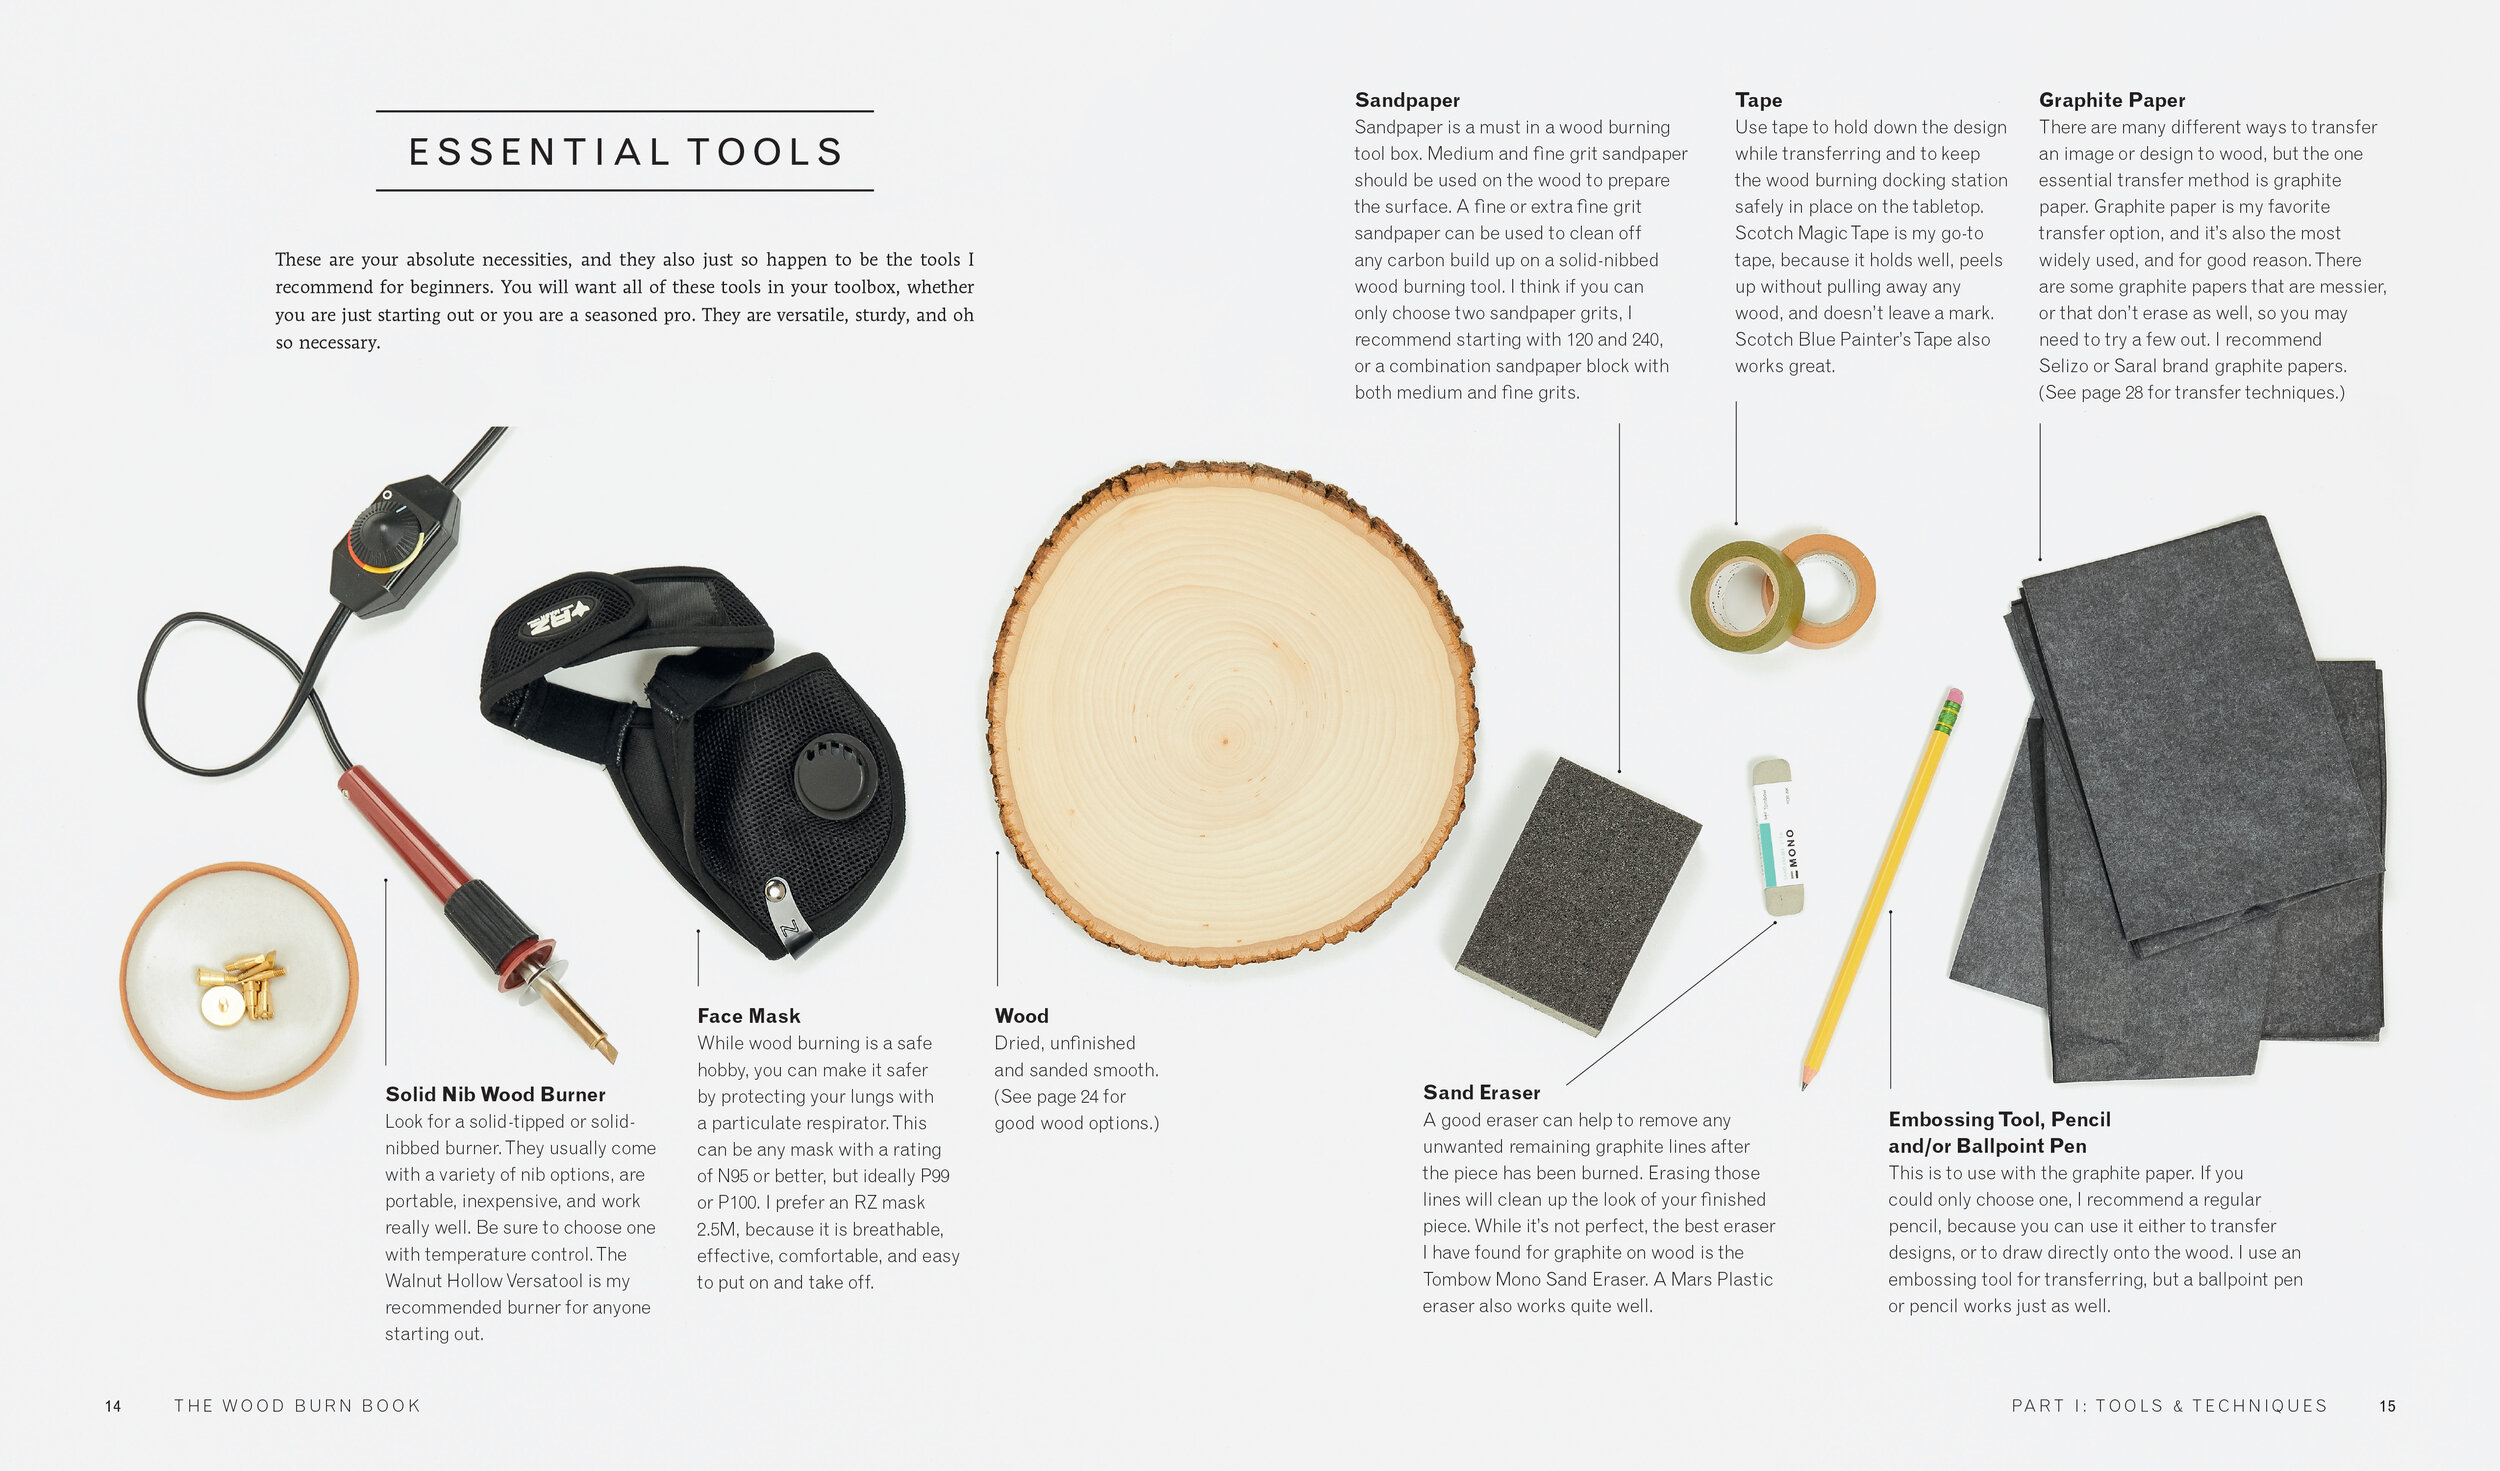
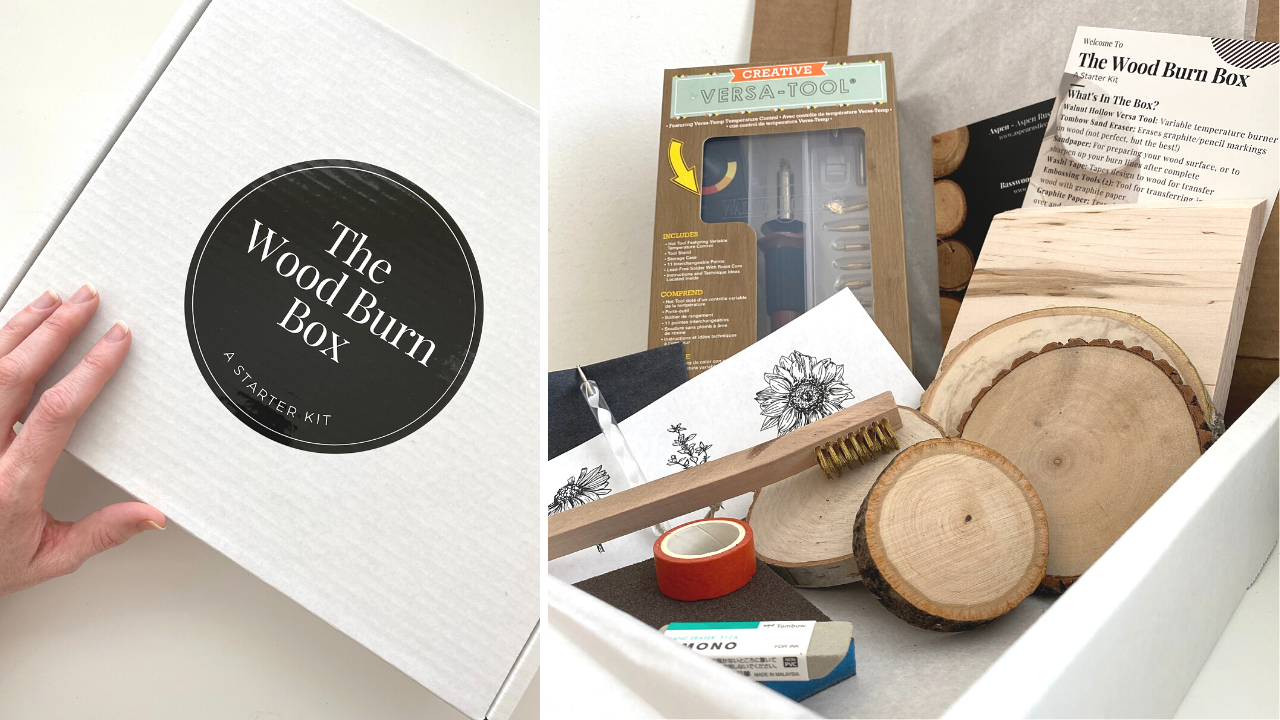
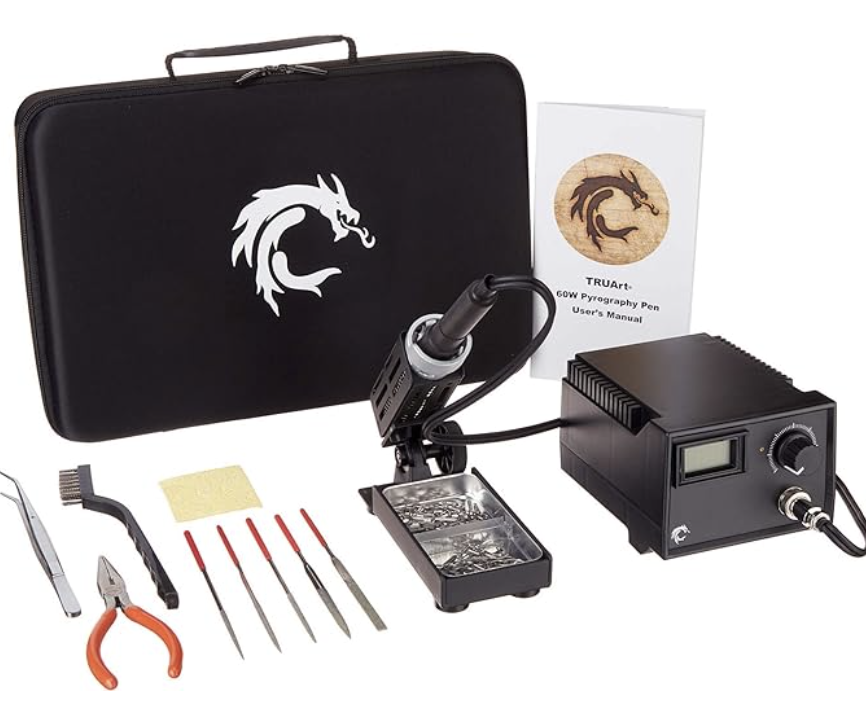
Materials
Transfer Supplies (Embossing Tool and Graphite Paper)
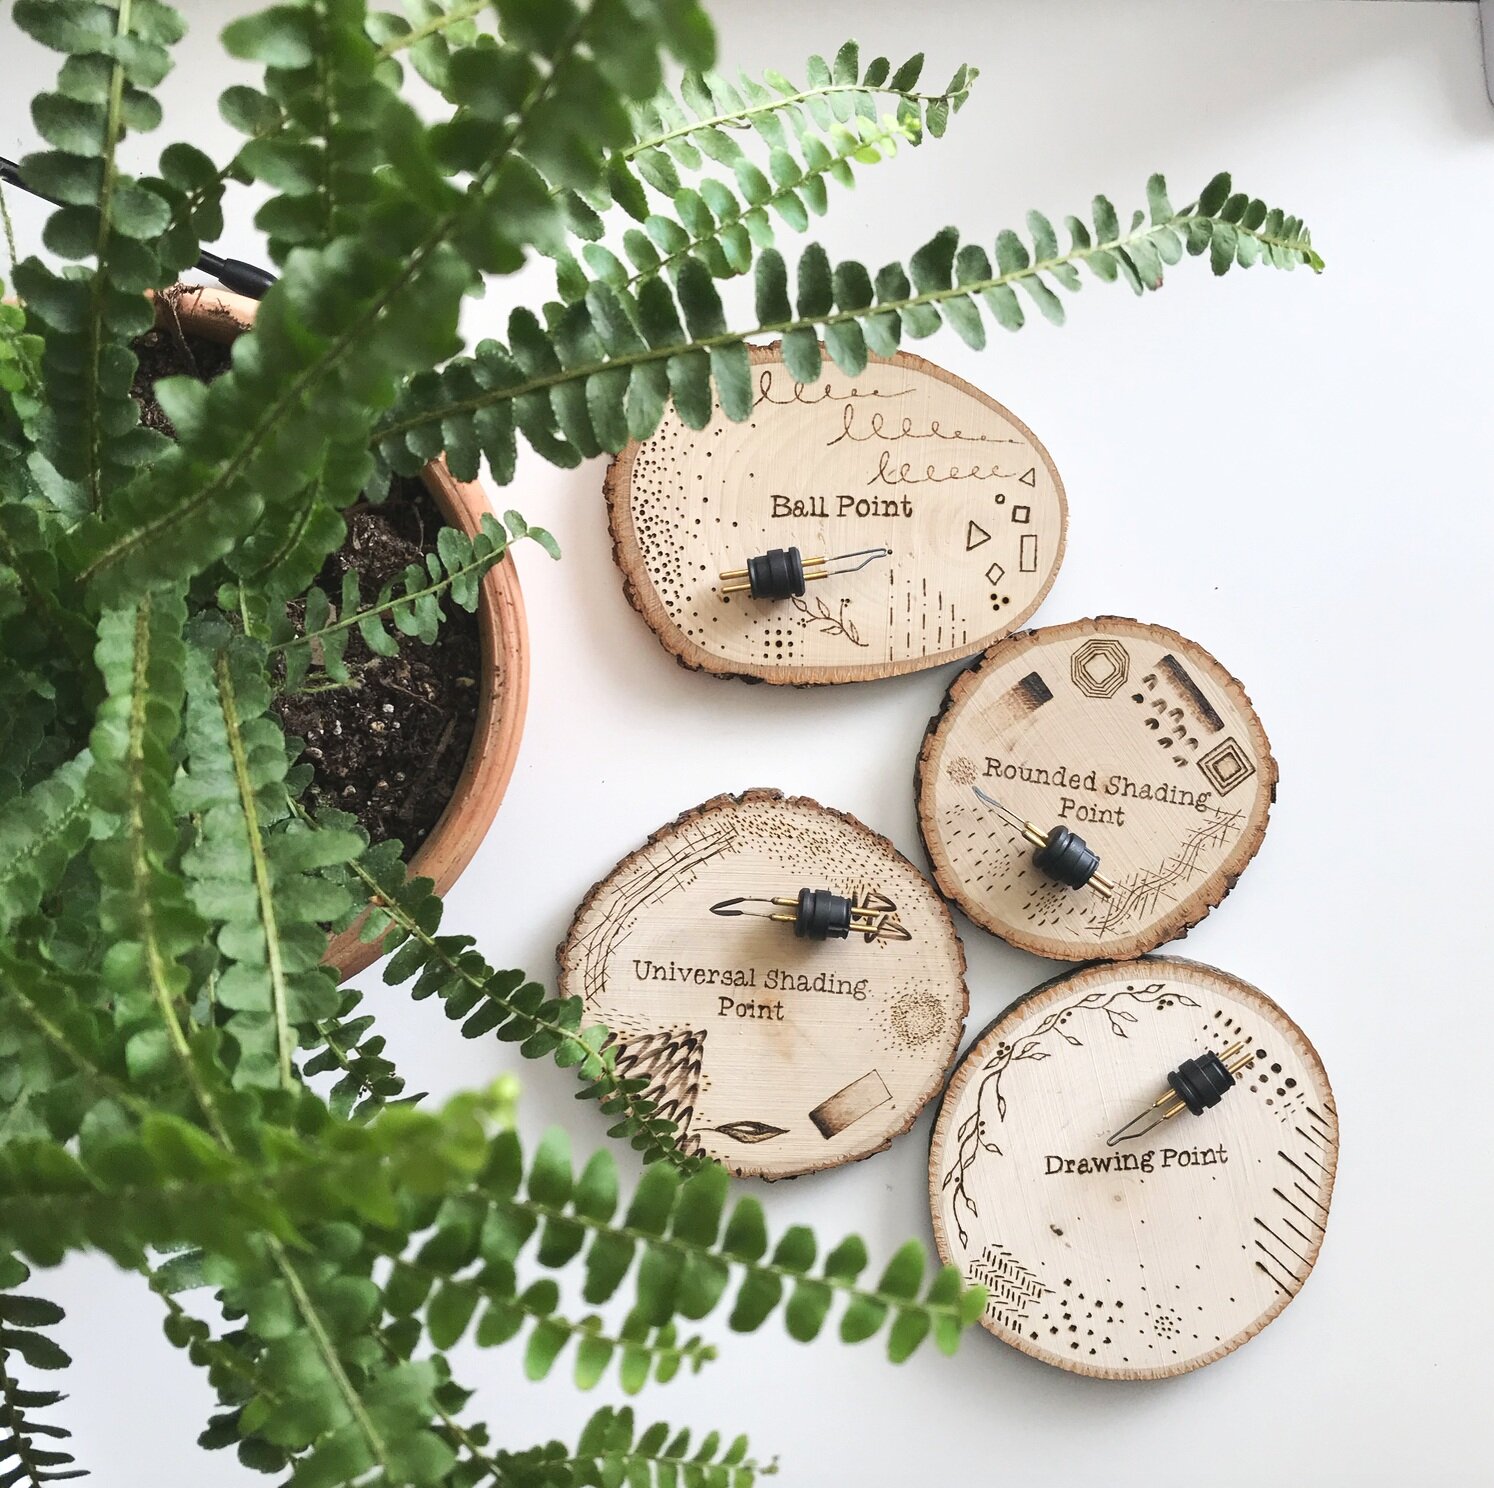
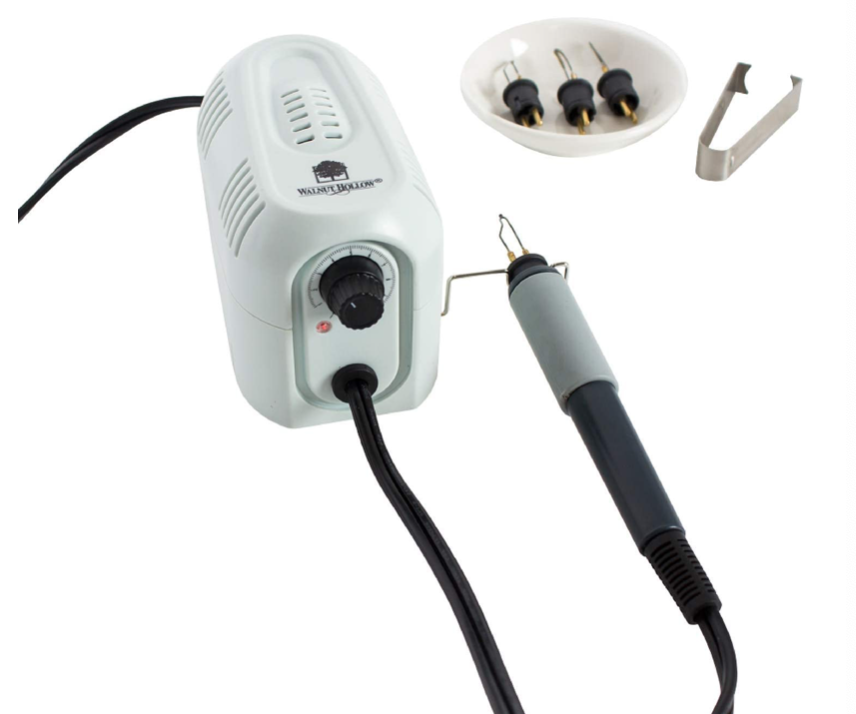
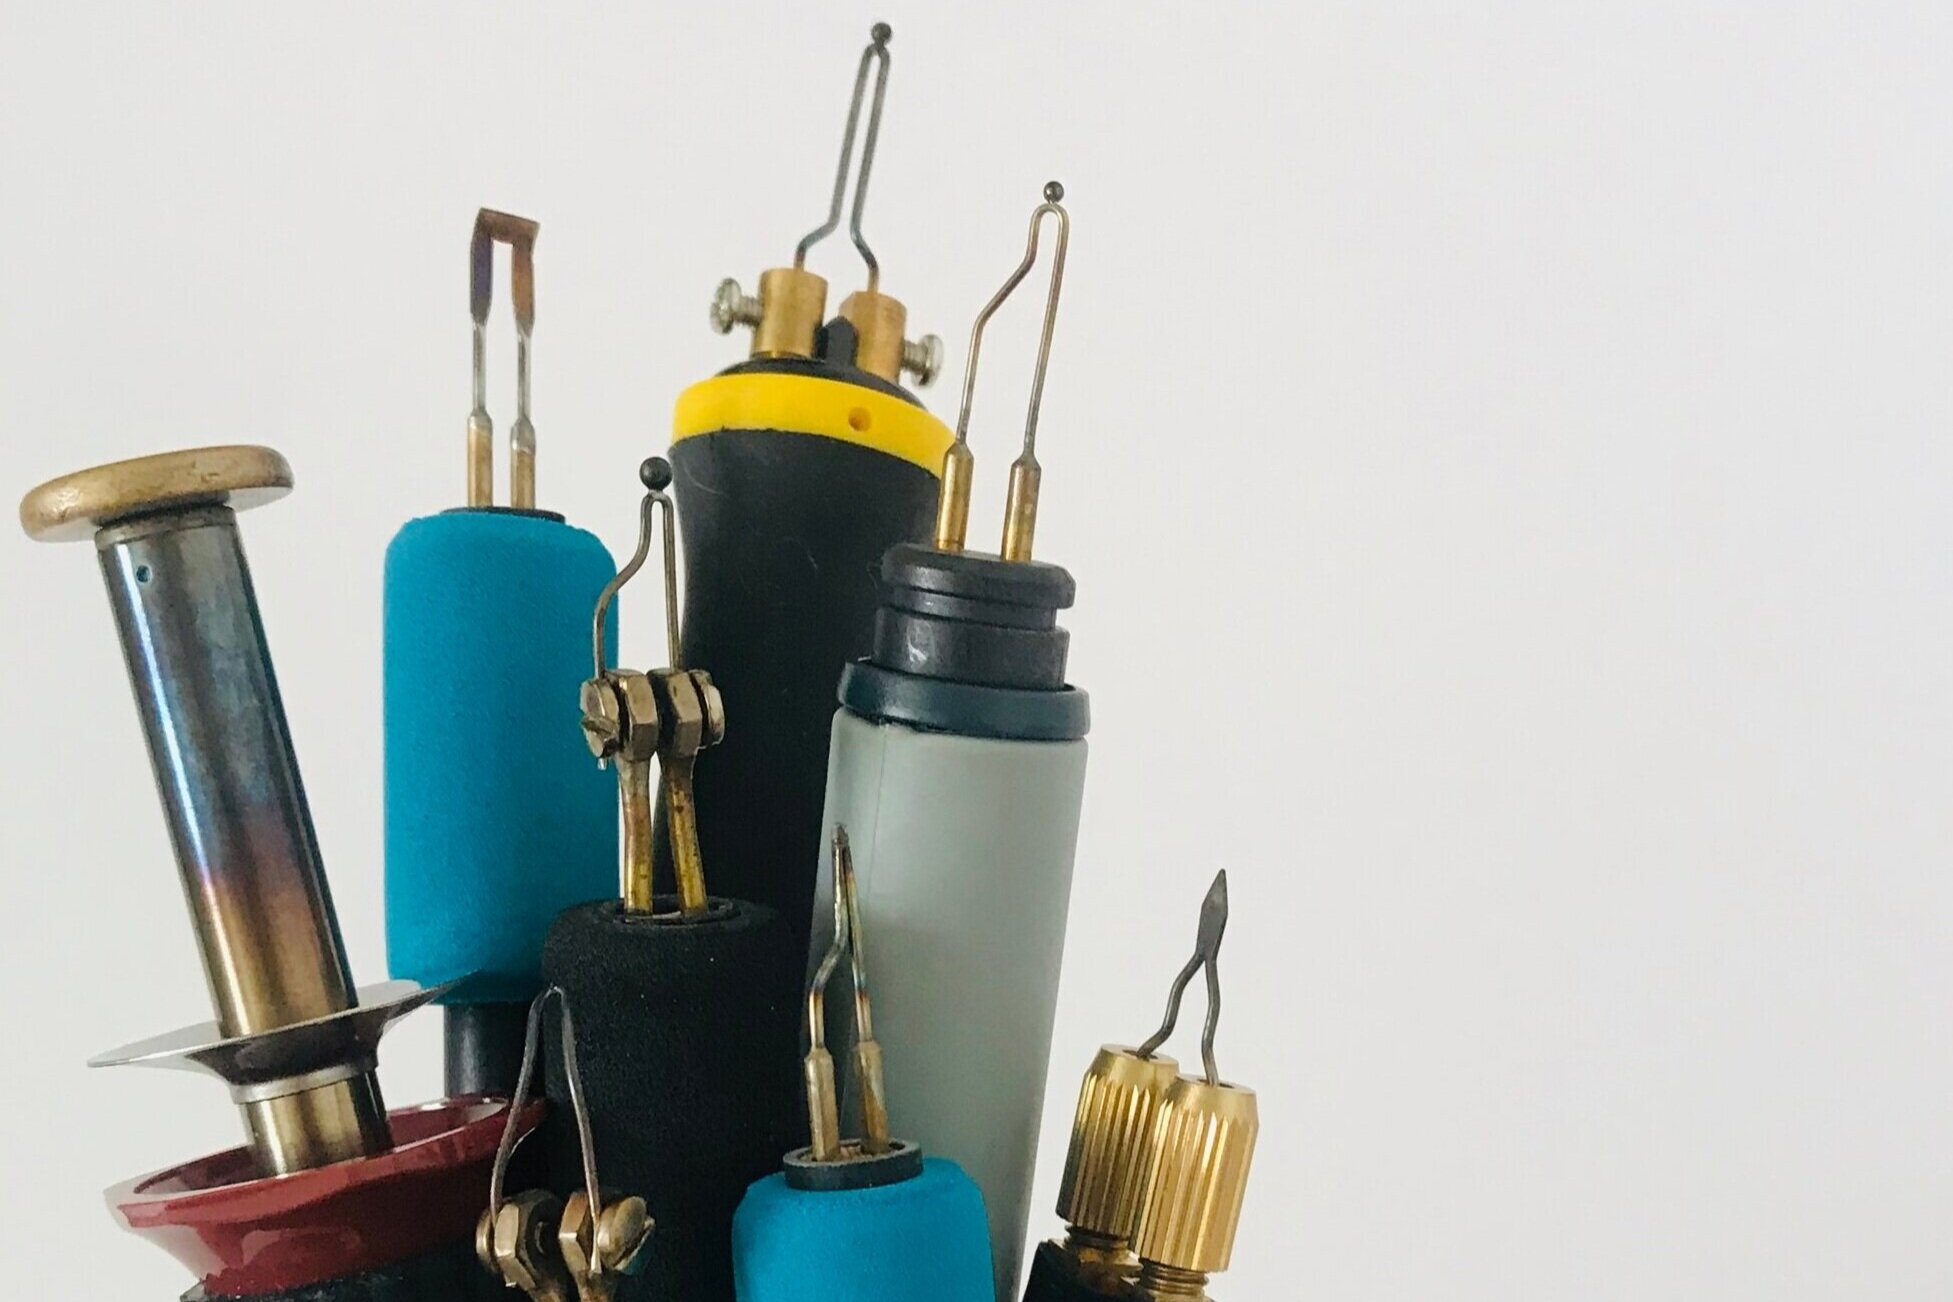
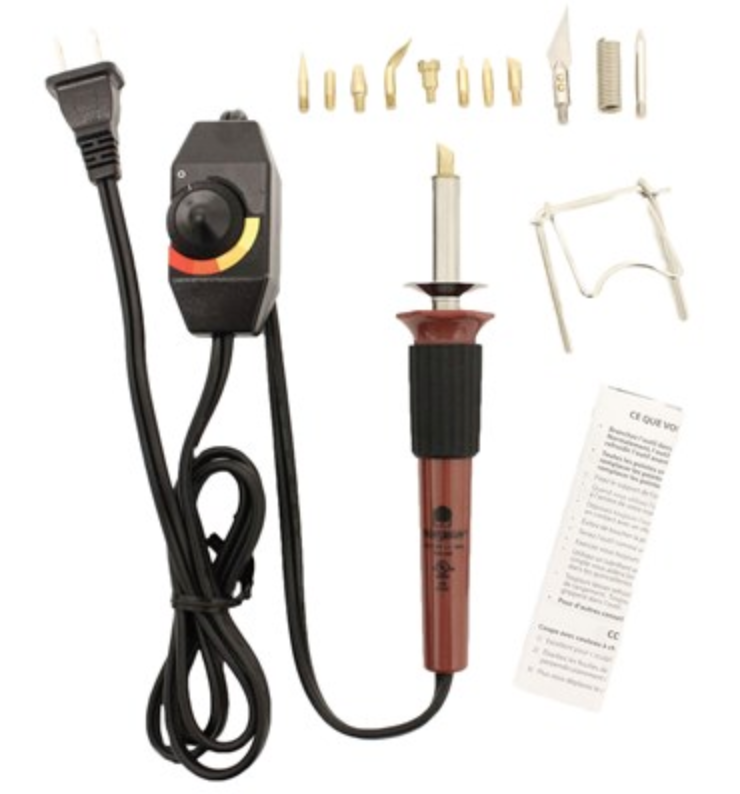
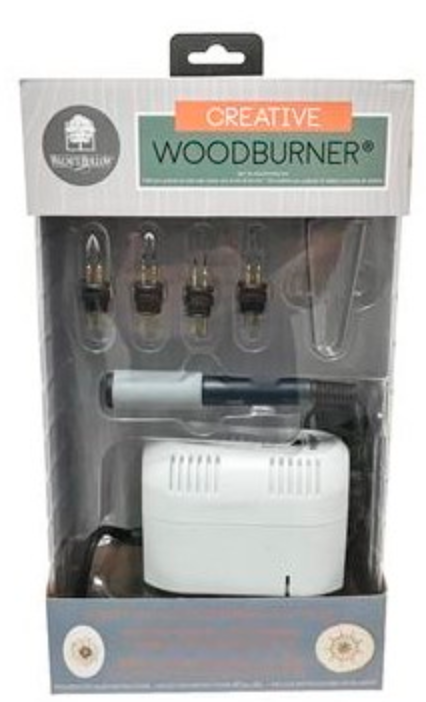
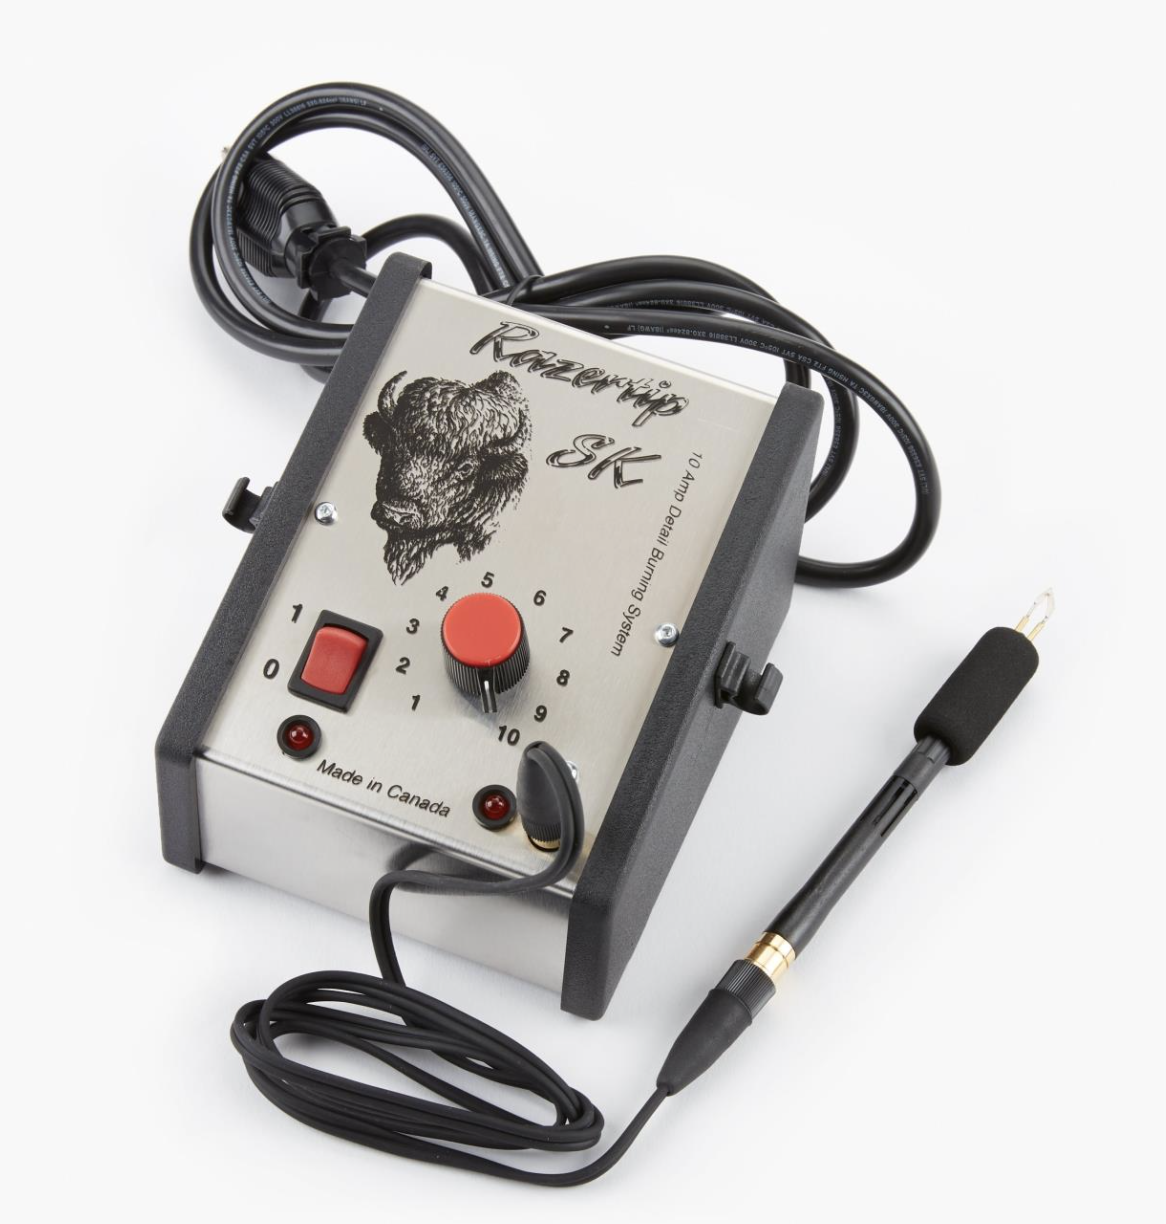
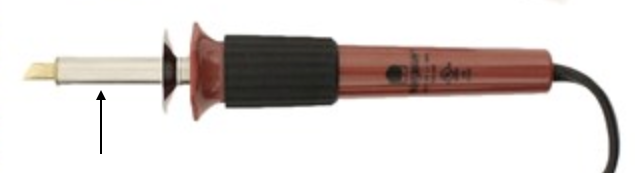
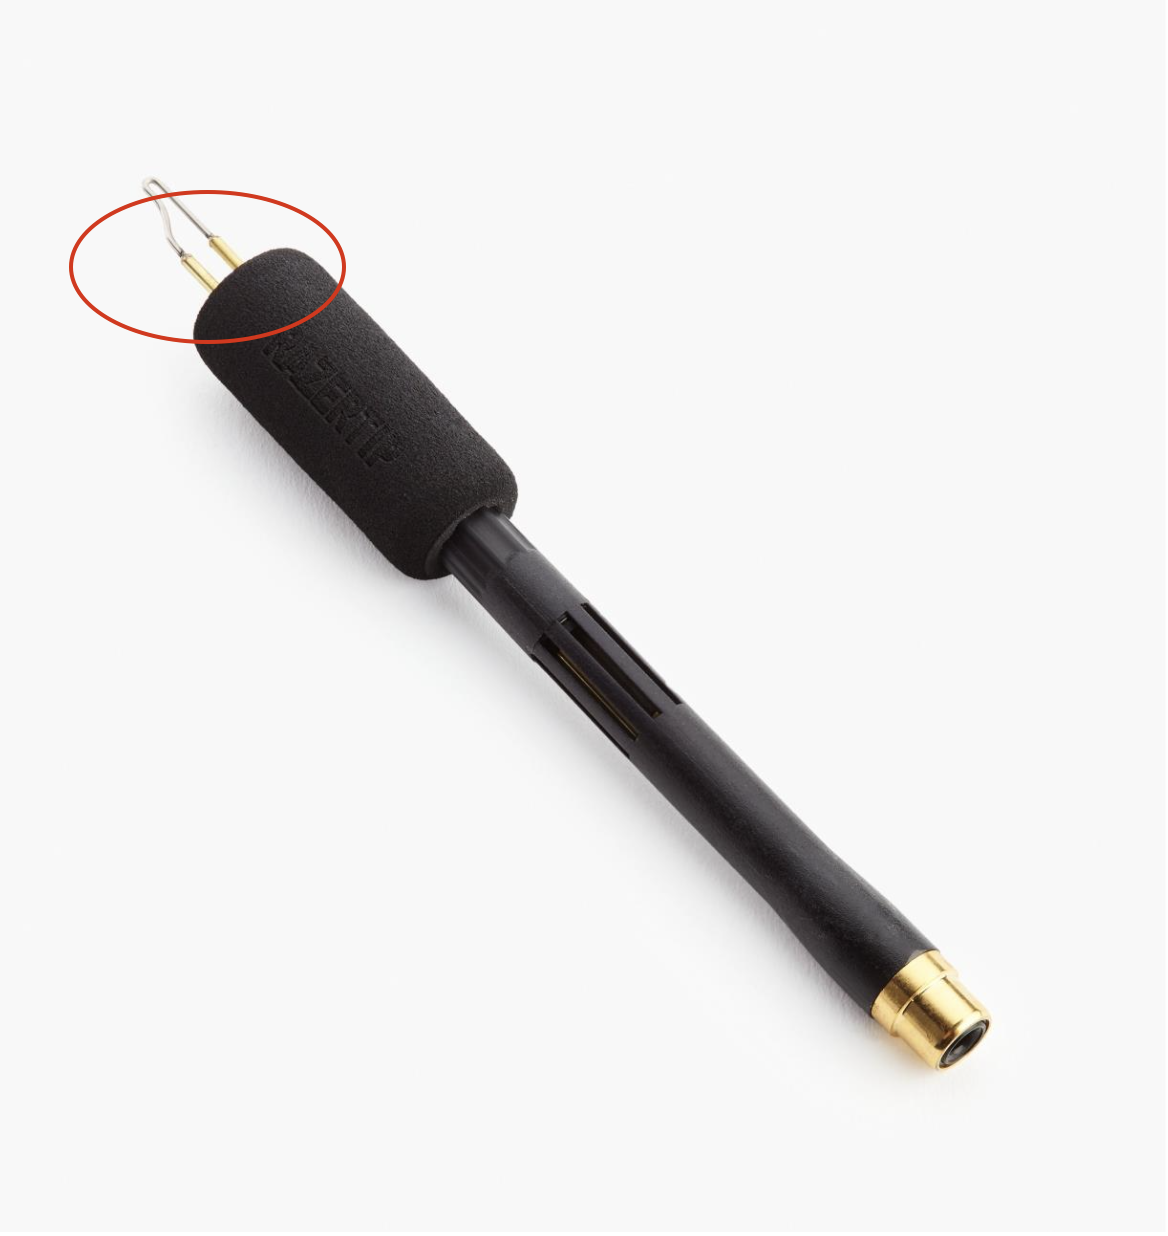
Wood Burning Tool + Flow, Spade or Writing Nib (Here I used the Optima 1 by PJL Enterprises. If you are just starting I would recommend the Walnut Hollow Versa Tool as a starting point. Get it and all your supplies for this project in The Wood Burn Box or check this blog post to learn which tool is best for you!)
Plate or Palette
Water Cup
Paper Towels
Paintbrushes or Watercolor Water Pens

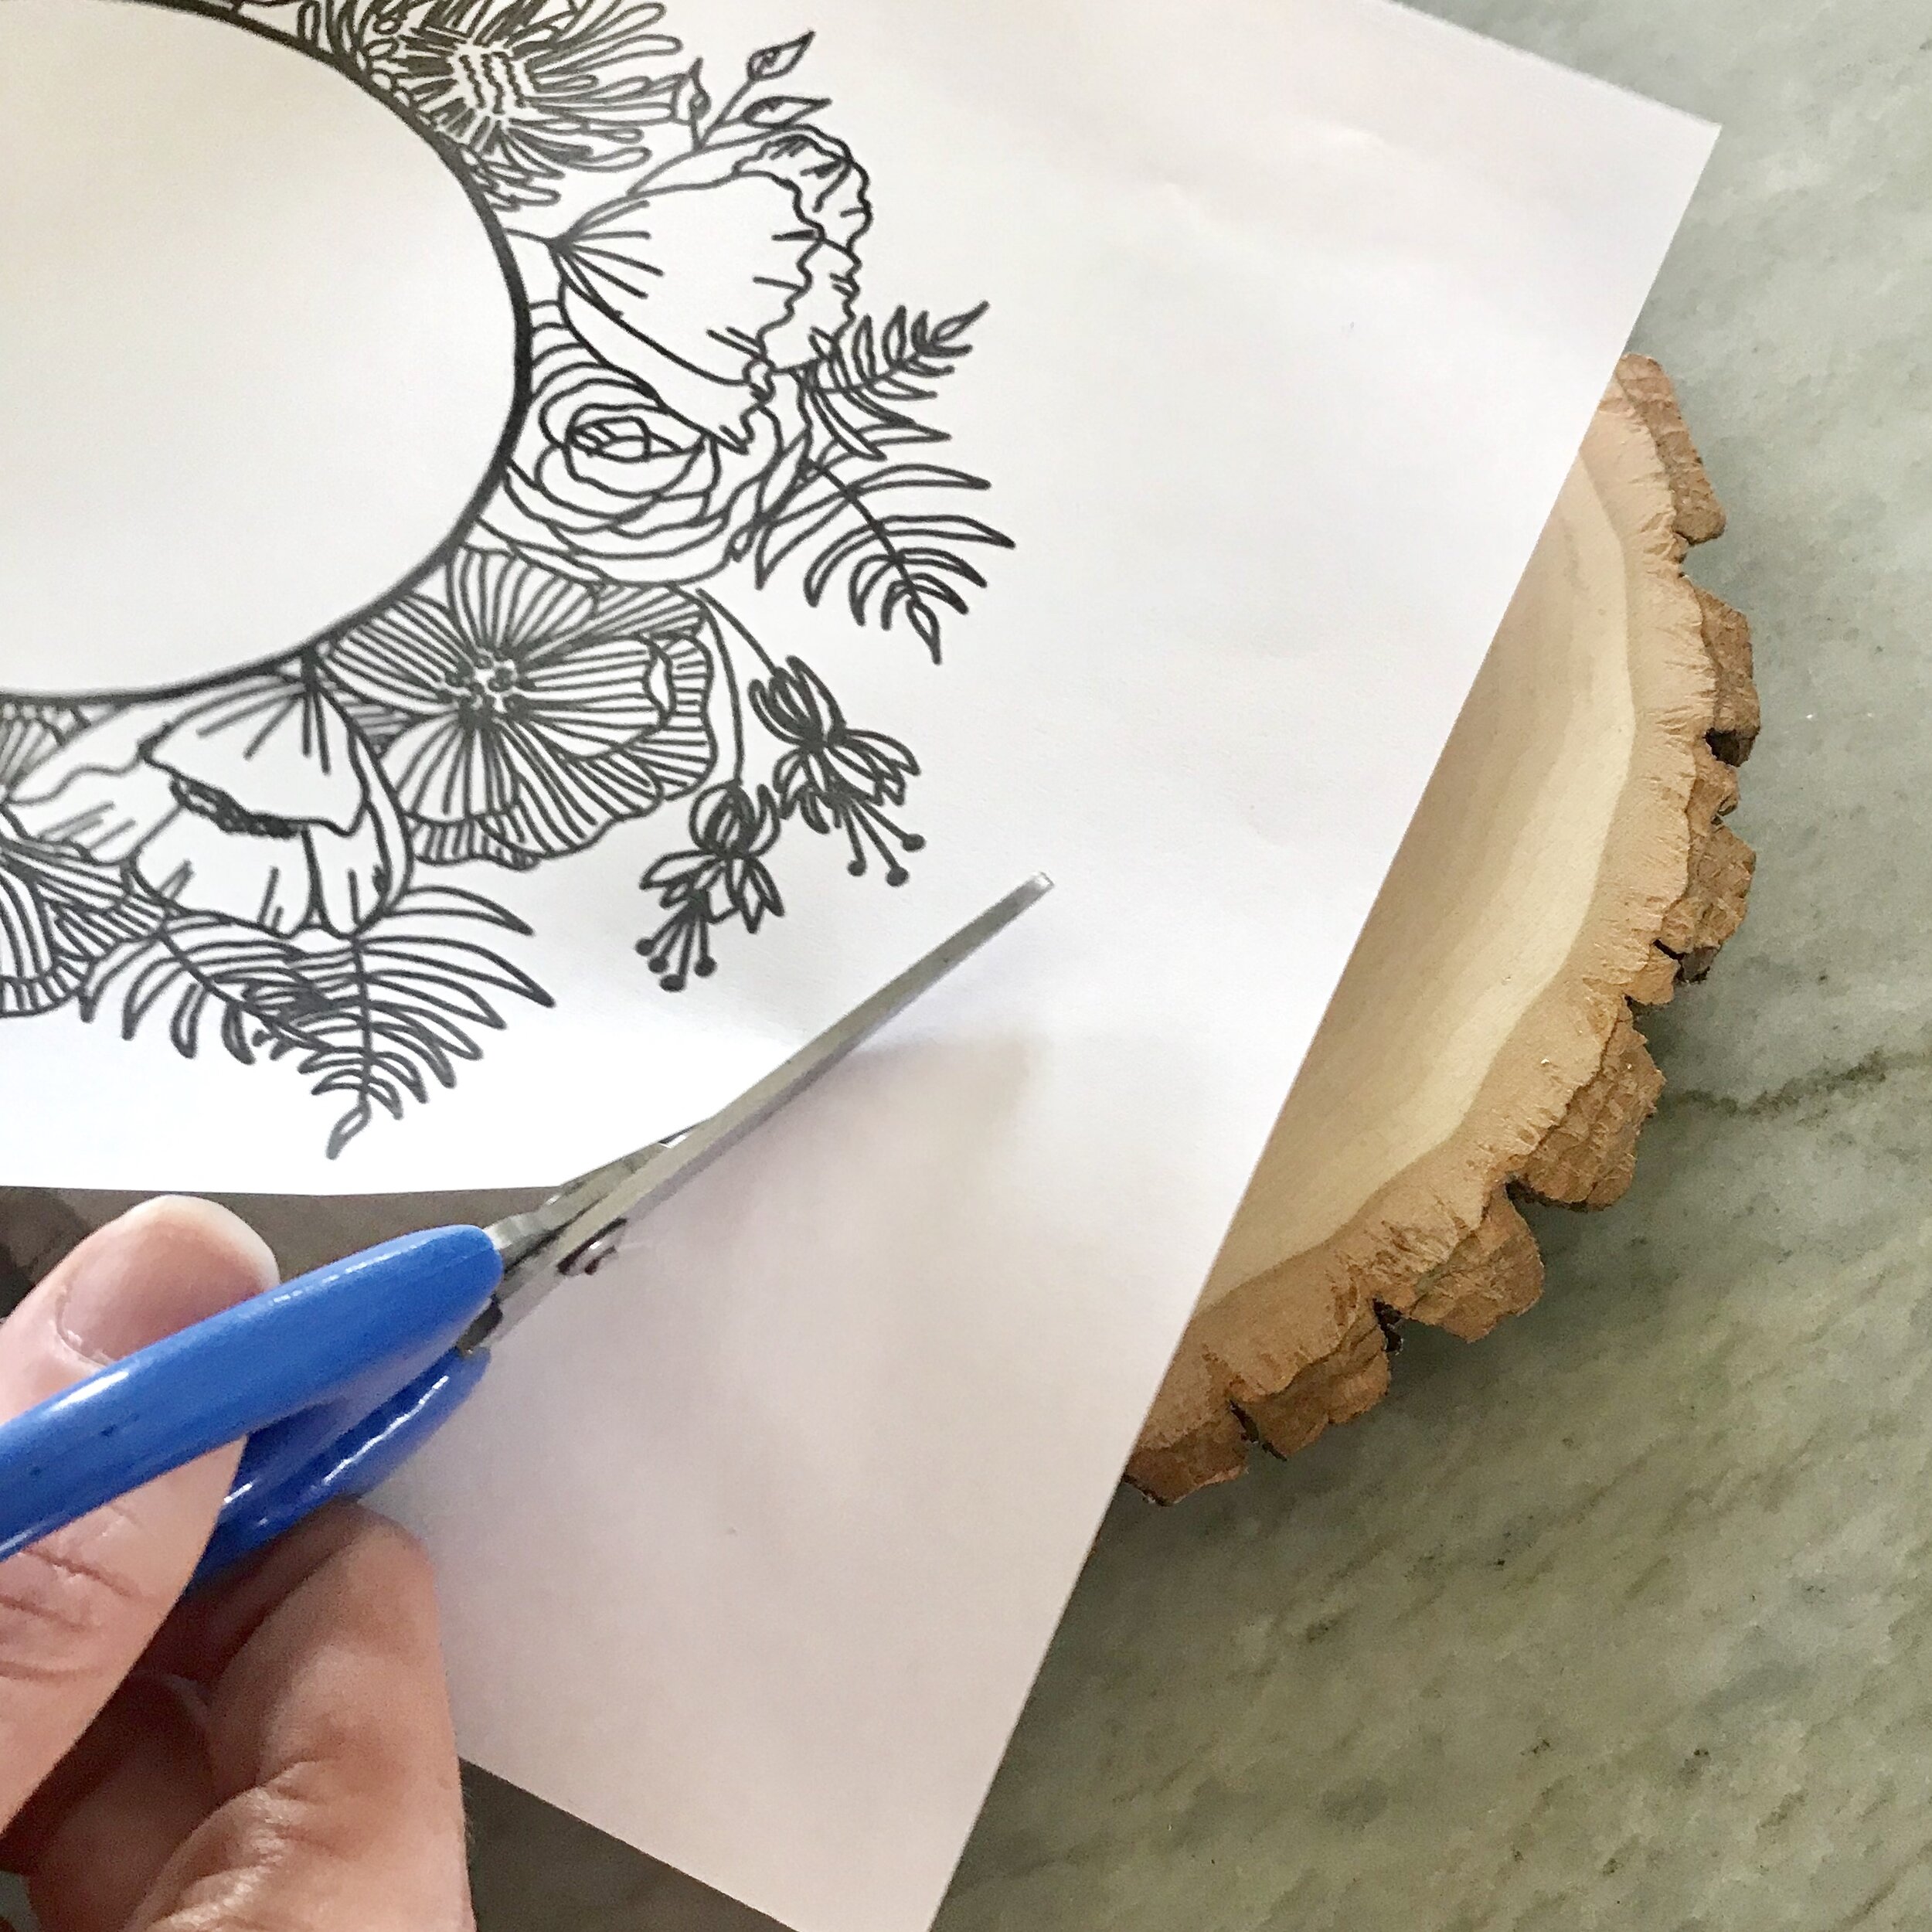
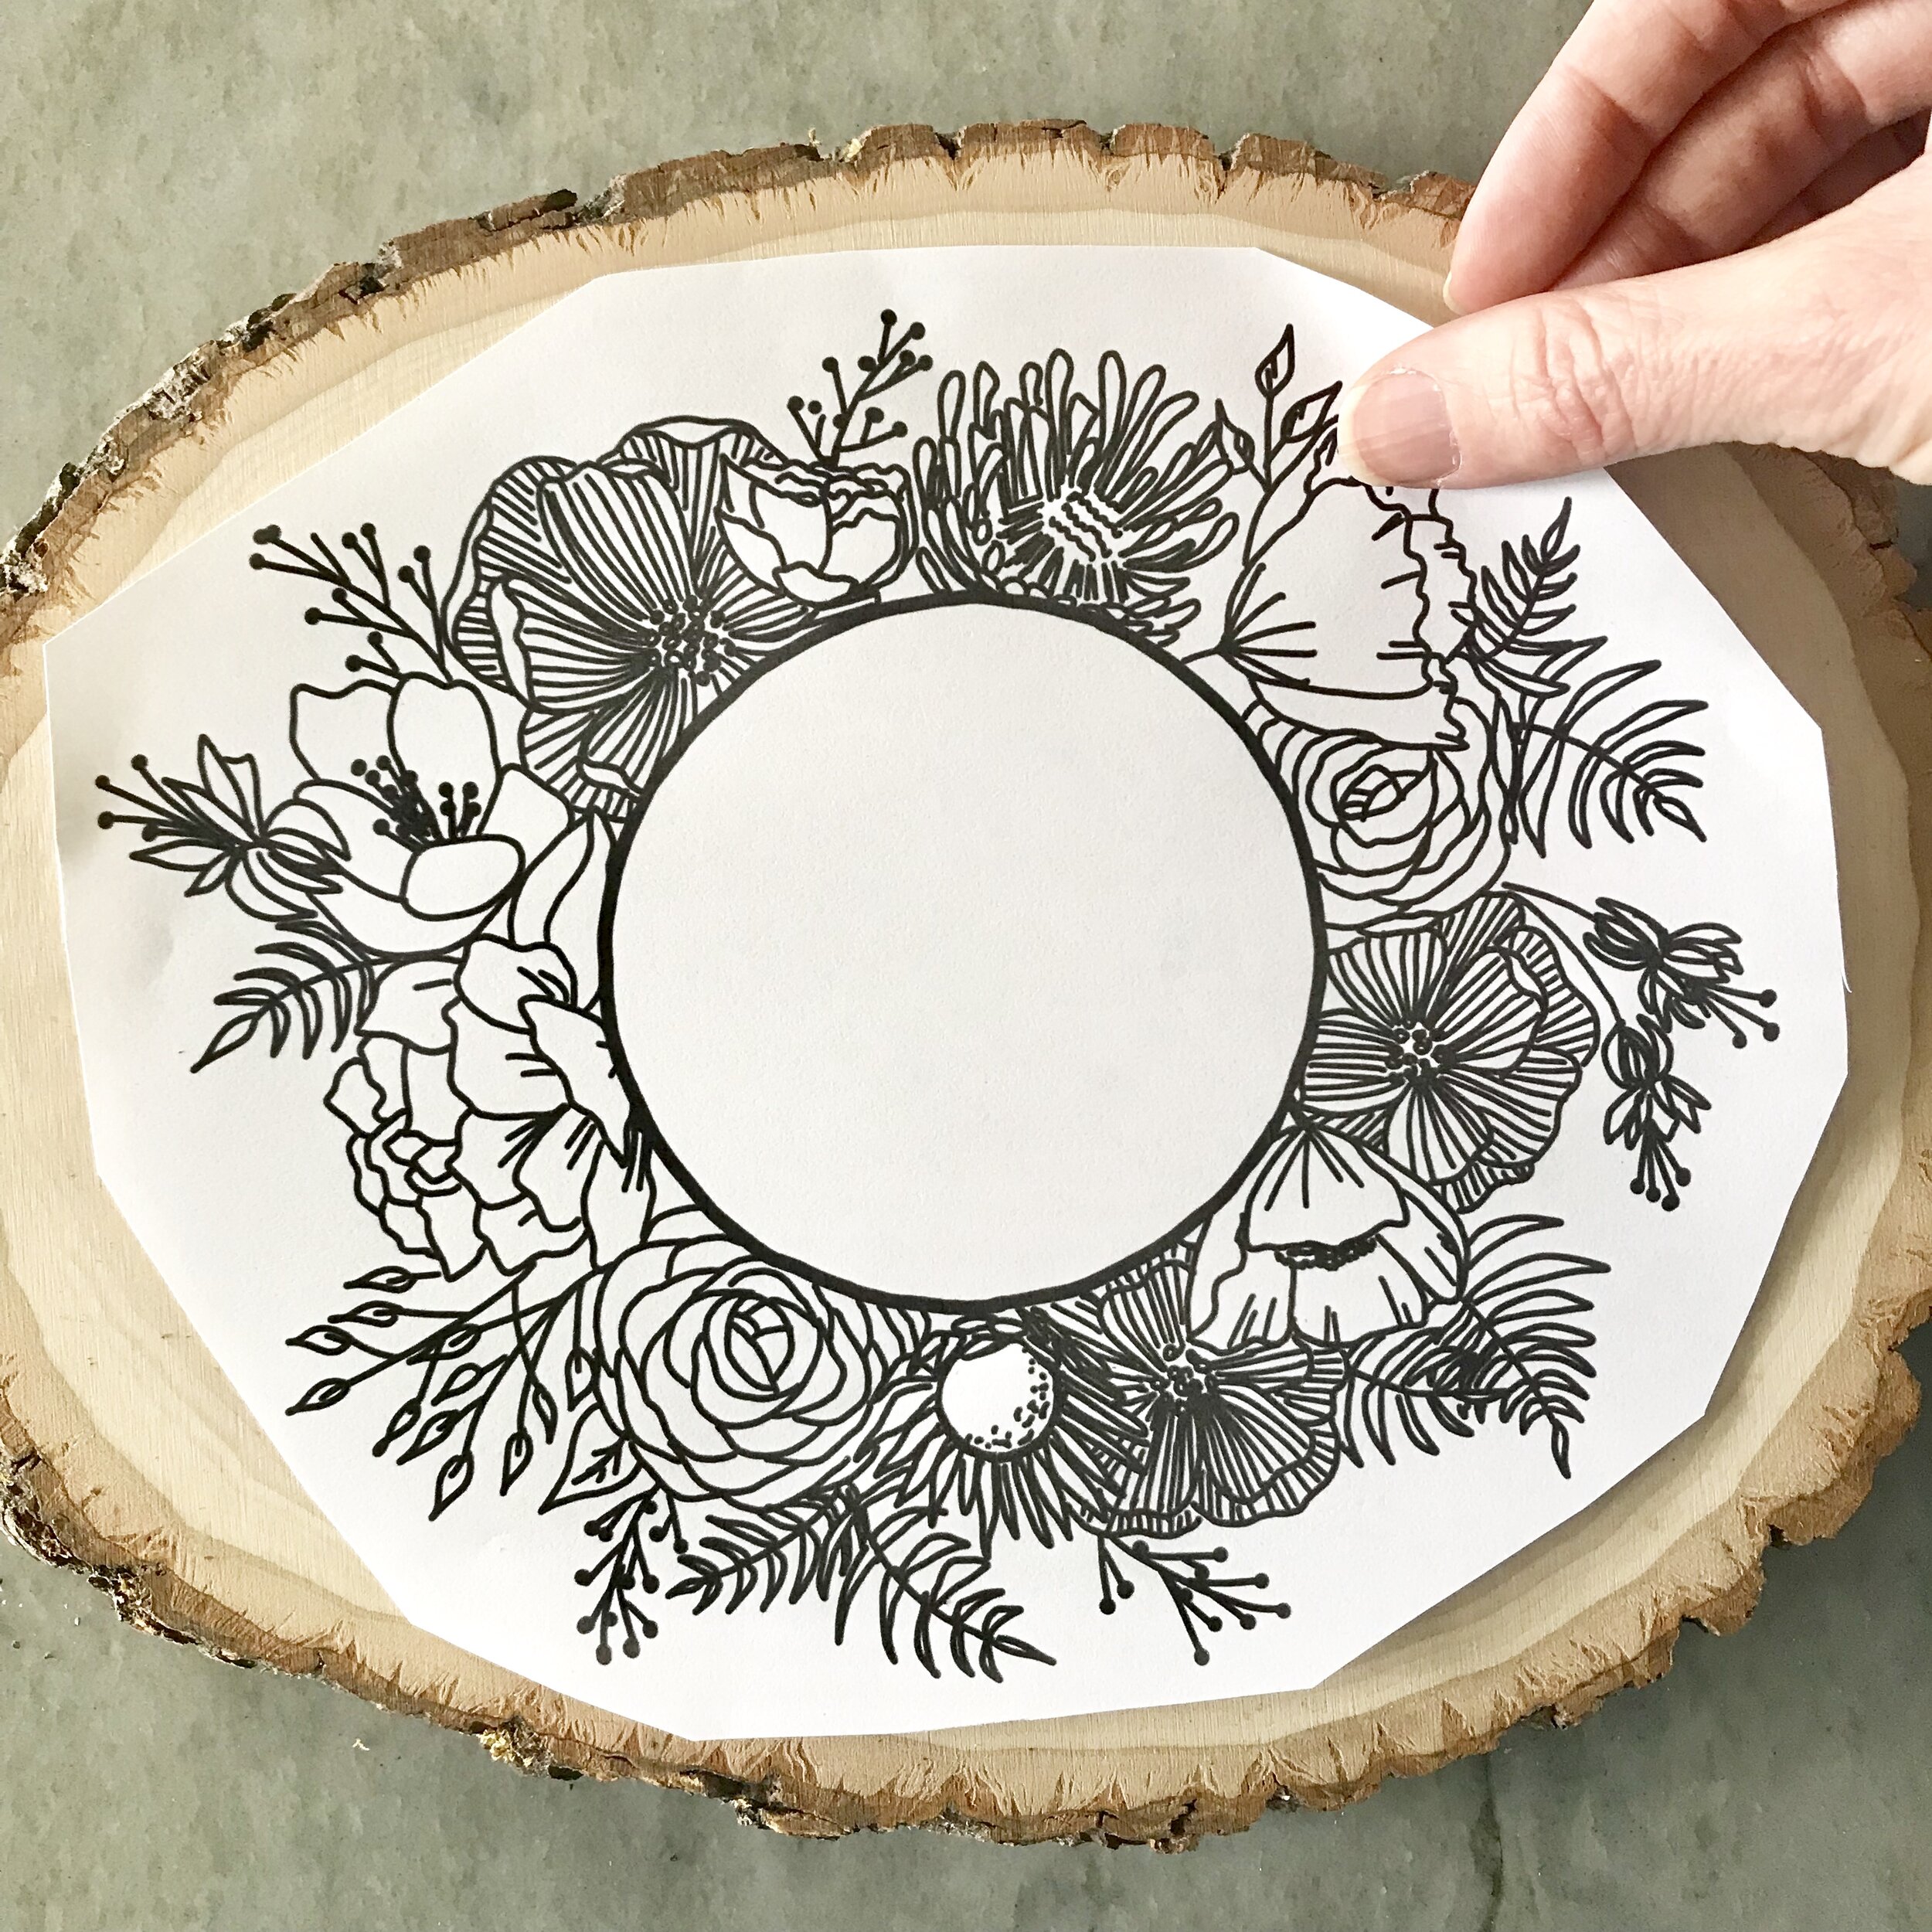
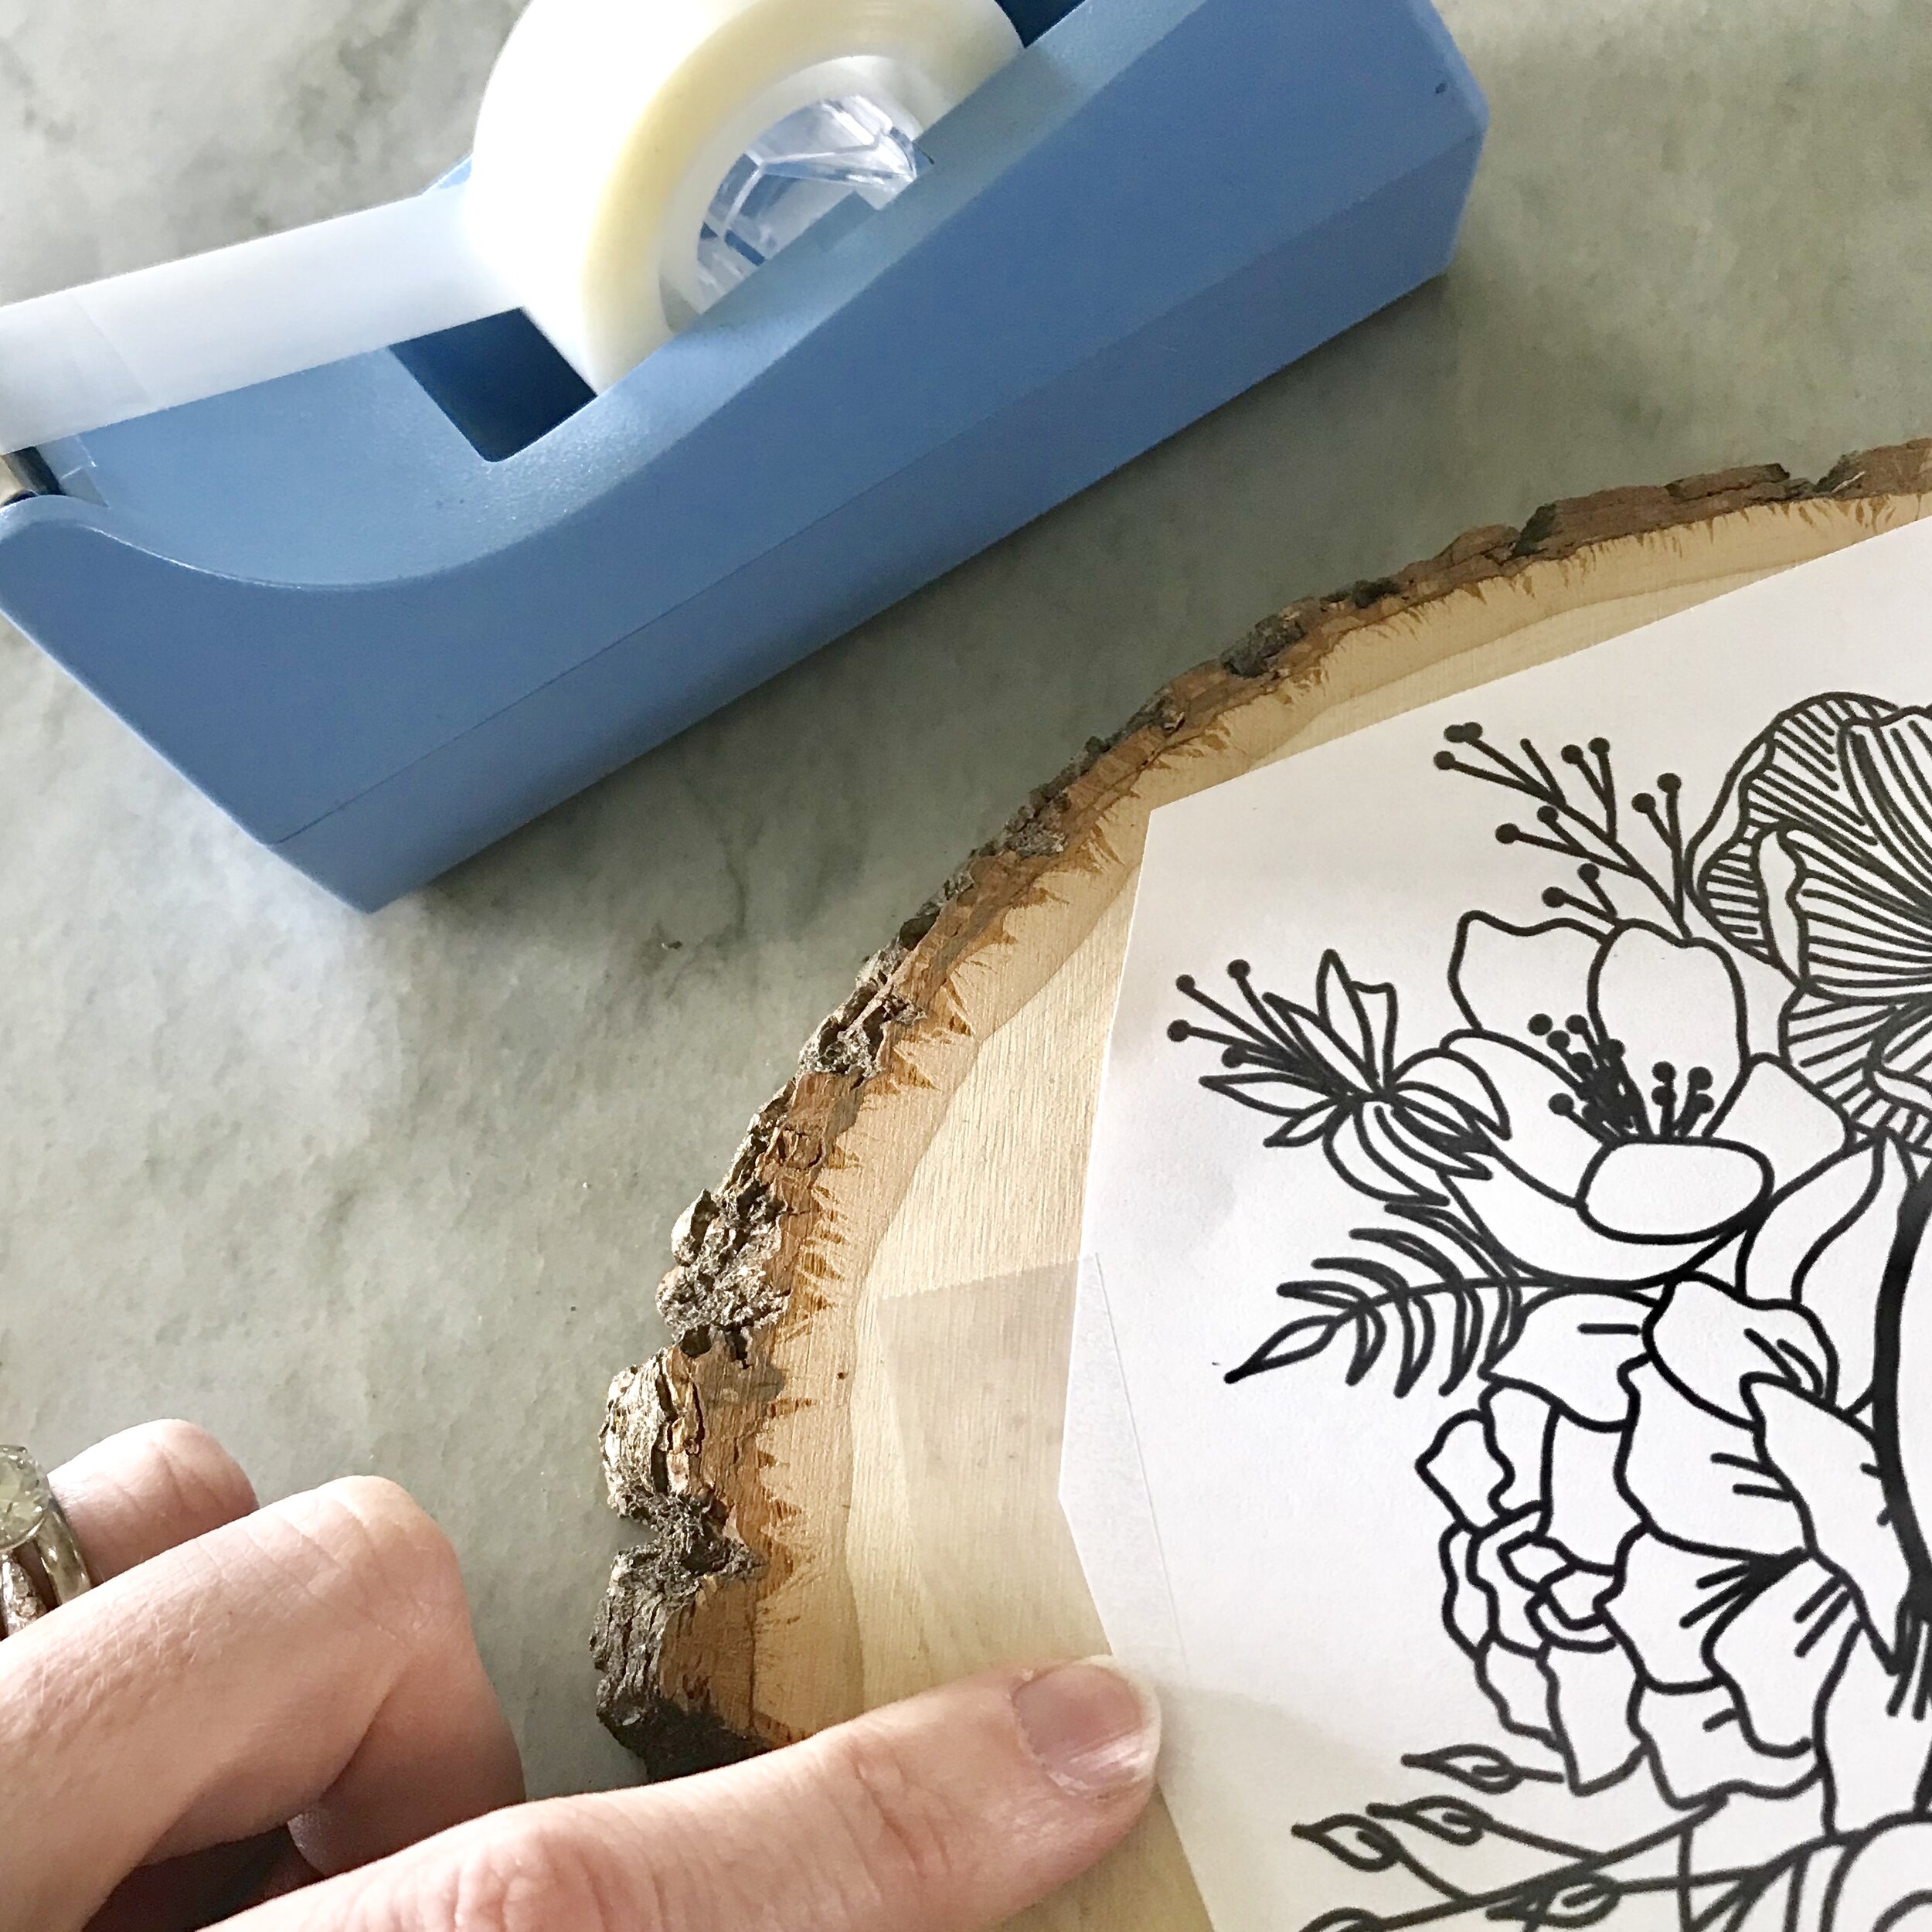
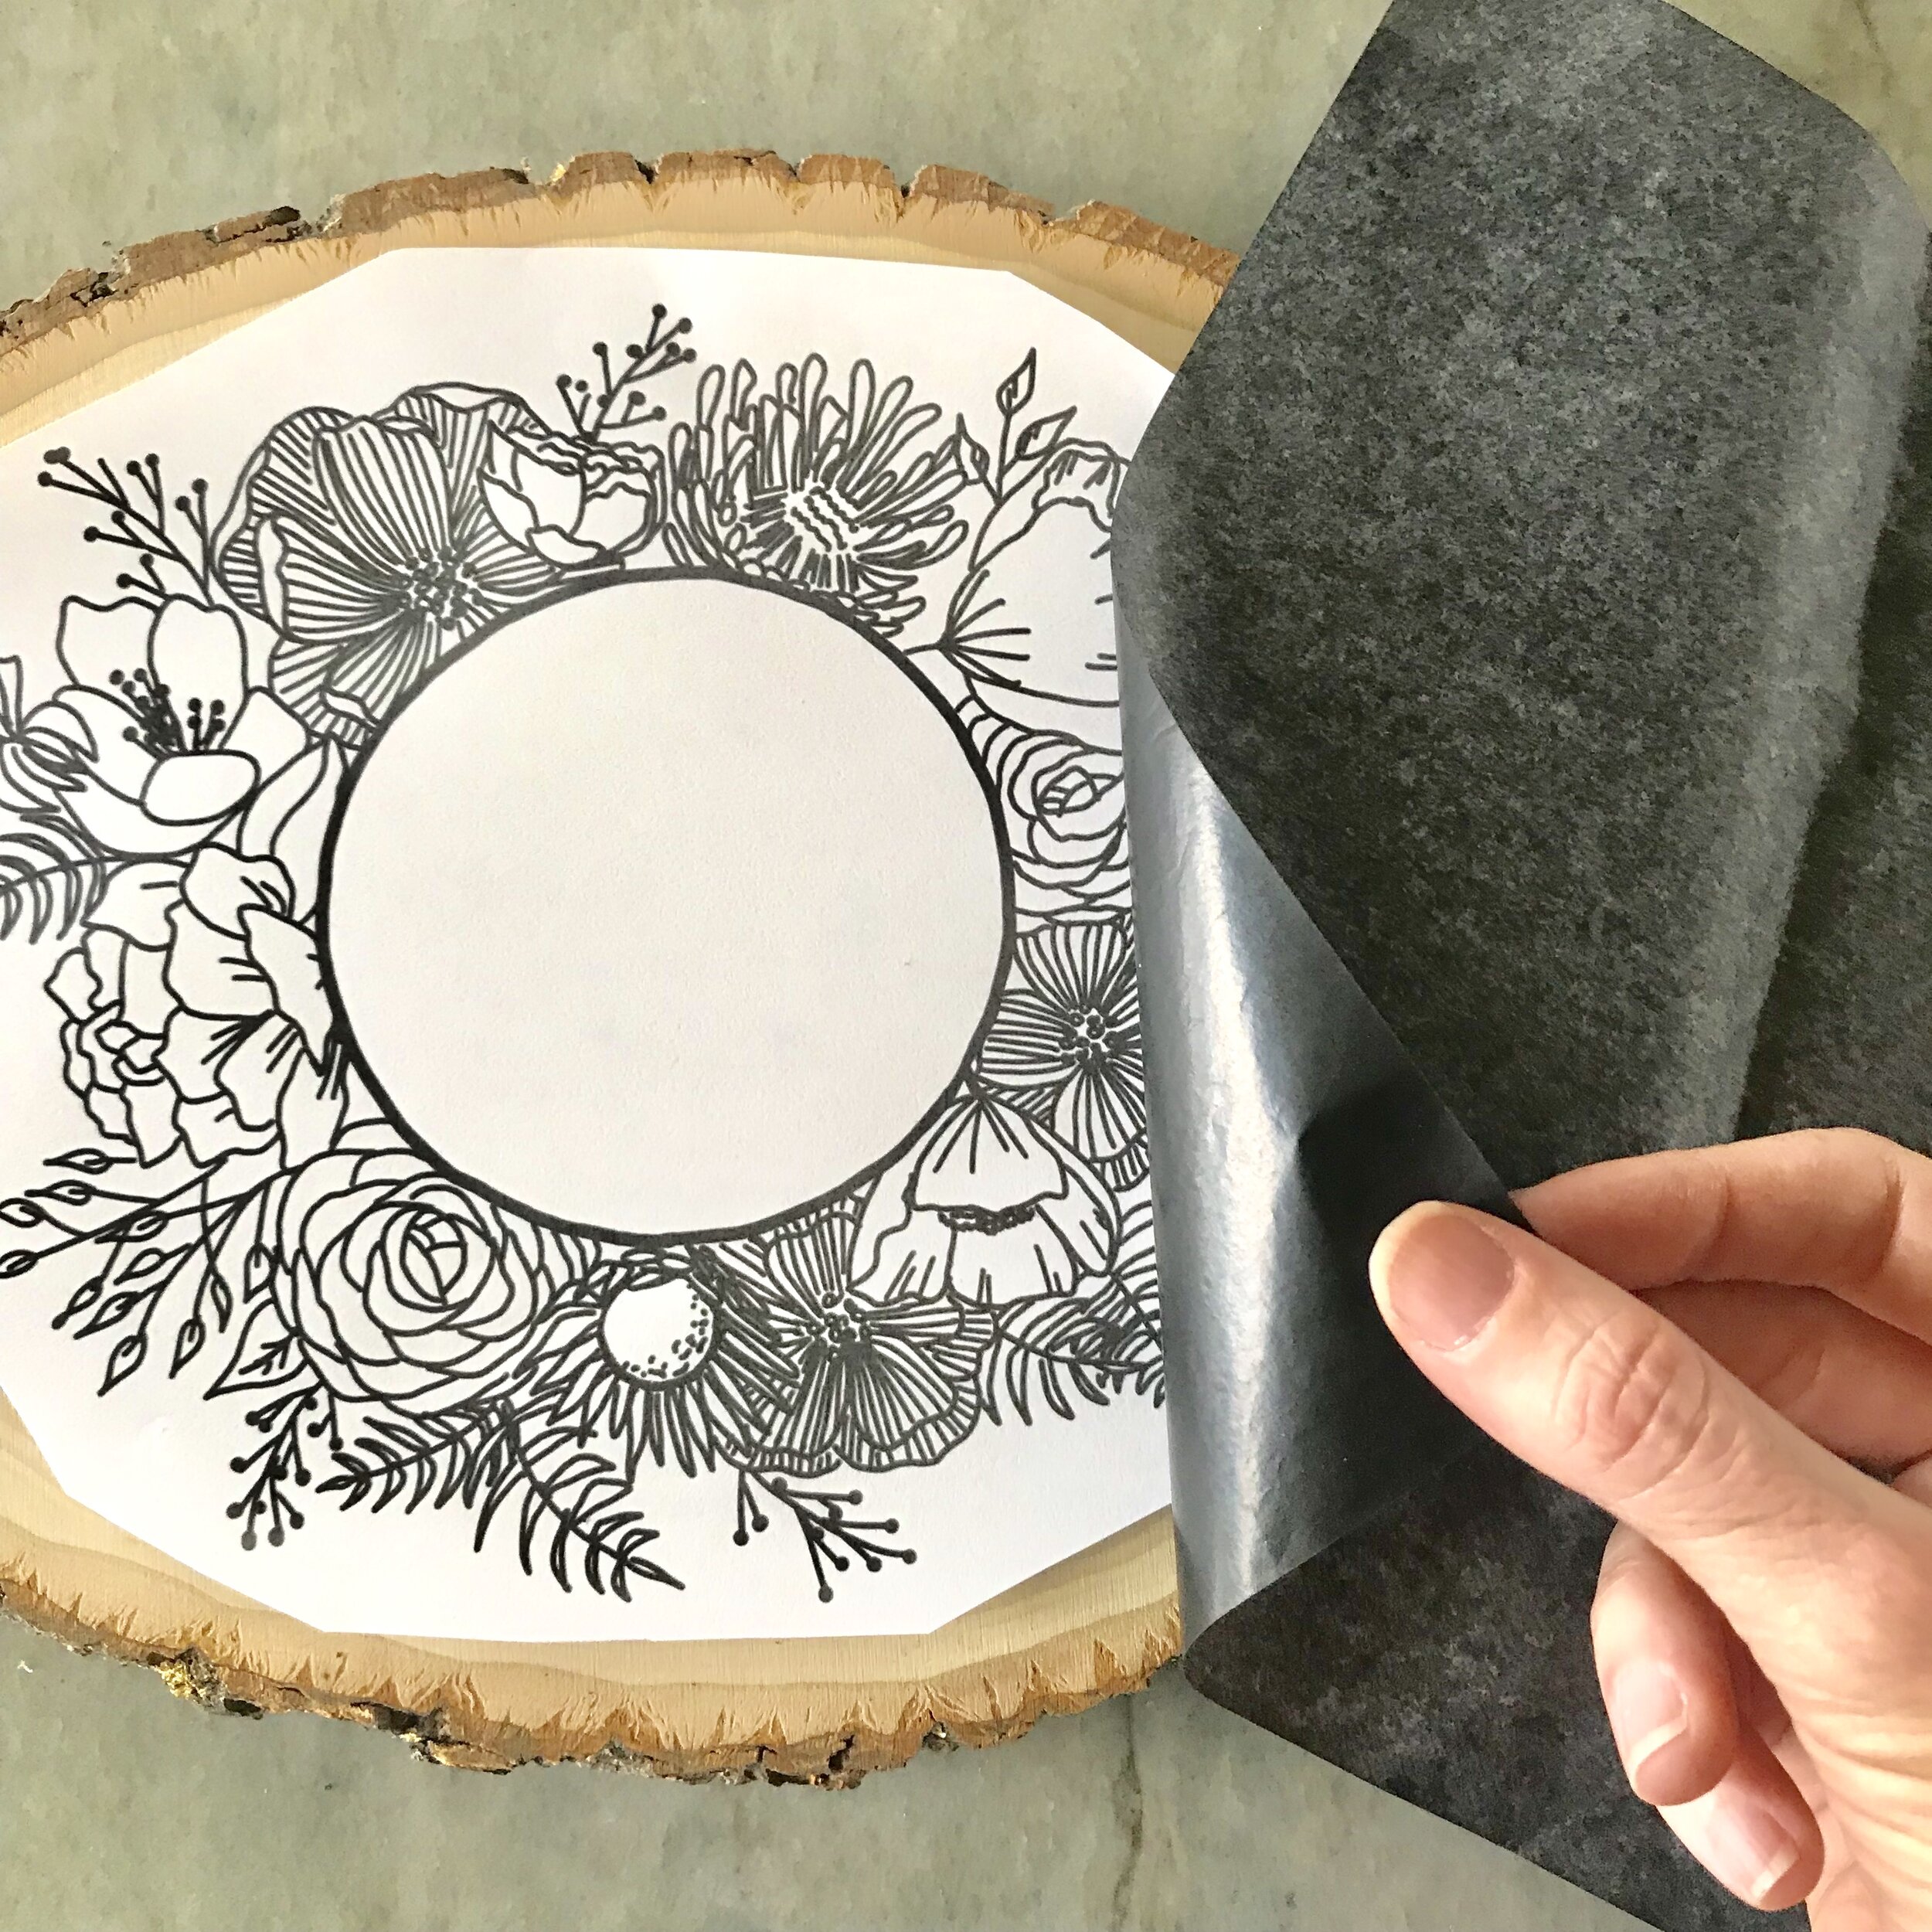
Step 1: Choose any simple line-drawn floral design. This can be a hand drawn doodle, a drawing from a photograph, or a design in this book. Then choose a wood slice to fit the design.
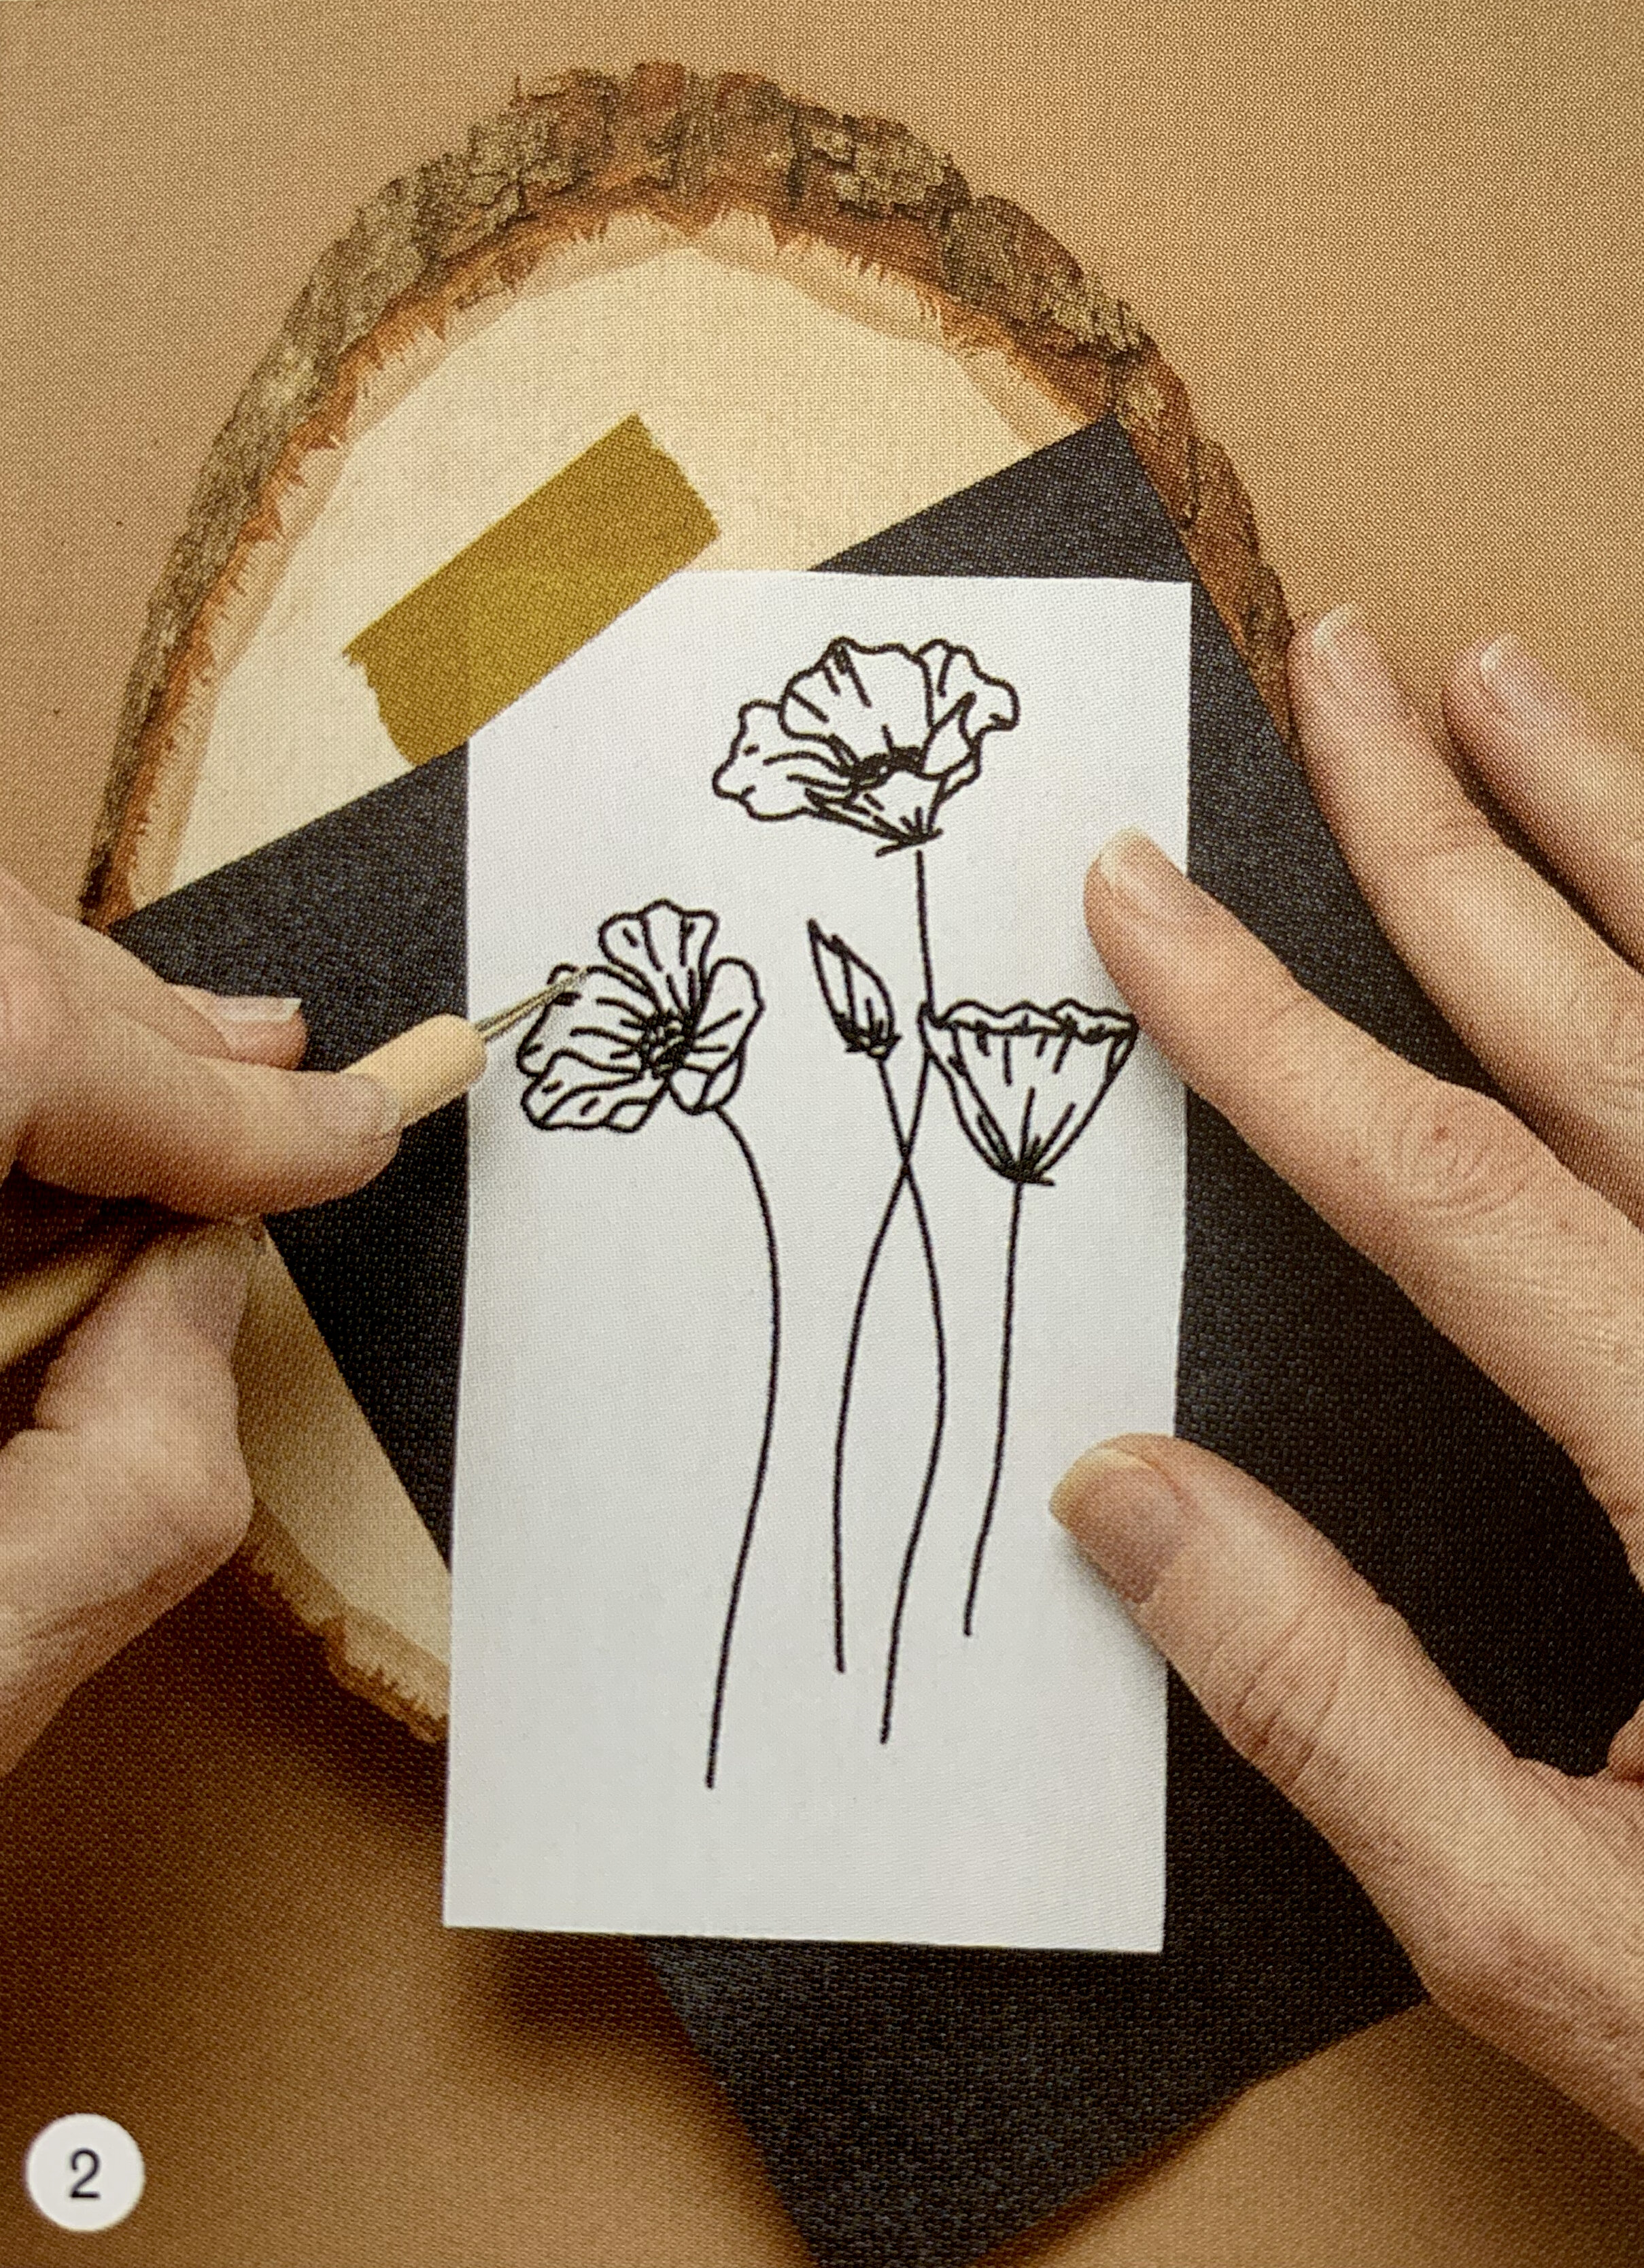
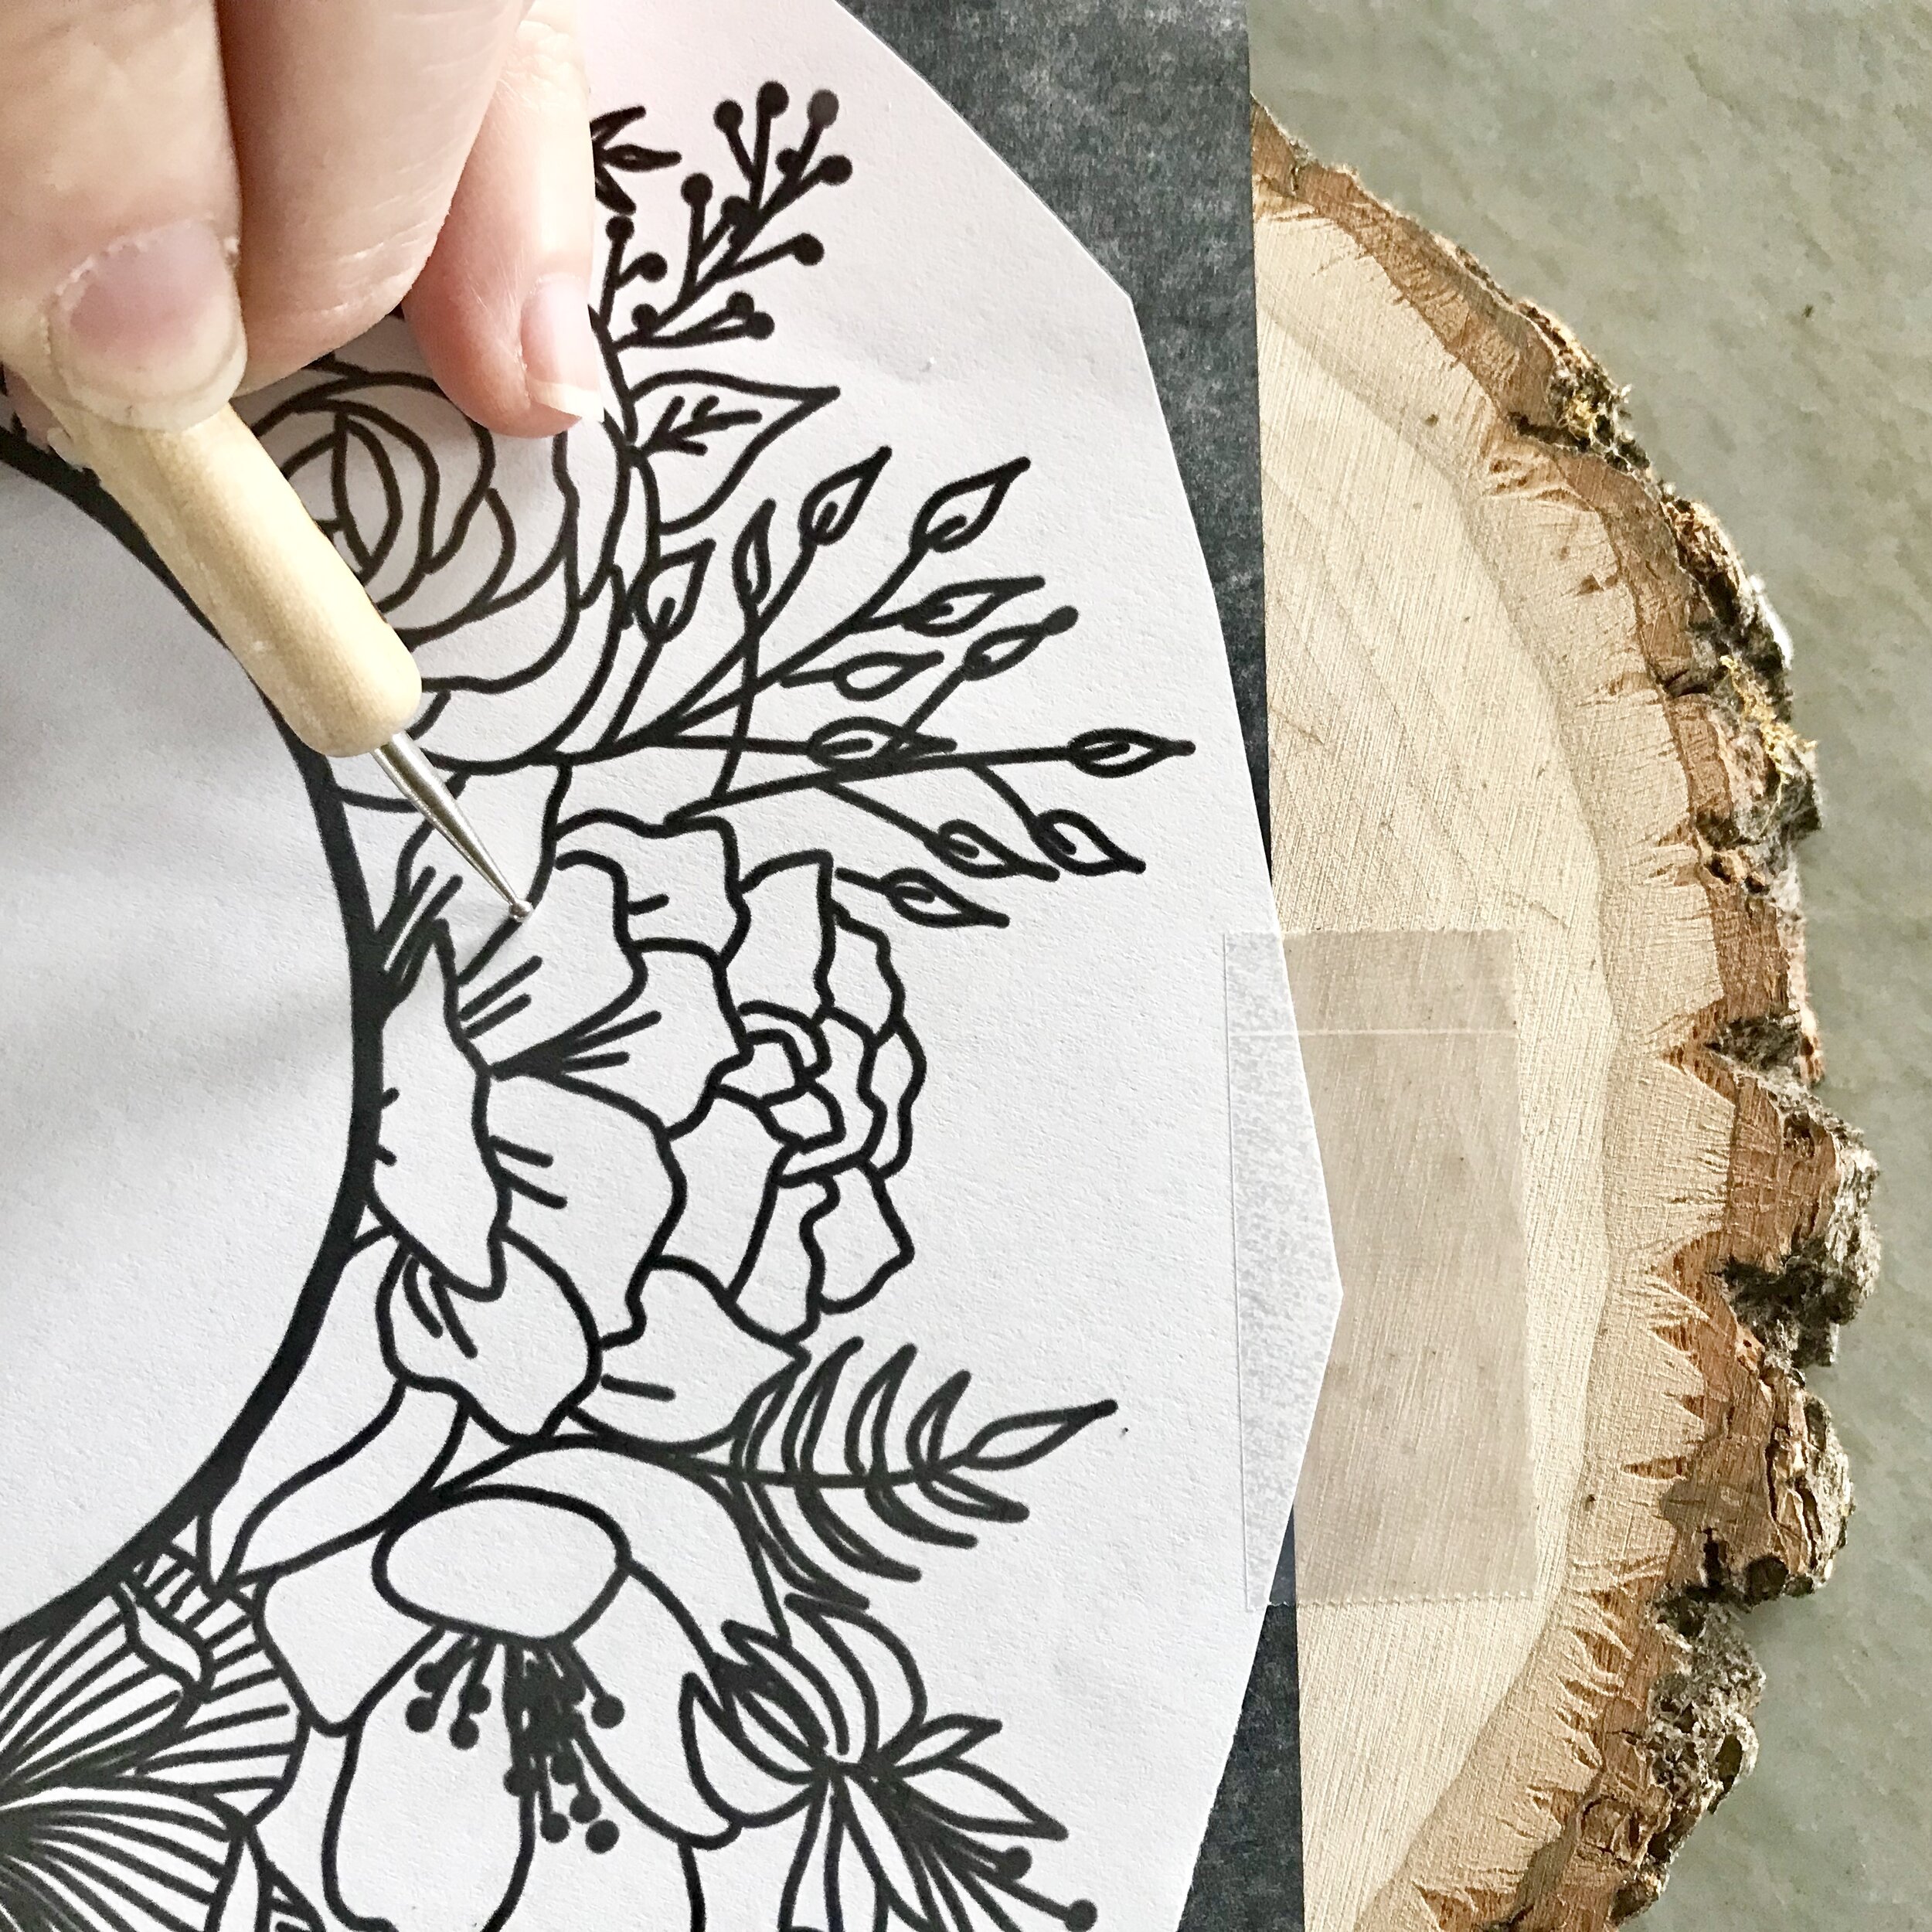
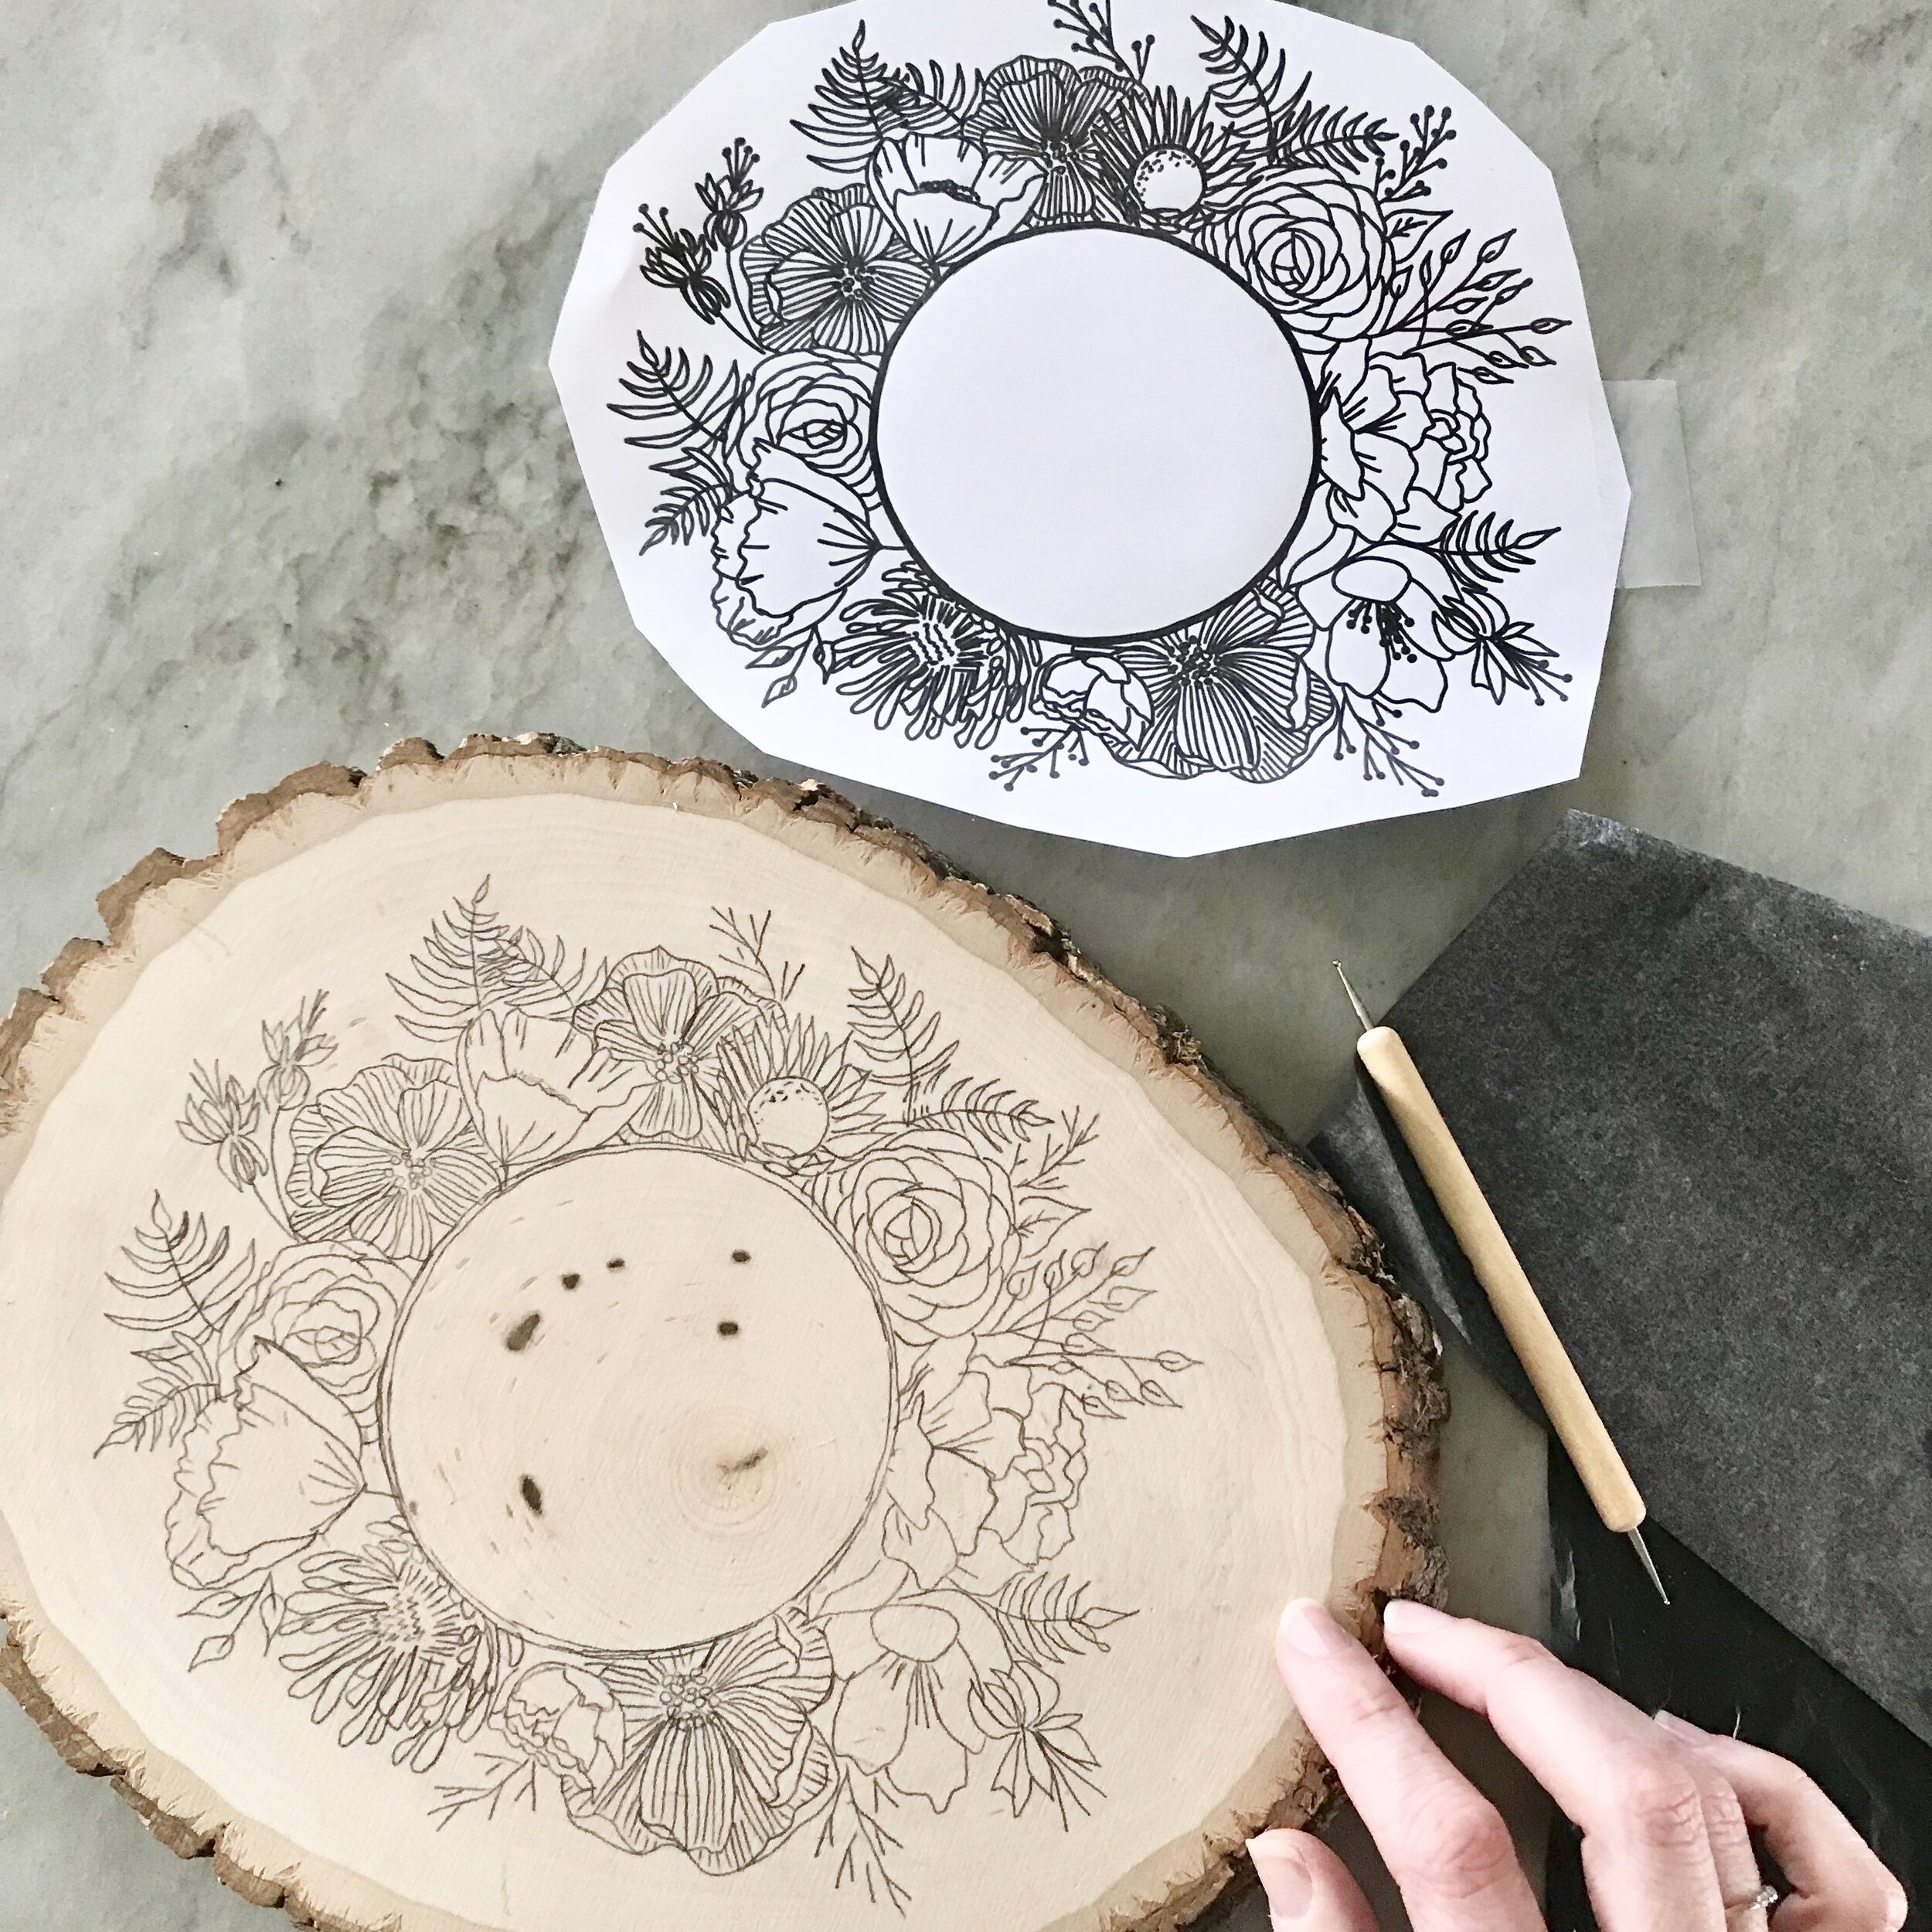
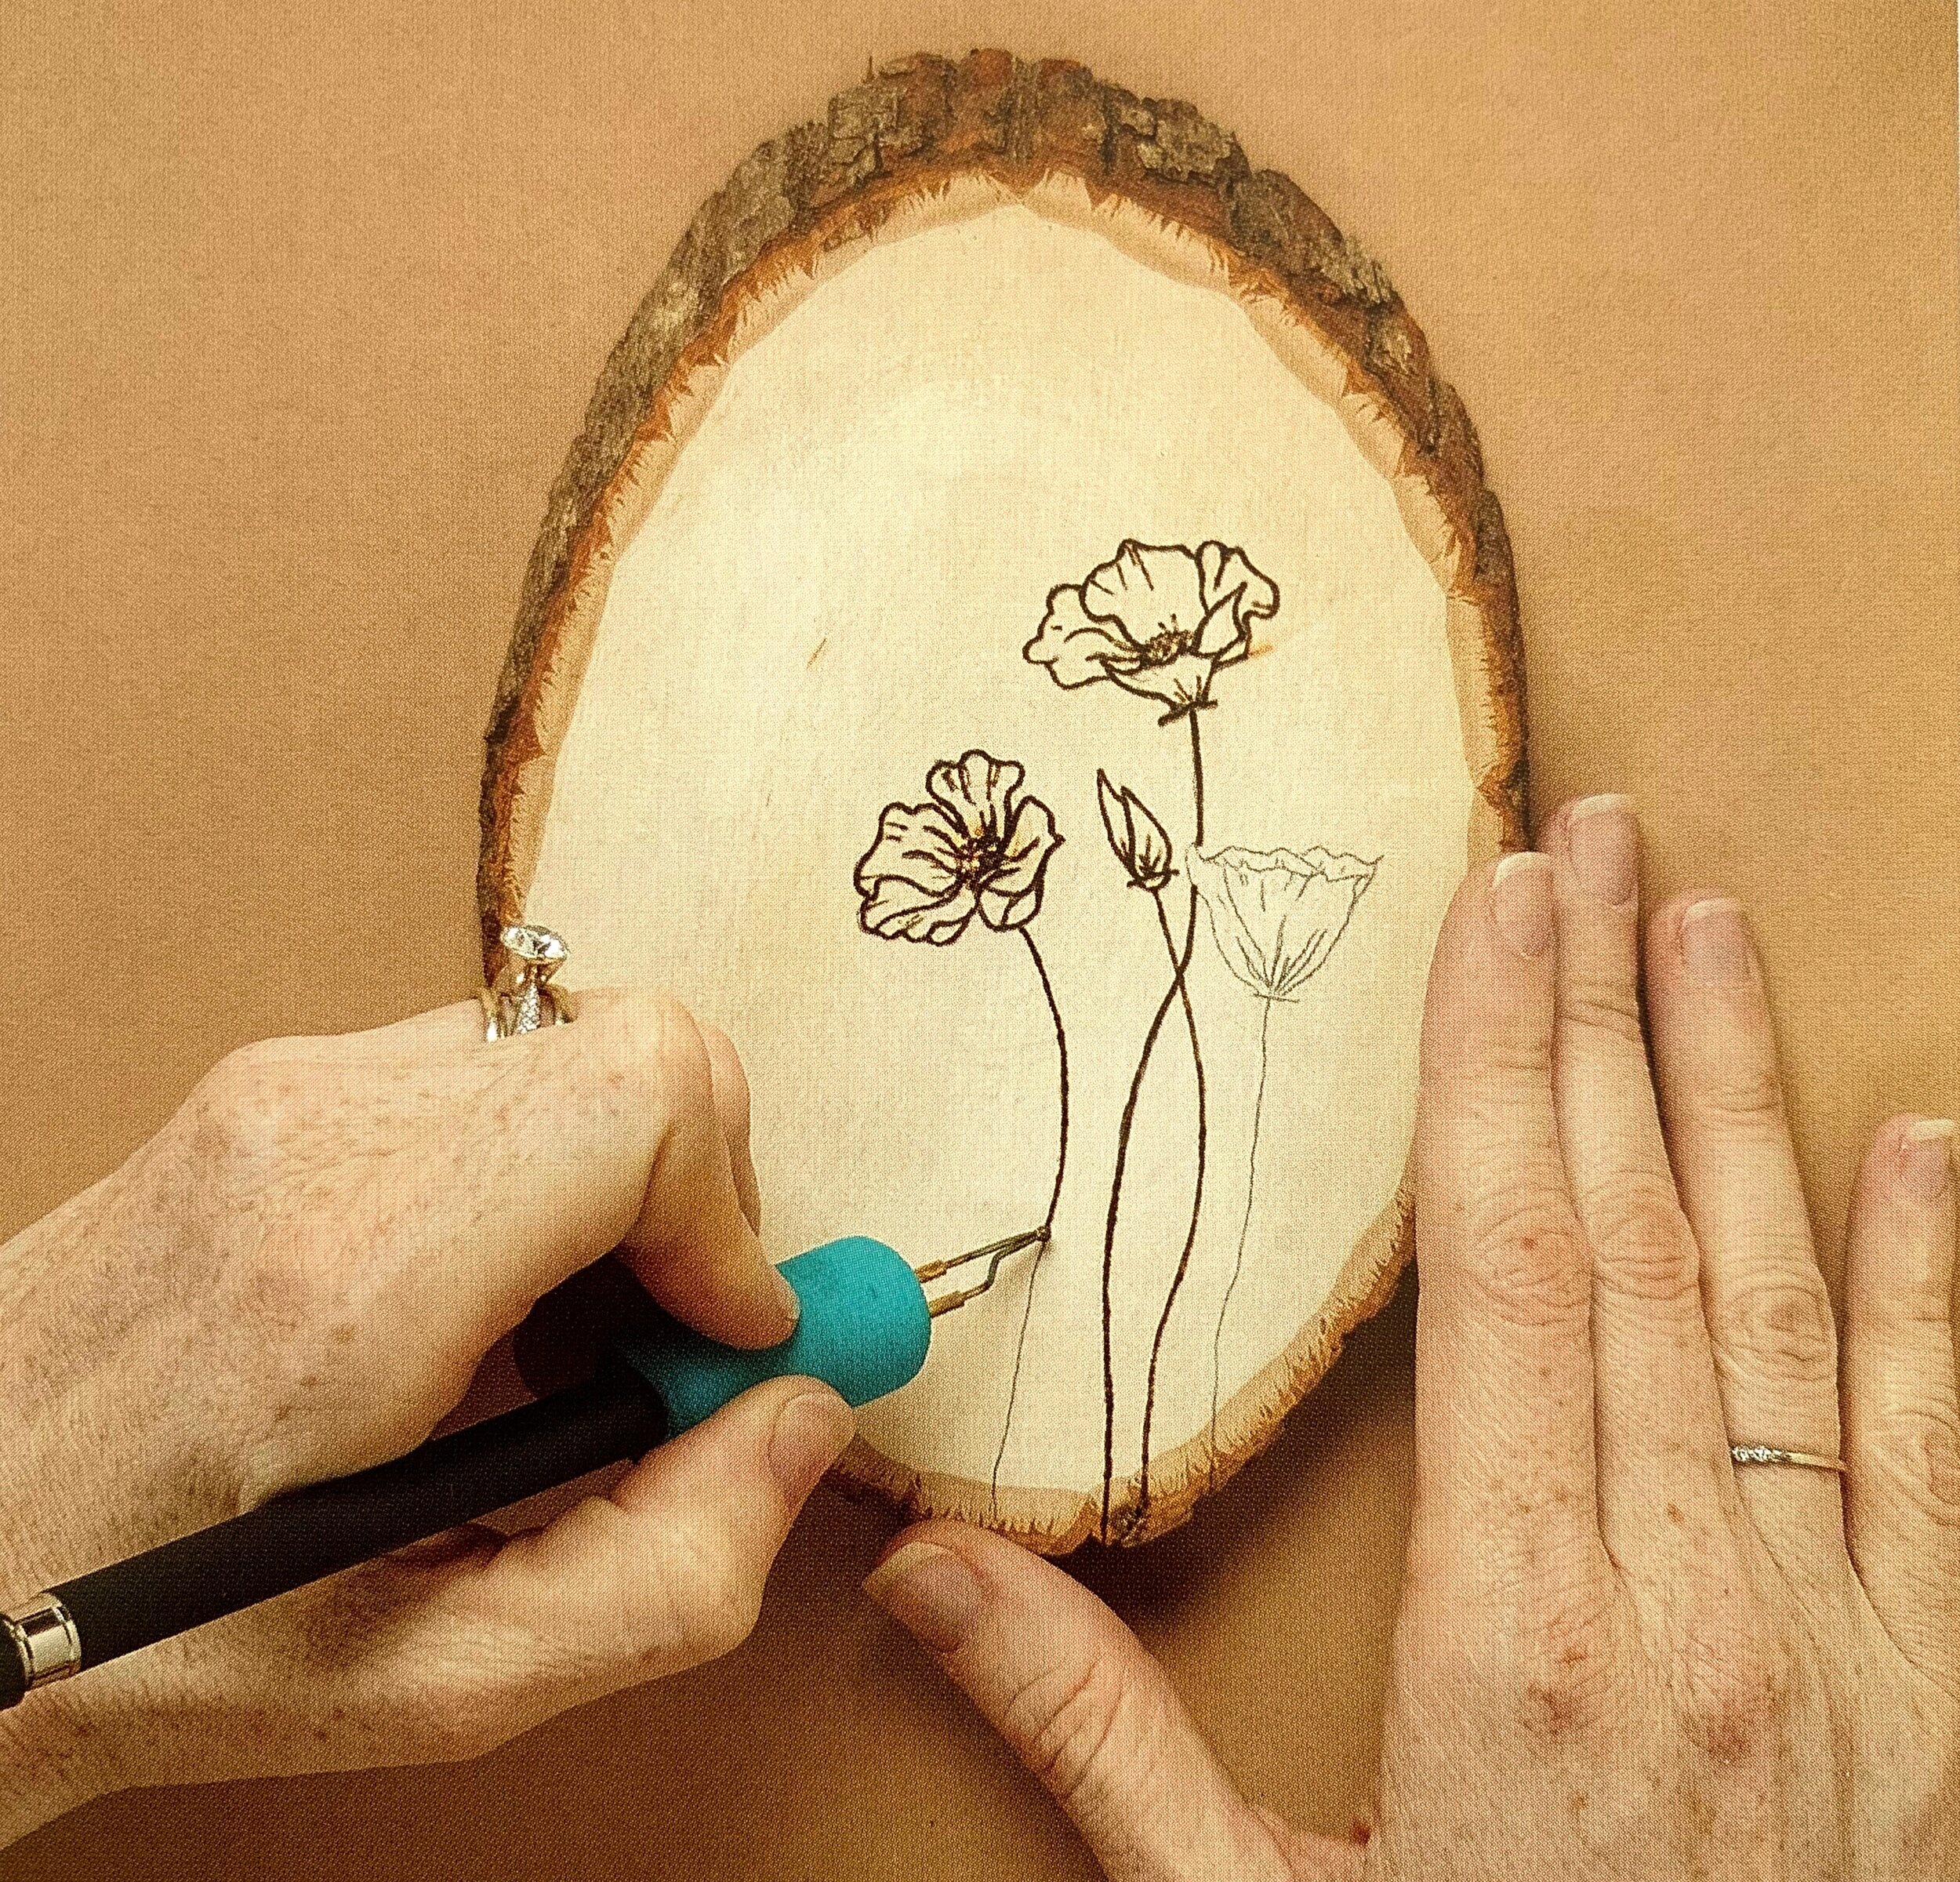
Step 2: Transfer the design to the wood. I am using graphite paper and a slice of basswood with a live edge. Make sure you have transferred the entire design before removing the design.

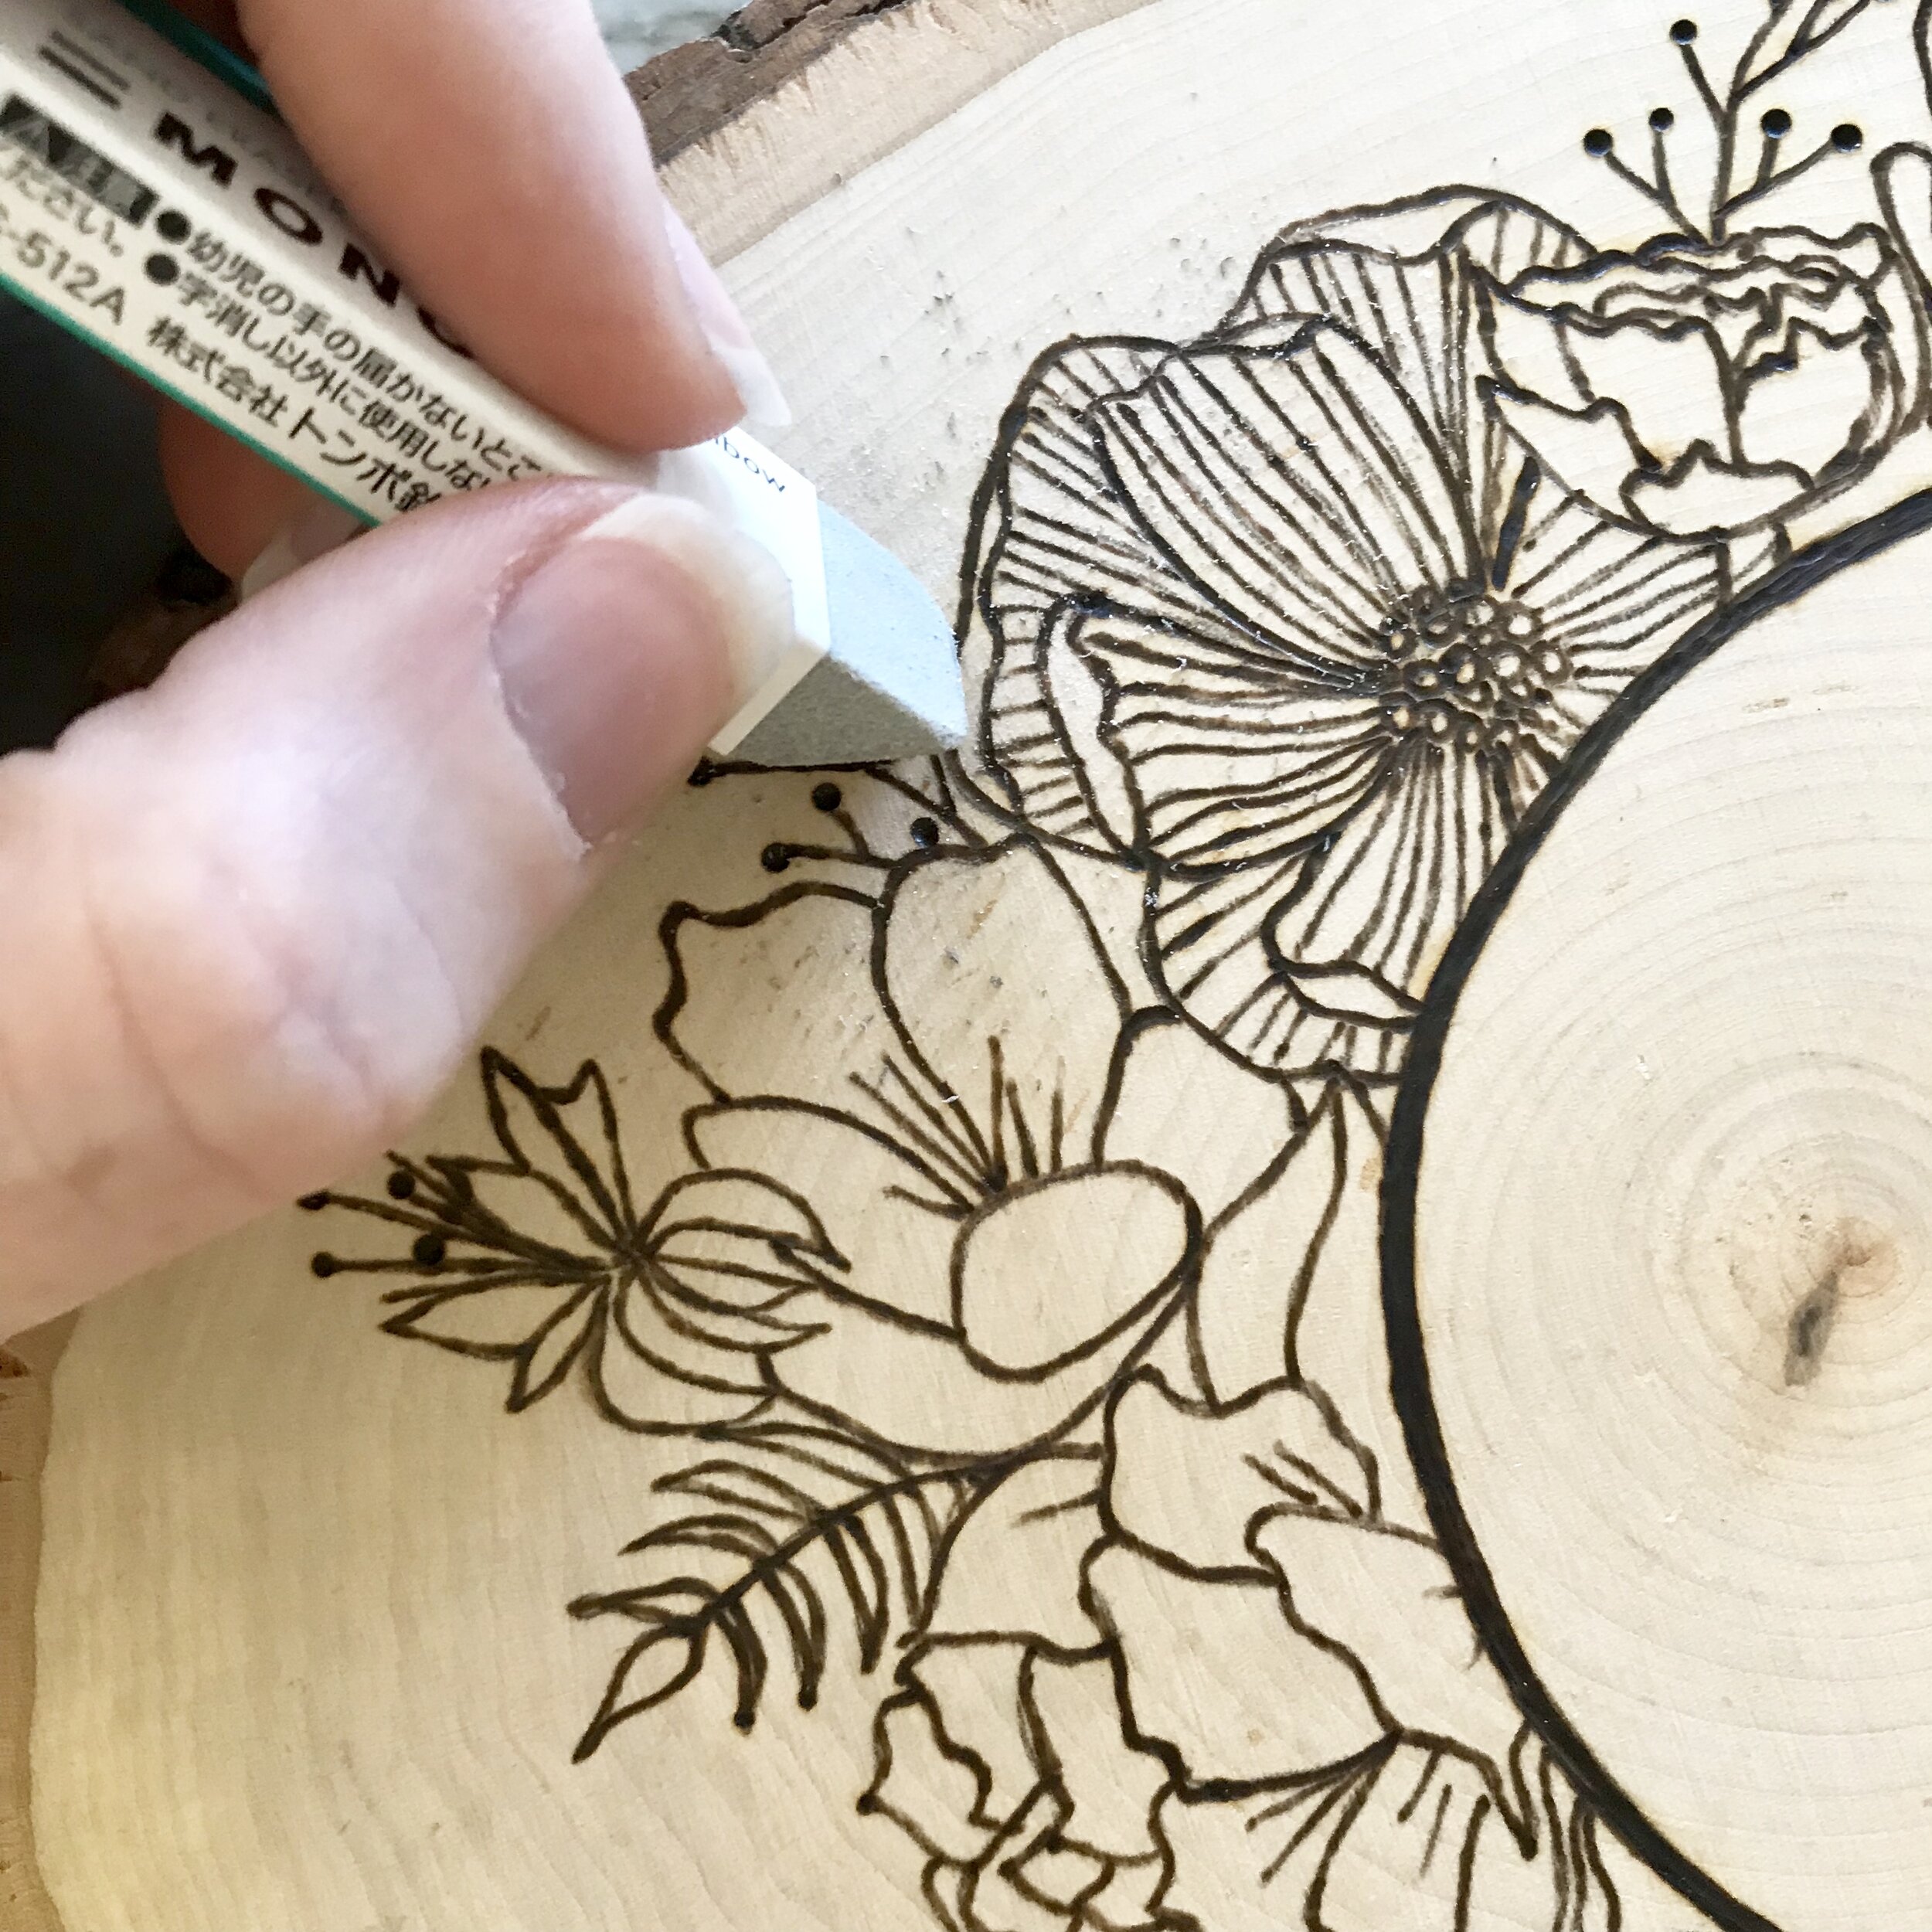
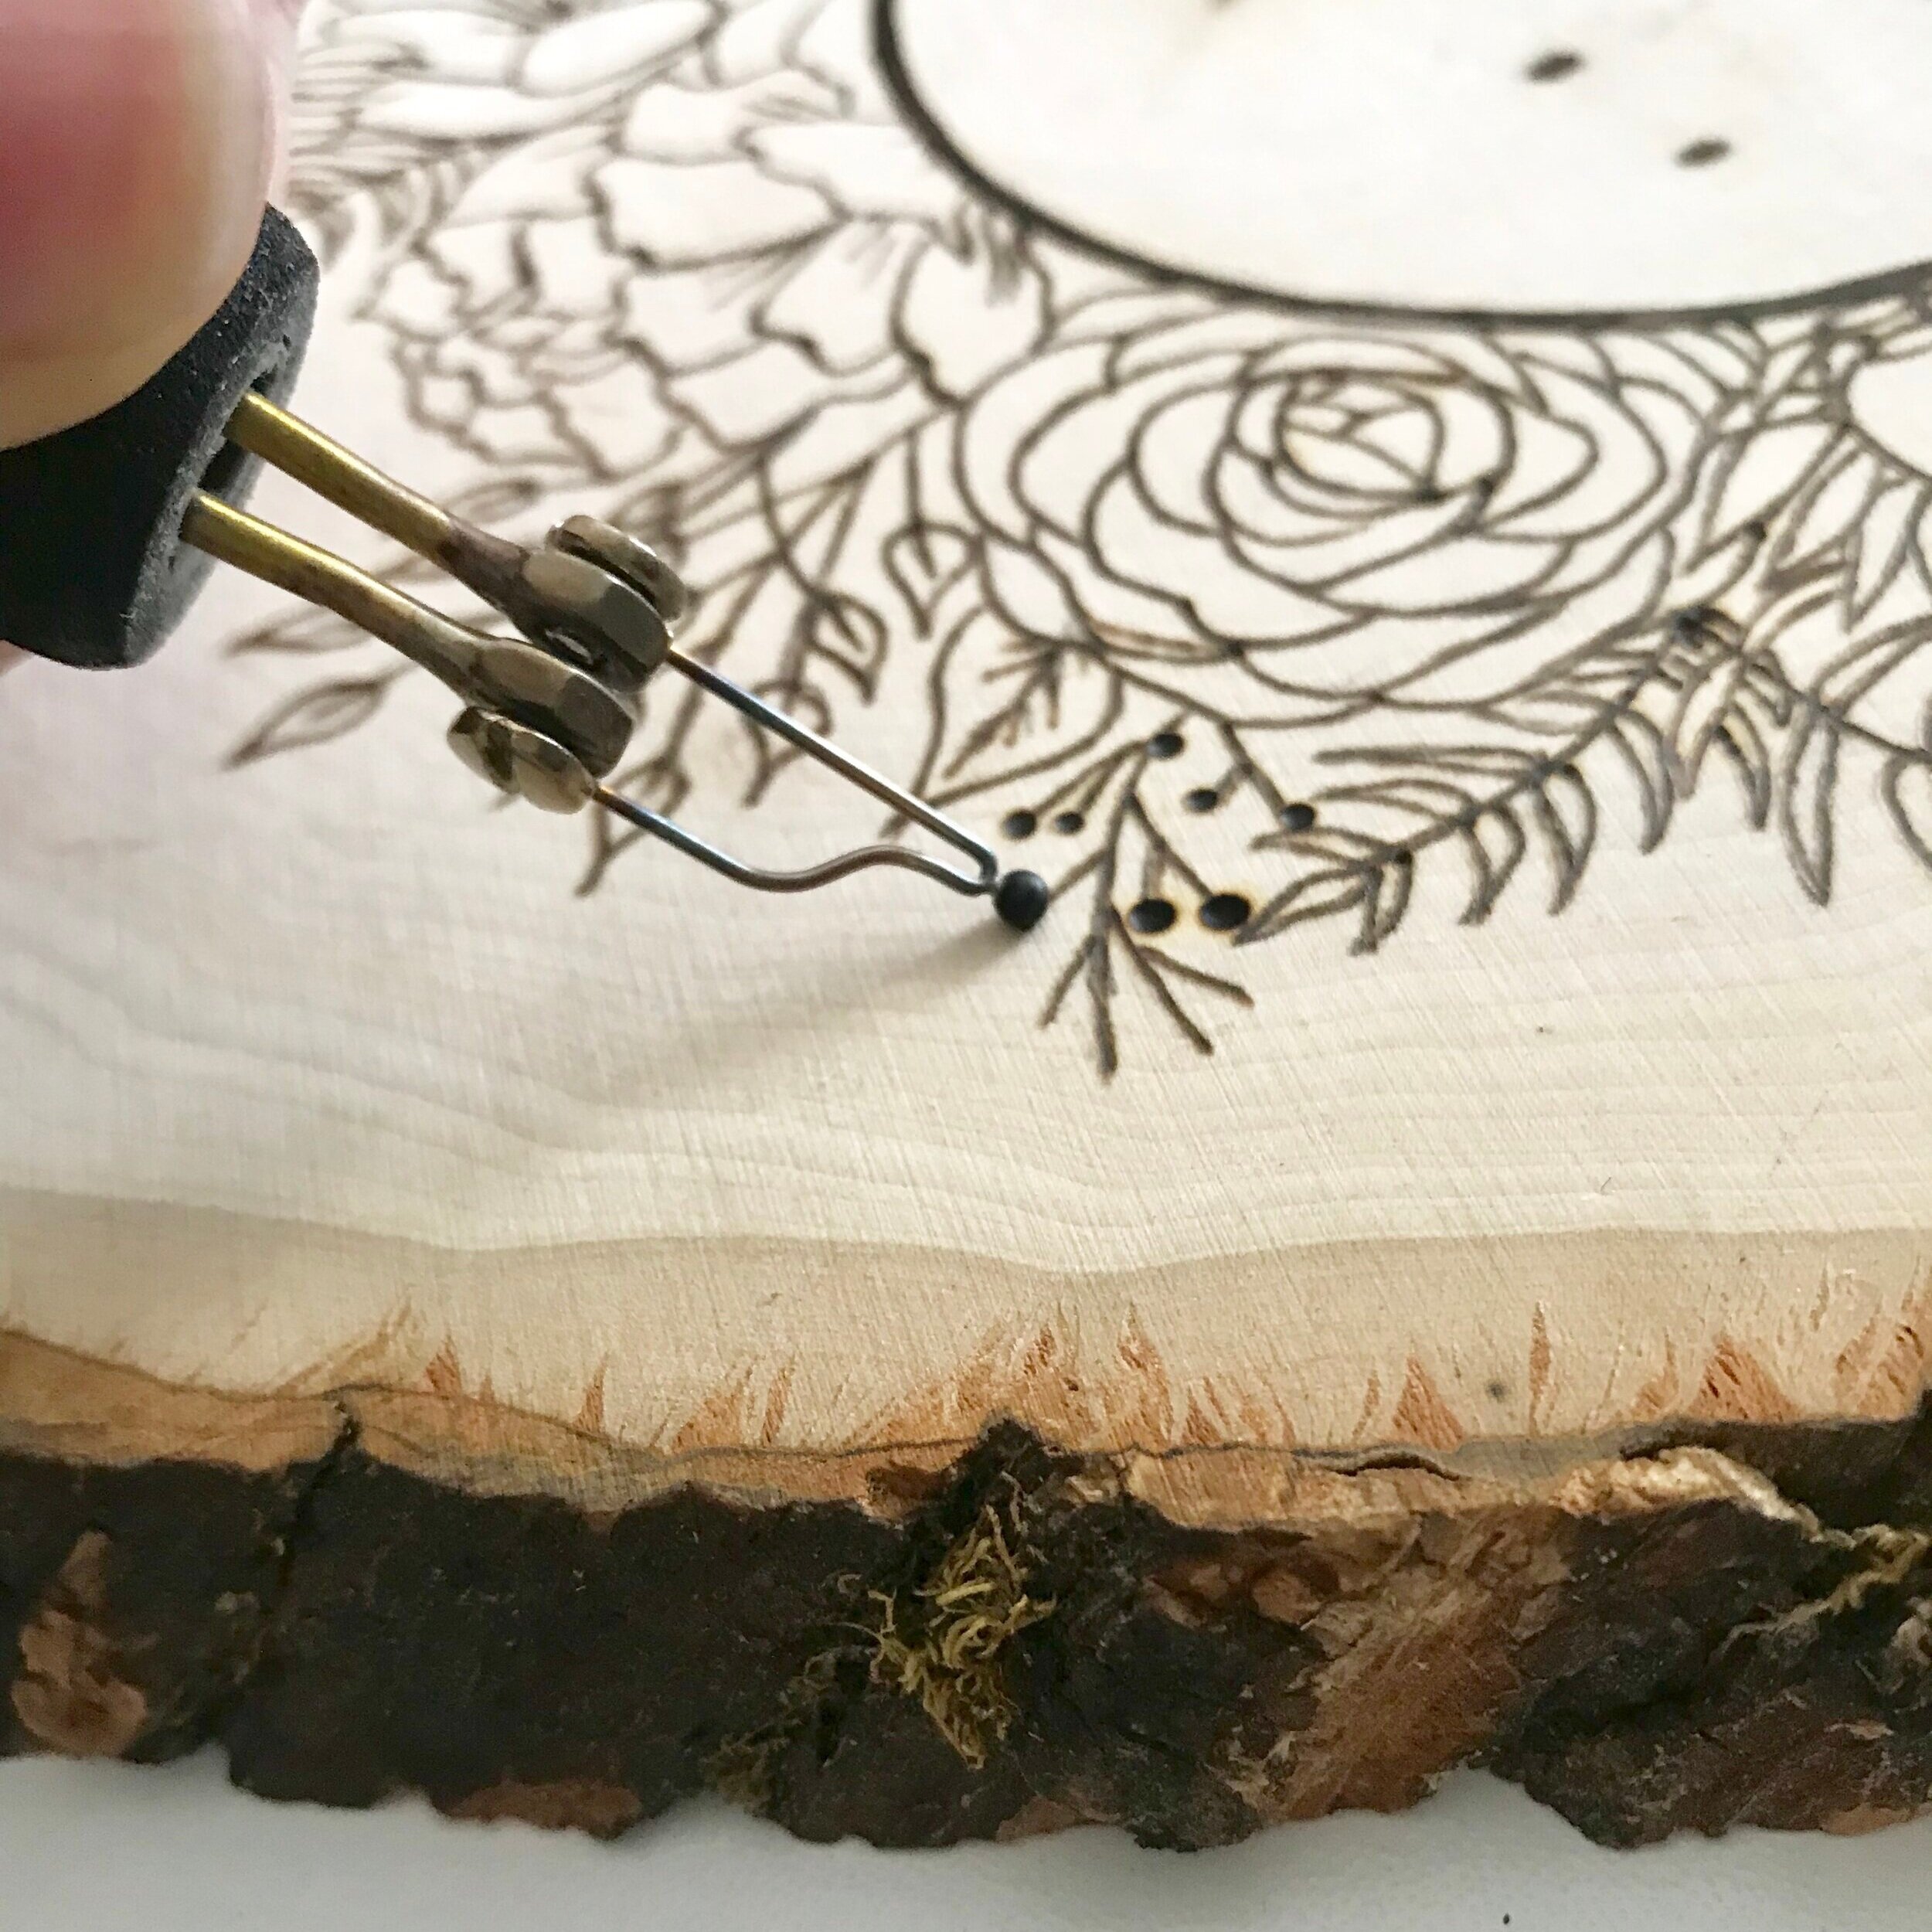
Step 3: Choose your nib and burn. For this particular piece I like to use a flow or writing nib. This gives me the freedom to burn smoothly in all directions, without catching an edge of the nib.
Step 4: Remove any remaining transfer lines after the design has been burned in its entirety.
Step 5: Pull out your watercolors, palette, water glass, paper towels, and paintbrushes.
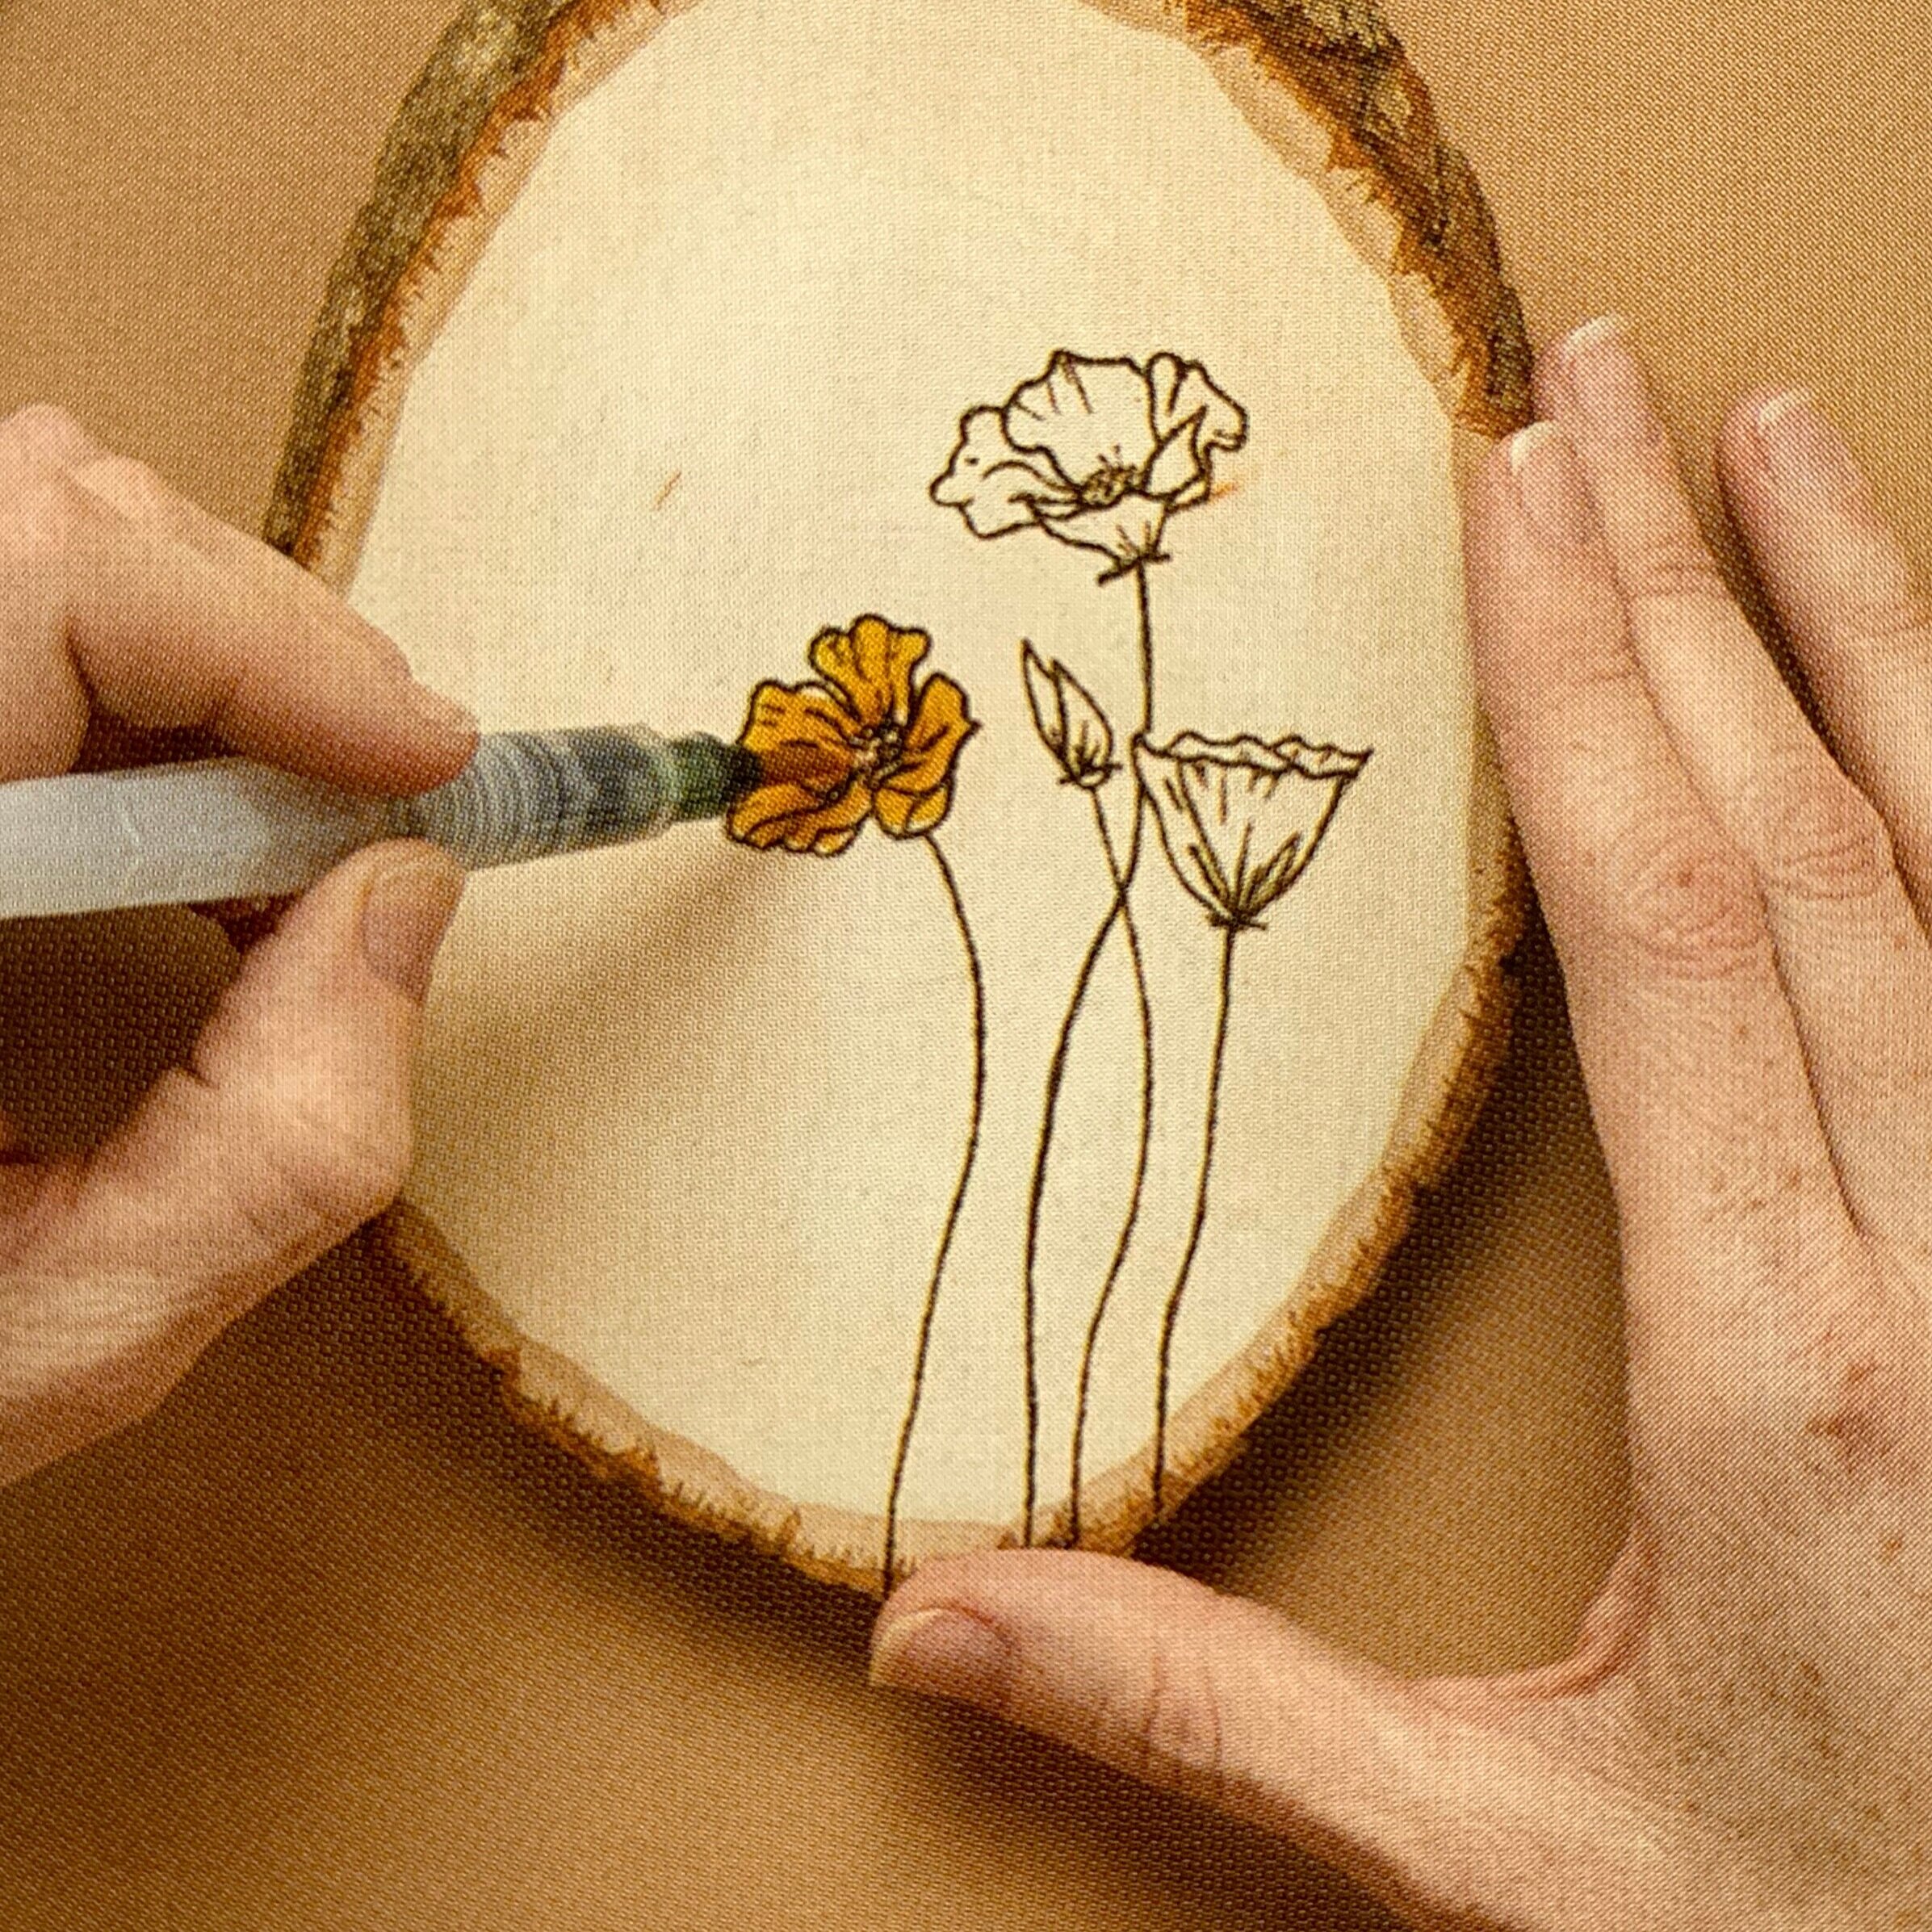
Step 6: Color the flower fully, or at least the parts you want colored. Don’t use too much water or you may split your wood. It’s OK if you go over the lines on this particular piece - you actually should! A loose watercolor look is what we are going for. This technique gives the feeling that the flower is extending past the lines you have given it.

Step 7: Add the splashes of paint once you have completed the coloring of the flower. Practice on a scrap piece of paper or on the backside of your piece first. Dip into the same color, hold your brush close to the wood, pull back on the bristles and let them go. This will create a splashed look. You can go heavy on the splashes, or very subtle, it is entirely up to you.

Step 8: Wait for the piece to dry, then attach a sawtooth picture hanger to the back

Step 9: Complete your piece with a finish of your choosing. I prefer a spray finish over watercolors, so as to not unintentionally spread the paint on the wood.
Step 10: Hang it on your wall, or wrap it up and give it as a gift!
SHOW OFF YOUR WORK!
Be sure to share your finished piece on instagram using #thewoodburnbook

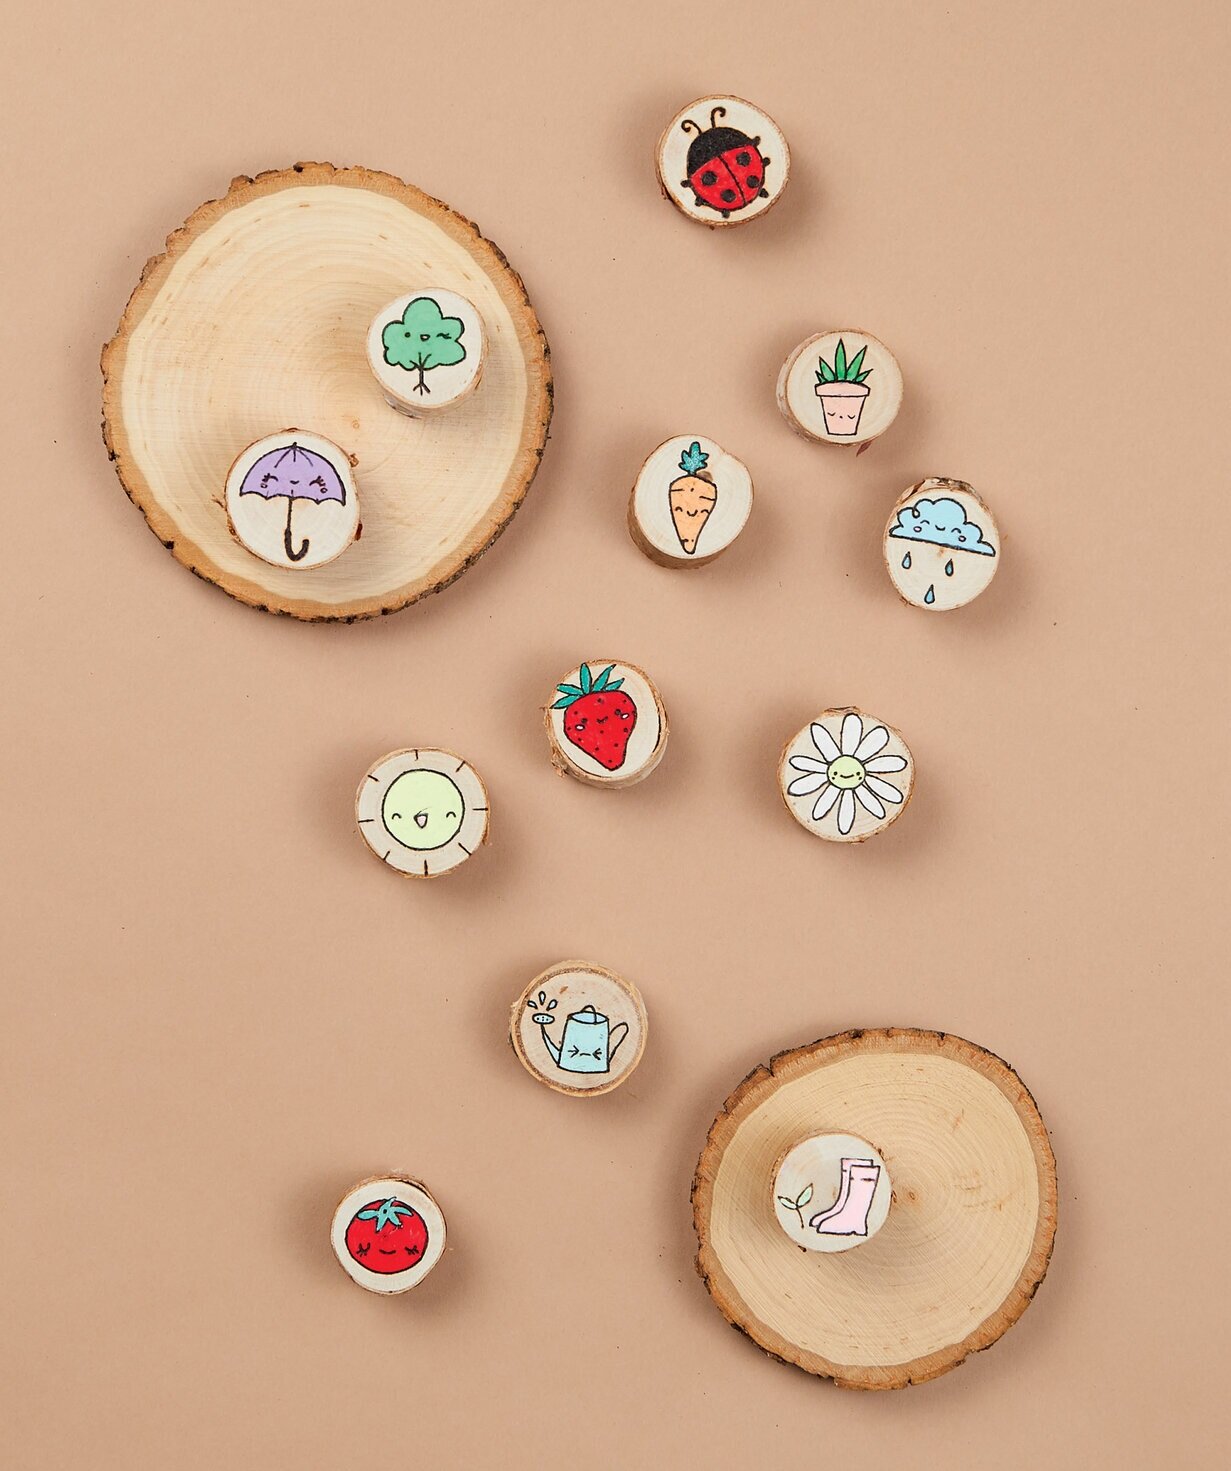
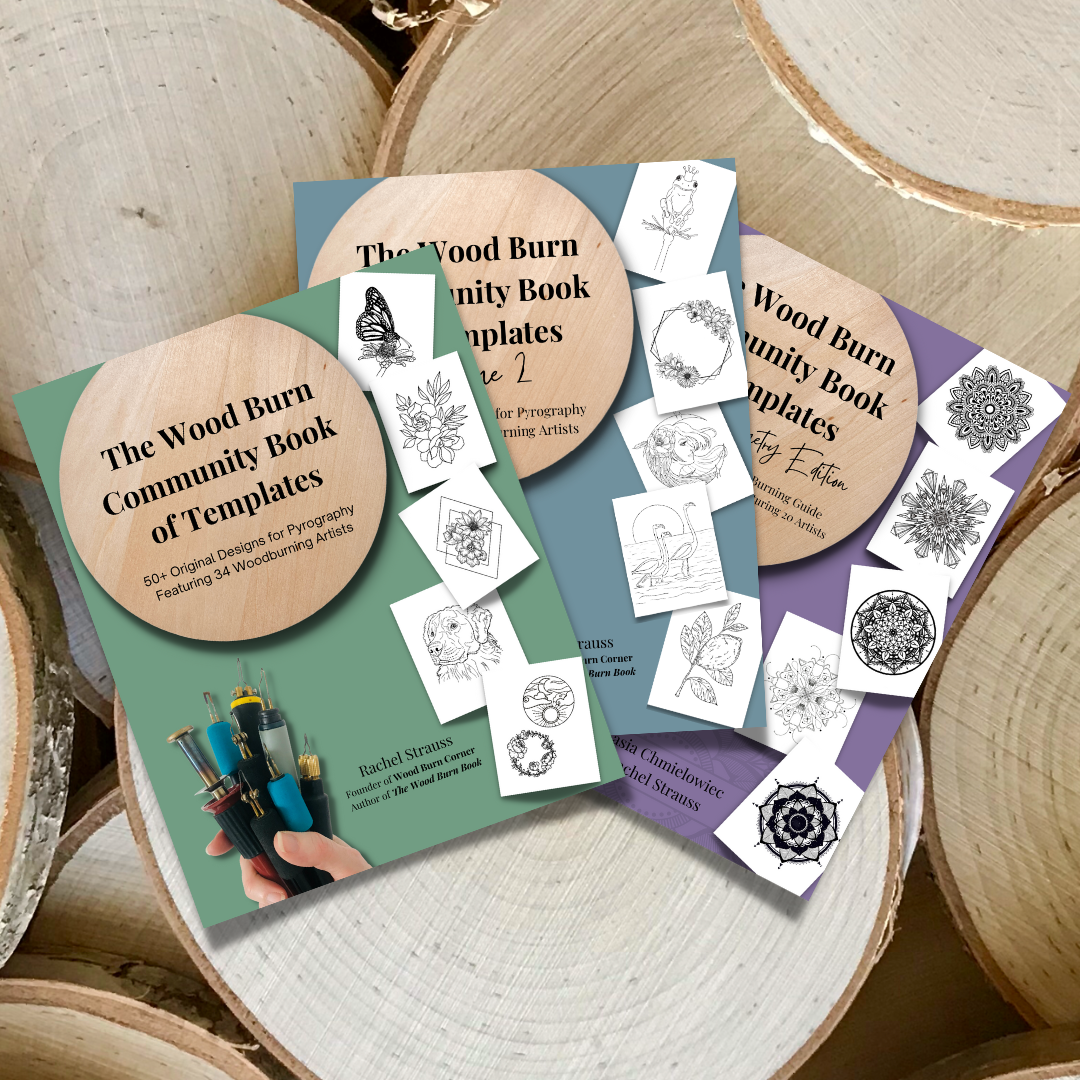
More projects in the book!
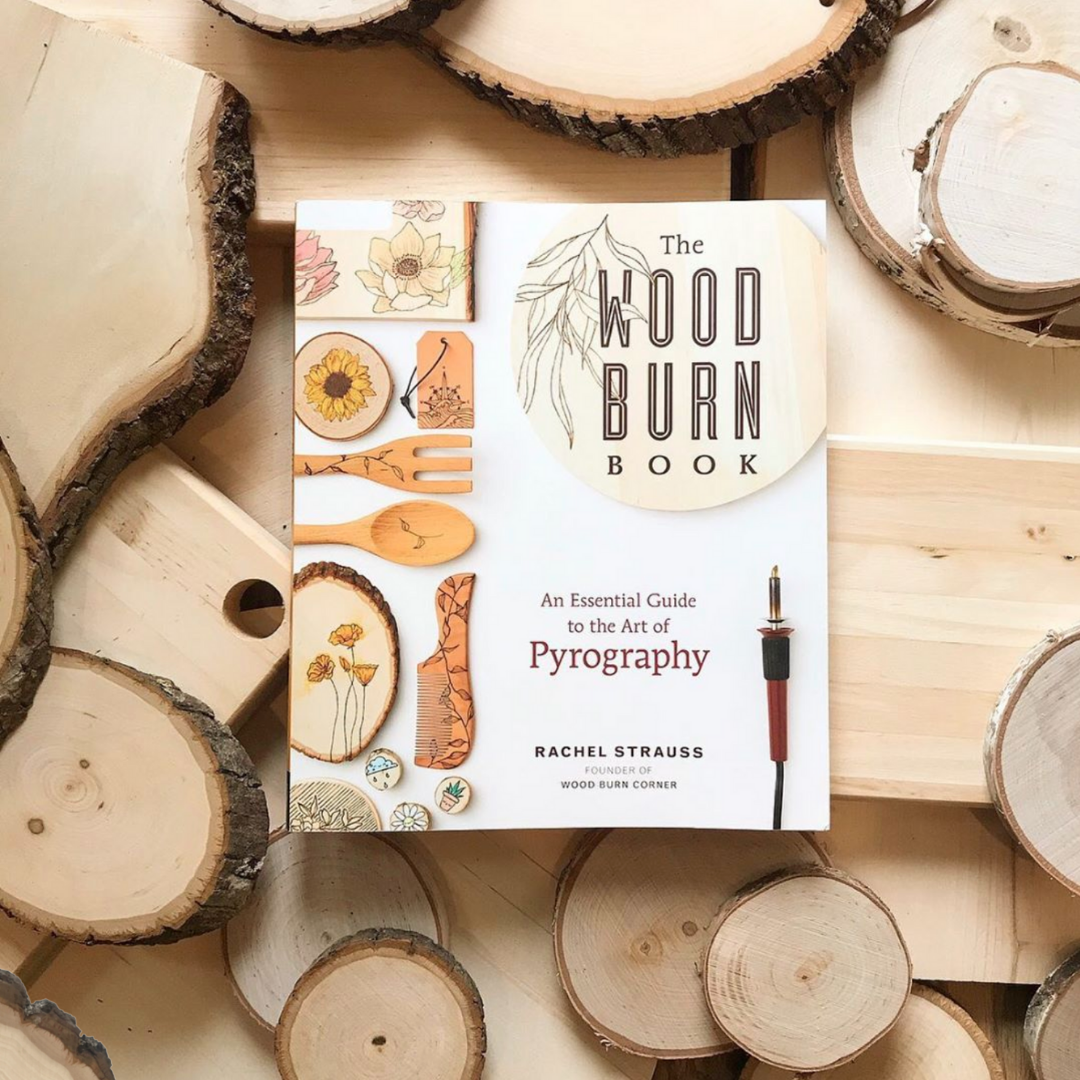
This essential guide opens with a brief background to the art of wood burning, a list of tools and how to use them, basic techniques that can be used over and over again, and even what to burn (projects, designs and inspiration) and how to be safe doing it.